Chapter 1 An Overview of the Cisco Unified IP Phone
Overview of Configuring and Installing Cisco Unified IP Phones
1-34
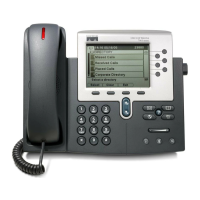
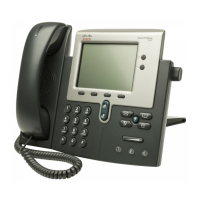
Cisco Unified IP Phone 7961G/7961G-GE and 7941G/7941G-GE for Cisco Unified Communications Manager 6.1
OL-14620-01
Step 5
Configure these network
settings on the phone by
choosing Settings > Network
Configuration.
To enable DHCP:
• Set DHCP Enabled to Yes
• To use an alternate TFTP
server, set Alternate TFTP
Server to Yes
Enter IP address for
TFTP Server 1
To disable DHCP:
• Set DHCP Enabled to No
• Enter static IP address for
phone
• Enter subnet mask
• Enter default router IP
addresses
• Enter domain name where
phone resides
• Set Alternate TFTP Server
to Ye s
Enter IP address for
TFTP Server 1
Using DHCP—The IP address
is automatically assigned and
the Cisco Unified
IP Phone is
directed to a TFTP Server.
Note Consult with the
network administrator
if you need to assign
an alternative TFTP
server instead of using
the TFTP server
assigned by DHCP.
Without DHCP—You must
configure the IP address,
TFTP server, subnet mask,
domain name, and default
router locally on the phone.
See the “Configuring
Startup Network Settings”
section on page 3-18.
See the “Network
Configuration Menu”
section on page 4-7.
Step 6
Set up security on the phone. Provides protection against
data tampering threats and
identity theft of phones.
See the “Configuring
Security on the Cisco
Unified IP Phone” section
on page 3-18.
Table 1-7 Checklist for Installing the Cisco
Unified IP Phone 7961G/7961G-GE/7941G/7941G-GE (continued)
Task Purpose For More Information
 Loading...


