Co
nf
e
ren
ce
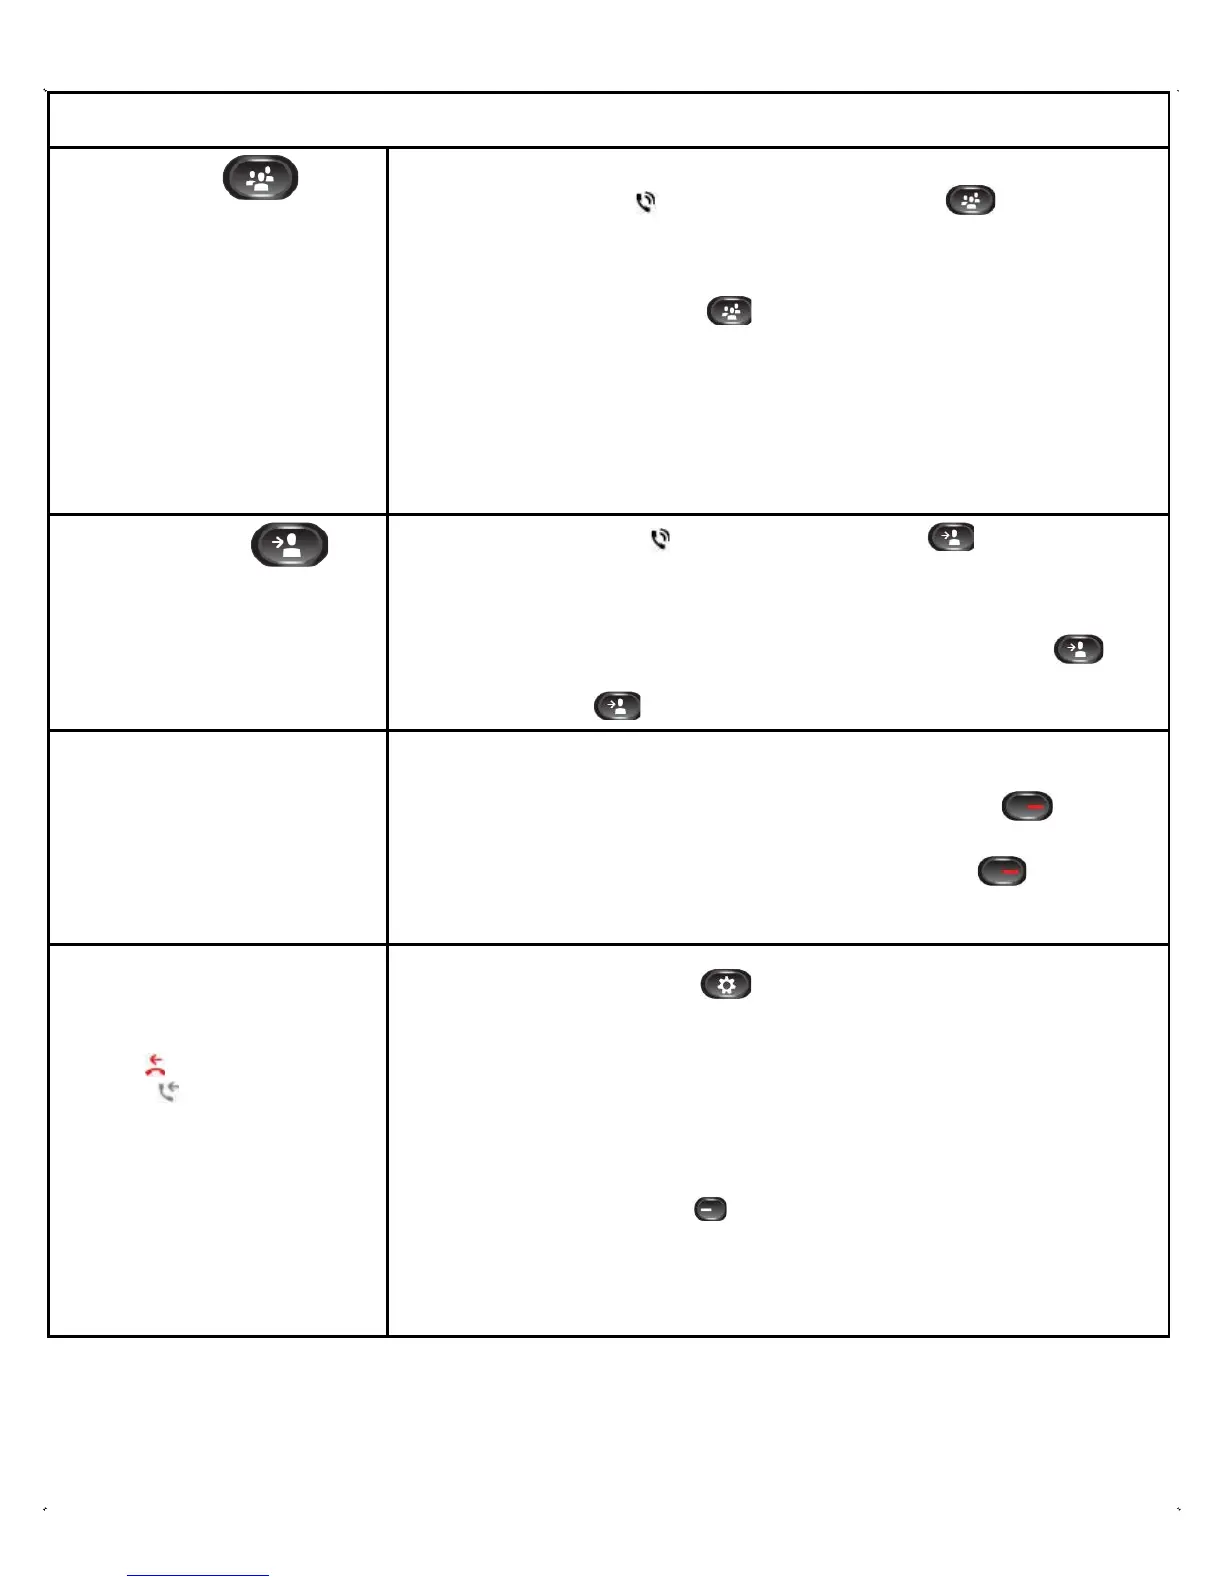
You may create a conference
with multiple callers.
The conference call ends when all
participants hang up or when the
last Cisco phone hangs up.
Create a
Conference
1.
W
hile on an active call , press the Conference Button . You receive new
dial tone and the initial caller is put on hold.
2. Dial the number to the contact you want to add to the conference call.
3. Press the Conference Button after the party answers. The conference
begins and the phone displays “Conference” instead of caller ID.
4. Repeat Steps 1 through 3 to add more participants.
5. Ad-Hoc conferencing will allow up to a maximum of 8 conference participants (you
and 7 other phones). This does not replace existing conference bridges.
Transfer
C
alls
You may transfer incoming calls to
other extensions. You may perform
a “Blind” transfer— where you do
not announce the call—or a “Warm”
transfer, where you announce the
call to the transfer recipient.
1.
W
hile on an active call , press the Transfer Button . You receive new
dial tone and your caller is put on hold.
2. Dial the extension to transfer the caller to.
3. Complete the transfer:
•
Blind: Once you hear the call ringing, press the Transfer Button .
•
Warm: After the other party picks up the call and you announce it, press the
Transfer Button .
Shared
Lin
es
If you share a line with your co-workers:
•
Either you or your co-worker may answer a ringing call on the shared line.
•
When
your
co-worker
has
a
call
on
the
shared
line,
your
Shared
Line Button is solid red and you cannot pick up the call.
•
When your co-worker puts a call on hold, the Session Button on
your
phone
pulses red. Either you or your co-worker may resume the call.
Call
Hi
stor
y
You may view the
Missed ( ), Placed, and
Received ( ) calls.
Note: Missed only
means a caller rang your
phone and you did not
answer. The caller may
or may not have left
voicemail.
Press the
Applications
Button
and select Call
Hi
st
o
ry
.
Dial a Call from the Call
H
istor
y
To dial, scroll to a call and pick up the handset; or press Select in the Navigation pad o
the Call soft key to use the Speakerphone.
View a Call from the Call
H
istor
y
To view details for a call, highlight the call and press More >
Details.
View New Missed
Ca
lls
Do one of the following:
•
Press the Session Button next to the Missed Calls icon on the right
side of the screen (includes a count of missed calls). The Missed Calls icon
displays in this location when you have new (not yet viewed) missed calls.
•
Open the call history
(Applications
> Call History) and press the Missed
Call
s
soft key.
Help Desk: 415-514-4100
3
 Loading...