2-19
Cisco Aironet 1530 Series Outdoor Access Point Hardware Installation Guide
OL-30864-01
Chapter 2 Installing the Access Point
Mounting the Access Point
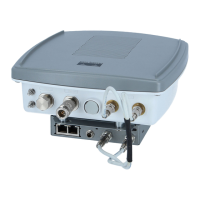
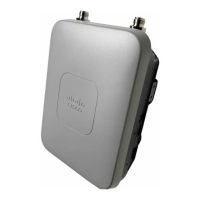
Figure 2-9 AP wall mounted with Pivoting Mounting Kit
Caution The mounting surface, attaching screws and optional wall anchors must be able to support a 50-lb (22.7
kg) static weight.
To mount the access point on a vertical wall, follow these instructions:
Step 1 Disassemble pivot kit, if not already done.
Step 2 Use the mounting bracket as a template to mark four screw hole locations on the mounting surface. See
Figure 2-7 for the mounting bracket screw hole locations (screw holes of maximum 6 mm in size).
Step 3 Use four customer-supplied screws and optional screw-anchors to attach the mounting plate to the
mounting surface.
Note If necessary, use suitable screw anchors and an exterior-grade plywood backboard to mount the access
point to stucco, cement or drywall.
Step 4 Match the holes in the bracket plate to the holes in the back of the access point.
Step 5 Screw an M8 x12 mm bolt into each of the four bolt holes (using a 10 mm box wrench or socket, torque
the bolts to 40 lbf-in) on the back side of the access point and mounting bracket.
13-mm box-end wrench or socket set No
10-mm box-end wrench No
Materials Required for mounting AP on a vertical wall
with pivoting mounting kit
In Kit
 Loading...