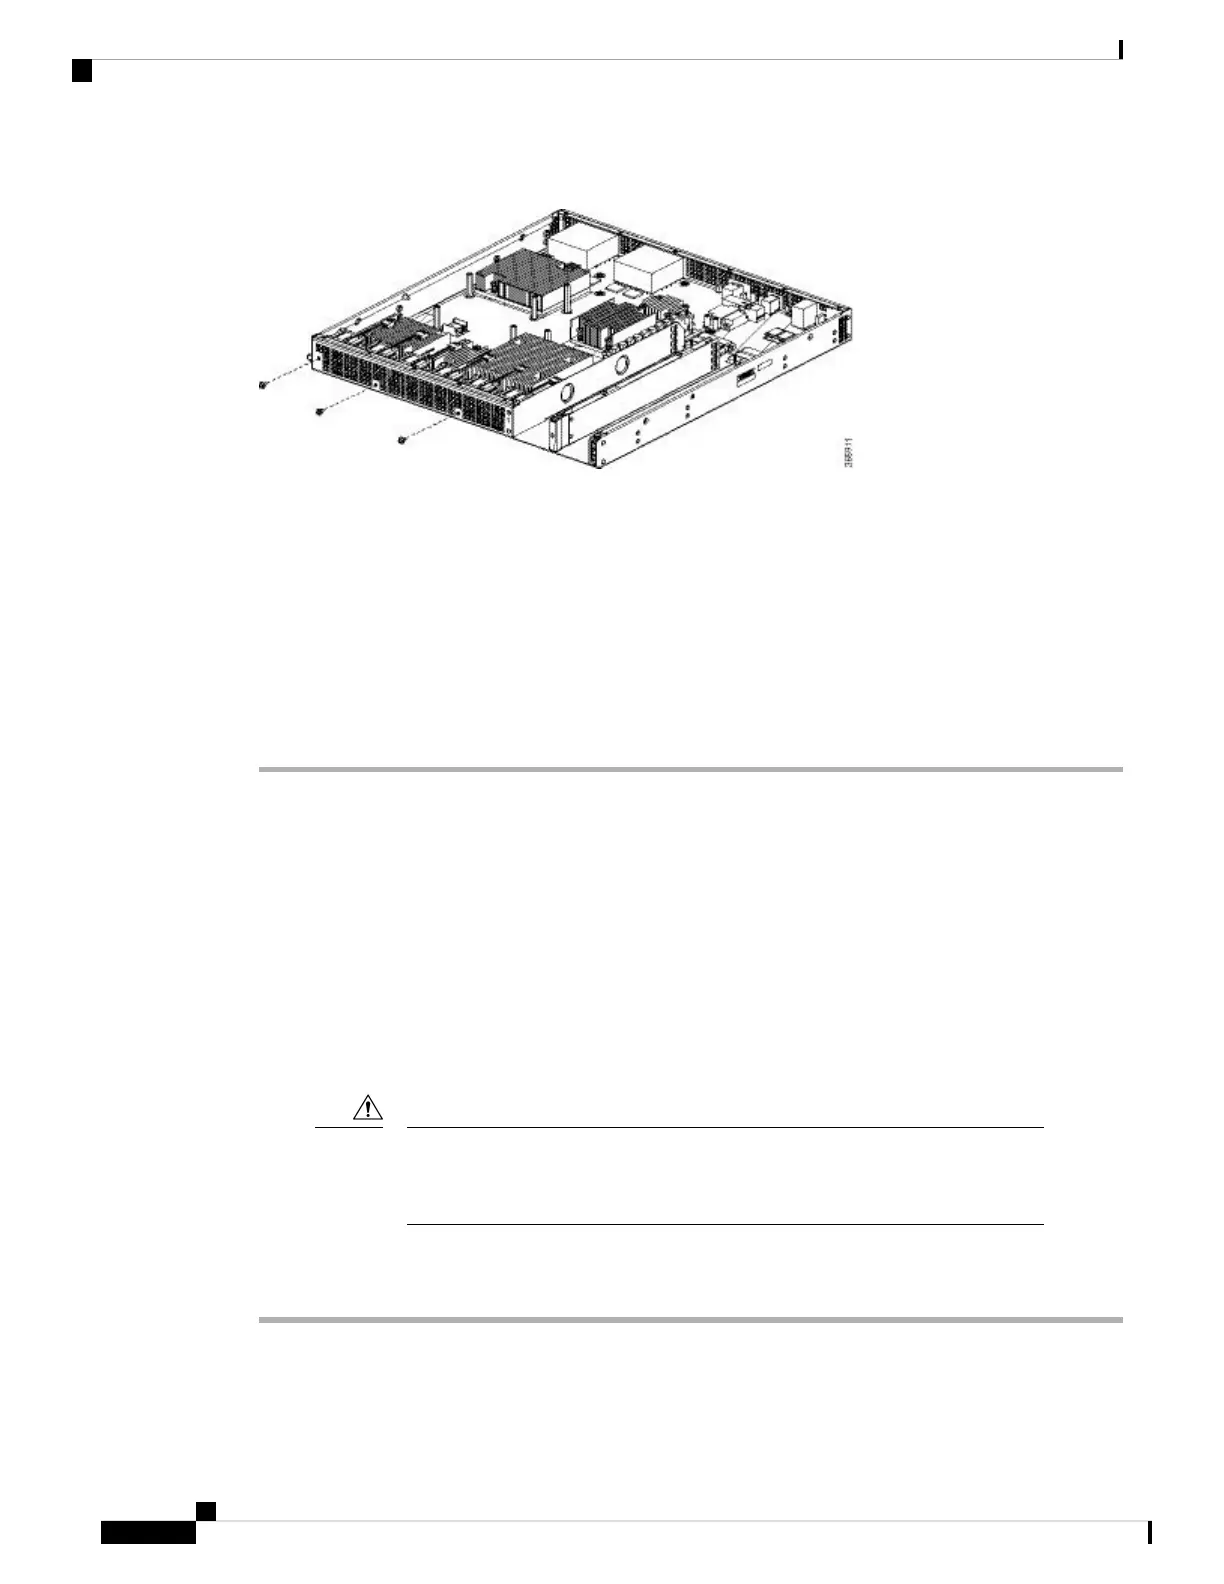
Step 2 Use three screws to attach the fan trays to the chassis.
Step 3 Plug the six fan connectors into the motherboard.
Step 4 Replace the chassis top cover:
a) Slide the cover onto the chassis ensuring that the interlock hook feature fits on the chassis cover and base.
b) Install the top surface screws and the side screws and tighten them slightly.
Step 5 Install the power supplies into the chassis and power up the router. See:
• Installing AC Power Supplies
• Installing DC Input Power Supplies
Removing the Fans from a Cisco ASR 1002-HX Router
Before you begin
Perform the following steps before you begin the process of removing the fans from a Cisco ASR 1002-HX
Router:
• Use an ESD-preventive wrist strap.
• Back up the data that you want to save.
• Remove the power supplies before you remove the chassis top cover.
The top cover cannot be removed until the power supplies are removed from the
chassis. The chassis has a safety mechanism built in to prevent the removal of
the top cover until the power supplies are removed.
Caution
Procedure
Step 1 With an ESD wrist strap on, remove the power supplies from the chassis.
The chassis cover cannot be removed until the power supplies are removed from the chassis.
Note
Removing and Replacing FRUs
26
Removing and Replacing FRUs
Removing the Fans from a Cisco ASR 1002-HX Router

 Loading...


