Ensure that no copper portion of the lead wire is exposed. Only the wire insulation should visible.
Caution
Do not install wire into a terminal block that has not had its insulation removed.
Caution
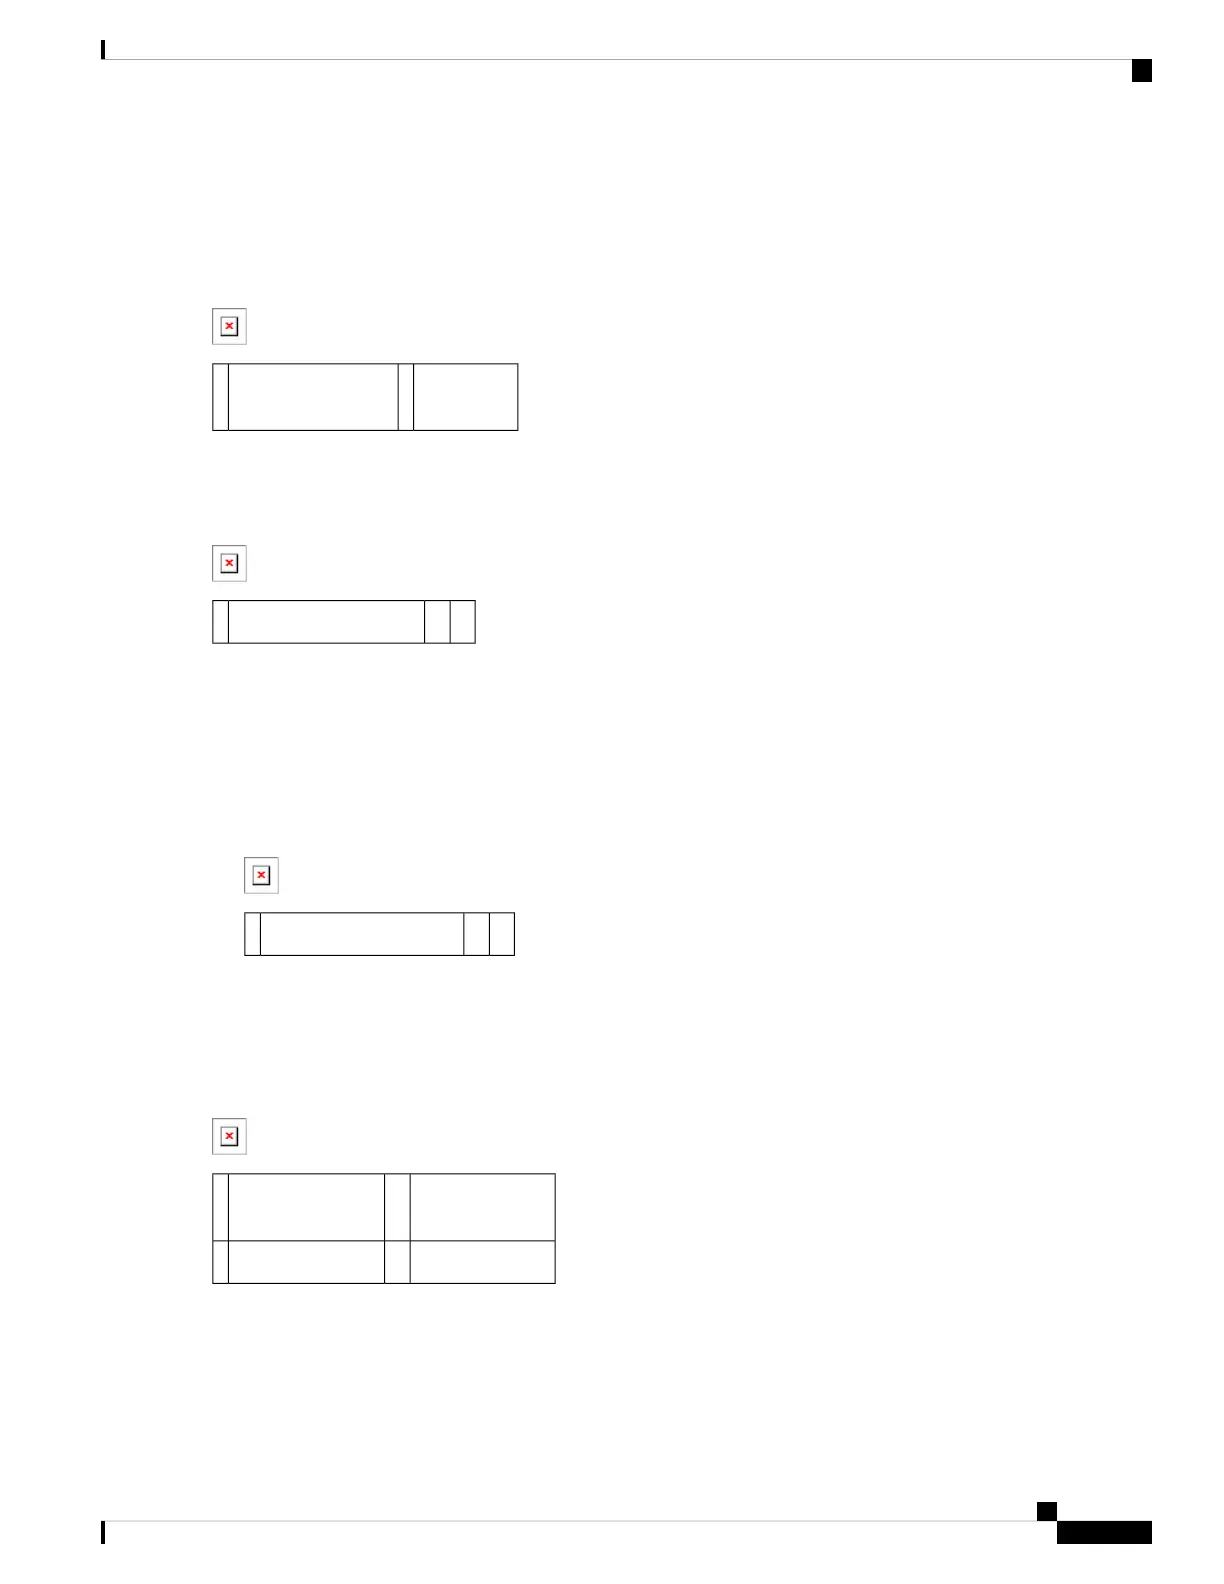
Figure 28: Cisco ASR 1002-X Router +24 VDC Power Supply Lead Wire Inserted into Terminal Block
Copper
wire
2Lead wire insulation1
Figure 29: Cisco ASR 1002-X Router +24 VDC Power Supply Lead Wire Fully Inserted, on page 39 shows the lead
wire fully inserted.
Figure 29: Cisco ASR 1002-X Router +24 VDC Power Supply Lead Wire Fully Inserted
——Fully-inserted lead wire1
Step 7 After the lead wire is fully inserted, perform these steps:
a) Hold the lead wire in place while you remove the screwdriver.
b) After the screwdriver is completely removed, gently tug the lead wire to ensure that it is securely installed.
Figure 30: Removing a Screwdriver from the +24 VDC Power Supply Terminal Block, on page 39 shows a lead
wire that is fully inserted, and the screwdriver being removed while you gently tug the lead wire.
Figure 30: Removing a Screwdriver from the +24 VDC Power Supply Terminal Block
——Gently tug the lead wire.1
Step 8 Repeat Steps 5 through Step 10 for each lead wire.
Figure 31: Cisco +24 VDC Power Supply Terminal Block with Lead Wires Installed, on page 39 shows all the lead
wires installed.
Figure 31: Cisco +24 VDC Power Supply Terminal Block with Lead Wires Installed
Ground lead
wire
3Positive lead wire1
——Negative lead wire2
Ensure that the stripped end of each lead wire is twisted tightly together. This makes insertion easier. Also
ensure that the entire lead wire is inserted all the way into its receptacle. If exposed wire is visible at the
stripped end of a lead after inserting the lead into its receptacle, remove the lead from the receptacle, use the
wire stripper to cut the stripped end of the lead, and then reinsert.
Note
Cisco ASR 1002-X Router Overview and Installation
39
Cisco ASR 1002-X Router Overview and Installation
Connecting the +24 VDC Power Supply to the Router
 Loading...


