3
Table of Contents
1 Scope of Document and Related Publications 4
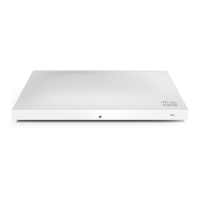
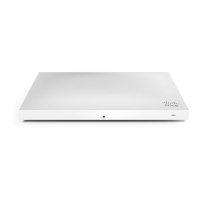
2 MR52 Overview 5
2.1 Package Contents 5
2.2 Understanding the MR52 5
2.3 Security Features 7
2.4 Ethernet Ports 7
2.5 Power Source Options 7
2.6 Factory Reset Button 7
2.7 LED Indicators and Run Dark Mode 7
3 Pre-Install Preparation 8
3.1 Configure Your Network in Dashboard 8
3.2 Check and Upgrade Firmware 8
3.3 Check and Configure Firewall Settings 8
3.4 Assigning IP Addresses to MR52s 9
3.4.1 Dynamic Assignment 9
3.4.2 Static Assignment 9
3.4.3 Static IP Assignment via DHCP Reservations 9
3.5 Collect Tools 10
3.6 Collect Additional Hardware for Installation 10
4 Installation Instructions 11
4.1 Choose Your Mounting Location 11
4.2 Install the MR52 11
4.2.1 Attach the Mount Plate 11
4.2.1.1 Wall or Solid Ceiling Mount Using Mount Plate 13
4.2.1.2 Drop Ceiling Mount Using Mount Plate 14
4.2.1.3 Electrical Junction Box Mount Using Mount Plate 18
4.2.2 Power the MR52 20
4.2.2.1 Powering the MR52 with Meraki AC Adapter 21
4.2.2.2 Powering the MR52 with Meraki 802.3af Power over Ethernet Injector 21
4.2.2.3 Powering the MR52 with an 802.3af Power over Ethernet Switch 22
4.2.3 Mount the MR52 22
4.2.3.1 Assemble Security Hasp to the MR52 22
4.2.3.2 Assemble MR52 to the Mount Plate 23
4.2.3.3 Desk or Shelf Mount 25
4.3 Secure the MR52 26
4.3.1 Security Screw 26
4.3.2 Kensington Lock 26
4.4 Verify Device Functionality and Test Network Coverage 27
5 Troubleshooting 27
 Loading...