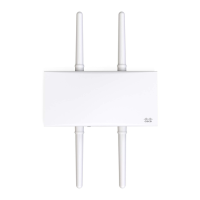
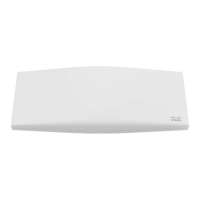
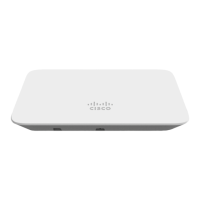
Mount plate attachment screw
The mount plate attachment screw is located at the bottom of the mounting plate. It securely attaches the AP to the
mounting plate.
Mount plate grounding post
The mount plate grounding post located on the left side of the mounting plate. Using the included grounding strap, the
ground post allows you to ground the unit.
Pre-Install Preparation
You should complete the following steps before going on-site to perform an installation.
Configure Your Network in Dashboard
The following is a brief overview only of the steps required to add an MR72 to your network. For detailed instructions
about creating, configuring and managing Meraki wireless networks, refer to the online documentation
(documentation.meraki.com/mr).
1. Login to http://dashboard.meraki.com. If this is your first time, create a new account.
2. Find the network to which you plan to add your APs or create a new network.
3. Add your APs to your network. You will need your Meraki order number (found on your invoice) or the serial
number of each AP, which looks like Qxxx-xxxx-xxxx, and is found on the bottom of the unit. You will also need
your Enterprise license key, which you should have received via email.
4. Go to the map / floor plan view and place each AP on the map by clicking and dragging it to the location where you
plan to mount it.
Check and Upgrade Firmware
To ensure your MR72 performs optimally immediately following installation, it is recommended that you facilitate a
firmware upgrade prior to mounting your MR72.
1. Attach your MR72 to power and a wired Internet connection. See the "Power the MR72" section for details.
2. The MR72 will turn on and the LED will glow solid orange. If the unit does not require a firmware upgrade, the LED
will turn either green (no clients associated) or blue (clients associated) within thirty seconds.
* If the unit requires an upgrade, the LED will begin blinking blue until the upgrade is complete, at which point the LED
will turn solid green or blue. You should allow at least a few minutes for the firmware upgrade to complete, depending on
the speed of your internet connection.
Check and Configure Firewall Settings
If a firewall is in place, it must allow outgoing connections on particular ports to particular IP addresses. The most
current list of outbound ports and IP addresses for your particular organization can be found here.
4

 Loading...