Before you begin
Before you can ground the chassis, you must have a connection to the earth ground for the data center building.
Step 1 Use a wire-stripping tool to remove approximately 0.75 inch (19 mm) of the covering from the end of the grounding
wire.
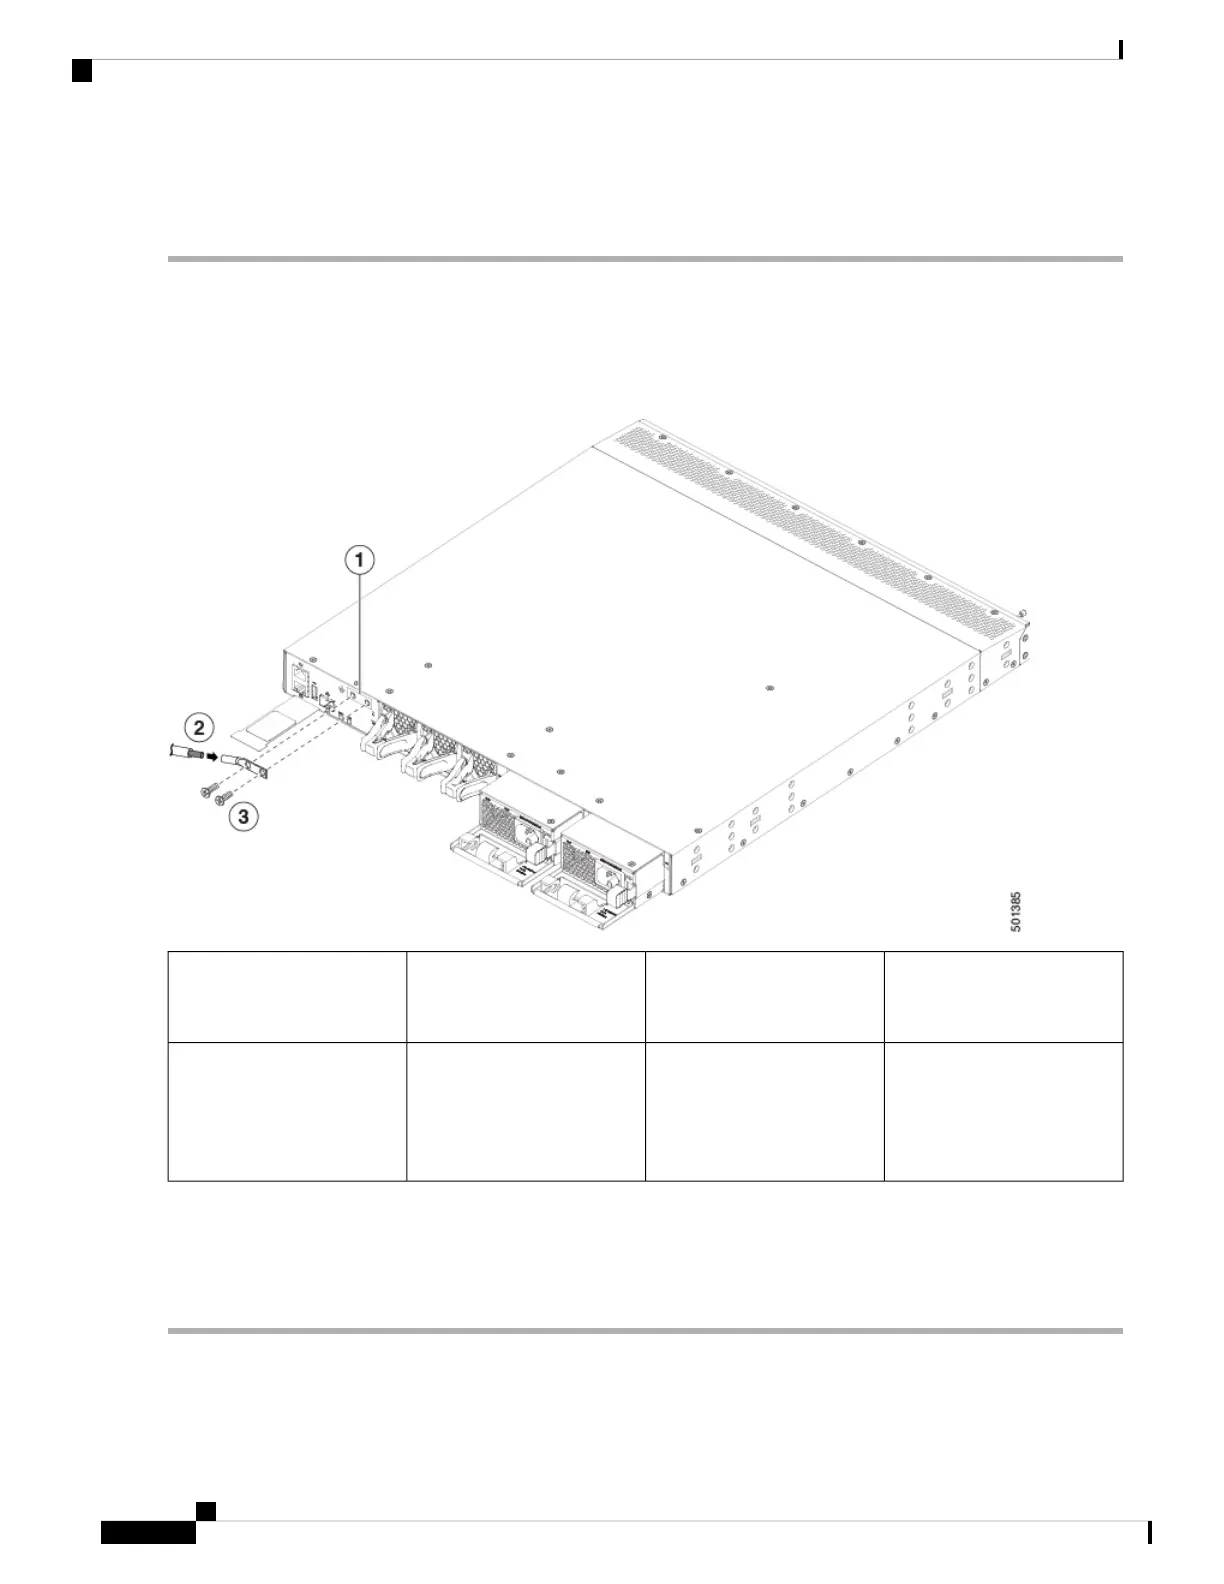
Step 2 Insert the stripped end of the grounding wire into the open end of the grounding lug, and use a crimping tool to crimp
the lug to the wire (see Callout 2 in the following figure). Verify that the ground wire is securely attached to the grounding
lug by attempting to pull the wire out of the crimped lug.
2 M4 screws used to secure
the grounding lug to the
chassis
3Chassis grounding pad1
Grounding cable, with 0.75
in. (19 mm) of insulation
stripped from one end,
inserted into the grounding
lug and crimped in place
2
Step 3 Secure the grounding lug to the chassis grounding pad with two M4 screws (see Callouts 1 and 3 in the previous figure),
and tighten the screws to 11 to 15 in-lb (1.24 to 1.69 N·m) of torque.
Step 4 After you install the chassis, prepare the other end of the grounding wire and connect it to an appropriate grounding point
in your site to ensure an adequate earth ground for the switch.
Cisco Nexus 9348GC-FXP ACI Mode Hardware Installation Guide
22
Installing the Switch Chassis
Grounding the Chassis
 Loading...