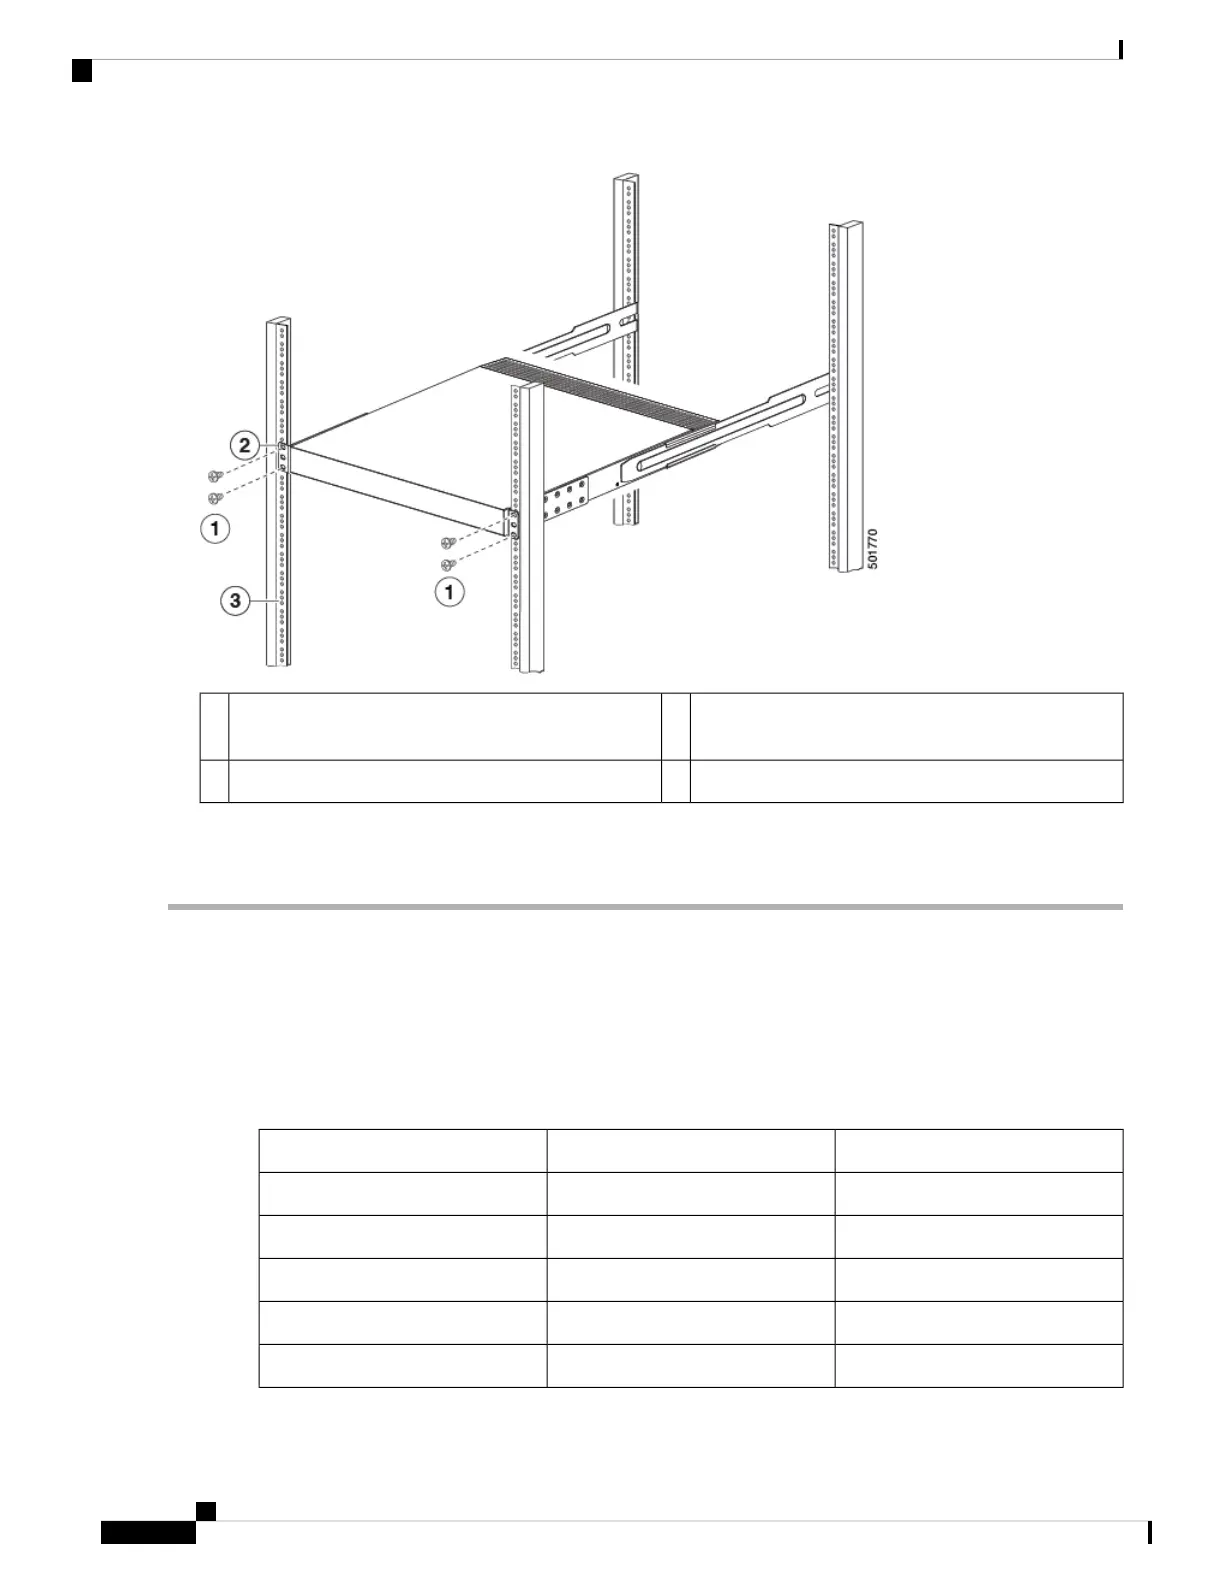
Mounting rails on rack or cabinet posts.3Fasten the chassis to the front of the rack with two
12-24 or 10-32 screws on each side.
1
Front-mount bracket.2
d) Tighten the 10-32 screws to 20 in-lb (2.26 N·m) or tighten the 12-24 screws to 30 in-lb (3.39 N·m).
Step 6 If you attached a grounding wire to the chassis grounding pad, connect the other end of the wire to the facility ground.
Installing the Airflow Sleeve (N9K-AIRFLOW-SLV)
The airflow sleeve (N9K-AIRFLOW-SLV) is installed to allow proper airflow, so that the switch is properly
cooled. This airflow sleeve is only compatible with rack mount kit (N3K-C3064-ACC-KIT).
Table 3: Airflow Sleeve (N9K-AIRFLOW-SLV) Minimum and Maximum Rack Rail Depth.
Maximum Rack DepthMinimum Rack DepthChassis
748.25 mm636.49 mmN9K-C92348GC-X
916.60 mm824.80 mmN9K-C9316D-GX
898.70 mm794.20 mmN9K-C9332C
915.80 mm824.00 mmN9K-C9332D-GX2B
903.98 mm802.39 mmN9K-C9336C-FX2
Cisco Nexus 93180YC-FX3 ACI-Mode Switch Hardware Installation Guide
26
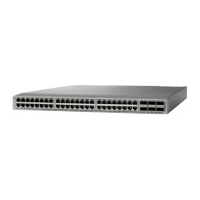
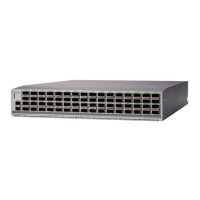
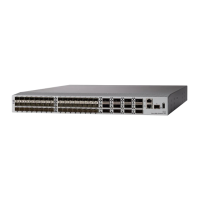
Installing the Switch Chassis
Installing the Airflow Sleeve (N9K-AIRFLOW-SLV)
 Loading...