LAB 8B: UC520 Multi-site Setup
Cisco Unified Communications Technical Training
Page 134 of 171
4. Click on “Configuration -> Telephony -> Voice” on the left navigation bar or click on the Phone
icon on the top menu bar. Wait until the “Refresh” and “Apply” buttons are enabled before
making any changes. In this lab,, we will configure the various tabs - “System”, “Dialplan”,
“AA & Voicemail”, “SIP Trunking” “Voice Features”, and “Users”.
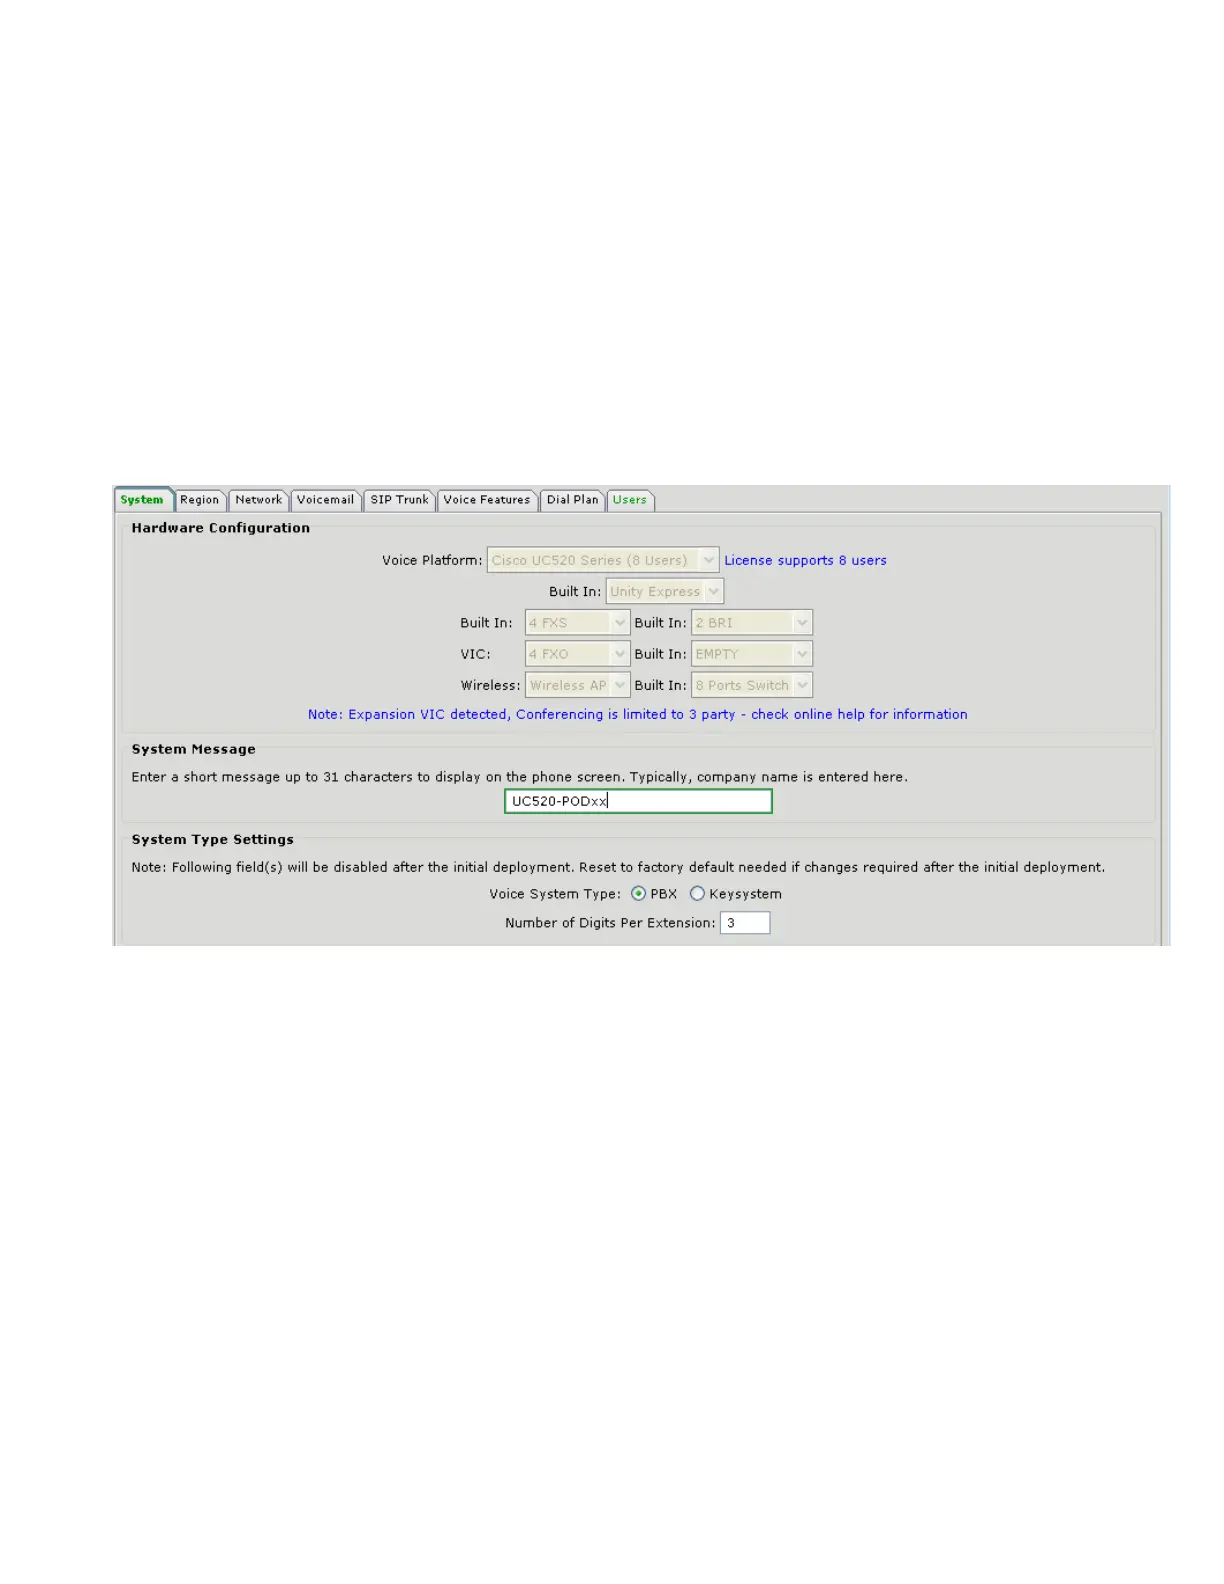
5. Click on the “System” tab & select the Voice System Type as a “PBX”.
6. Also on the “System” tab change the System Message to “UC520-PODxx”
Note: Don’t click on “OK” or “Apply” until you have configured all the voice tabs
 Loading...