6
XMA1
Setting the Clock
1) Press the DISP button % to enter the clock display mode.
2) Press the DISP button % for 2 seconds or more. This enables
clock editing.
∗ The editable fields will be indicated by flash.
3) To move between the hour and minute fields, use the SRCH Left
(hour) and Right (minute) buttons @.
4) To confirm the clock setting, press the DISP button %.
Notes:
• If you select another operation mode before completing the above
procedure, the clock setting operation will be canceled.
• Removing the battery for a check or repair causes the clock to be
reset. Set the clock again in such a case.
Switching to the Other Side of the Tape
Press the PROG button $. Playback is switched to the other side of
the cassette tape.
FF Scan Function (Intro Music Scan)
When the SCN button 6 is pressed, “SCN” appears on the display,
and the first 10 seconds of all the tracks on the cassette tape are
played. Press the SCN button again to stop scanning.
Repeat Function (Repeat Play)
When the RPT button 7 is pressed, “RPT” appears on the display
and the current track is played repeatedly. Press the RPT button again
to cancel the repeat mode.
Blank Skip Function
Use this function to automatically skip to the beginning of the next
recorded section when there is a blank section of 12 seconds or
more on the tape.
When the BLS button 7 is pressed for 1 second or longer, the blank
skip mode is set and “BLS” appears on the display. Press the BLS
button 7 again for 1 second or longer to cancel the blank skip mode.
Notes:
The APC, scan, repeat and blank skip functions will not work with
the following types of tapes:
• Tapes on which the recording level is low
• Tapes on which there is less than 4 seconds of blank space be-
tween selections
• Tapes on which there are long pauses in the middle of selections
• Tapes on which there is much noise between selections
Tape Operation
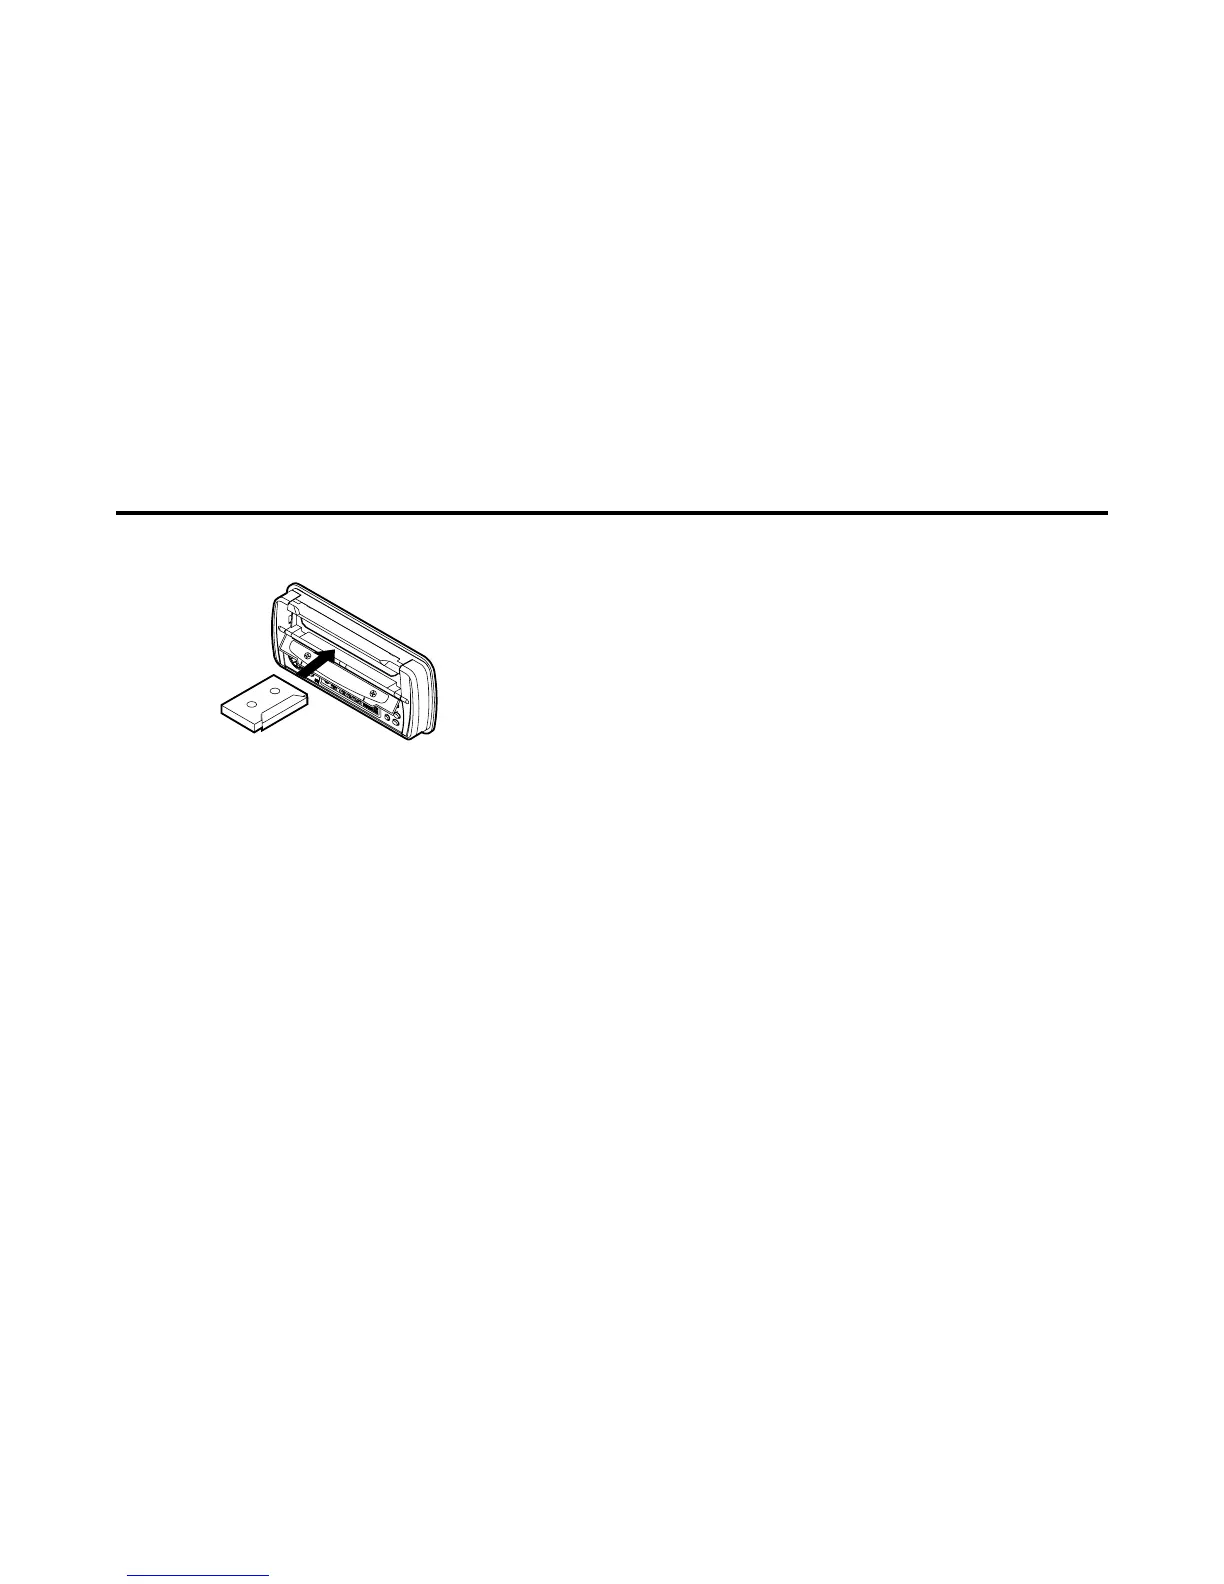
Loading Tapes
Open the door by push up the hook.
Insert the cassette tape into the Cassette insertion slot with the side
on which the tape is exposed facing the right. Playback starts auto-
matically.
∗ The metal tape setting is set automatically when a metal or chrome tape is
loaded.
∗ When the end of the cassette tape is reached, the auto reverse mechanism
is activated and the other side of the tape begins playing automatically.
Listening to a tape which is already loaded
Press the FUNC button 2 to select the tape mode. Playback begins
automatically.
Stopping Playback Temporarily
Press the Play/Pause button !. Press the button again to resume
playback.
Ejecting Cassette Tapes
Open the door by push the hook.
Press the Eject button 3. The cassette tape is ejected.
∗ The radio mode is set automatically 4 seconds after the eject button is
pressed.
Fast-Forwarding and Rewinding
Use the SRCH Left and Right buttons @.
d: Press this to fast-forward the tape.
a: Press this to rewind the tape.
APC (Auto Program Control)
Press the SRCH Left or Right button @ twice.
d: Press this twice to move ahead to the beginning of the next
selection.
a: Press this twice to move back to the beginning of the current
selection.