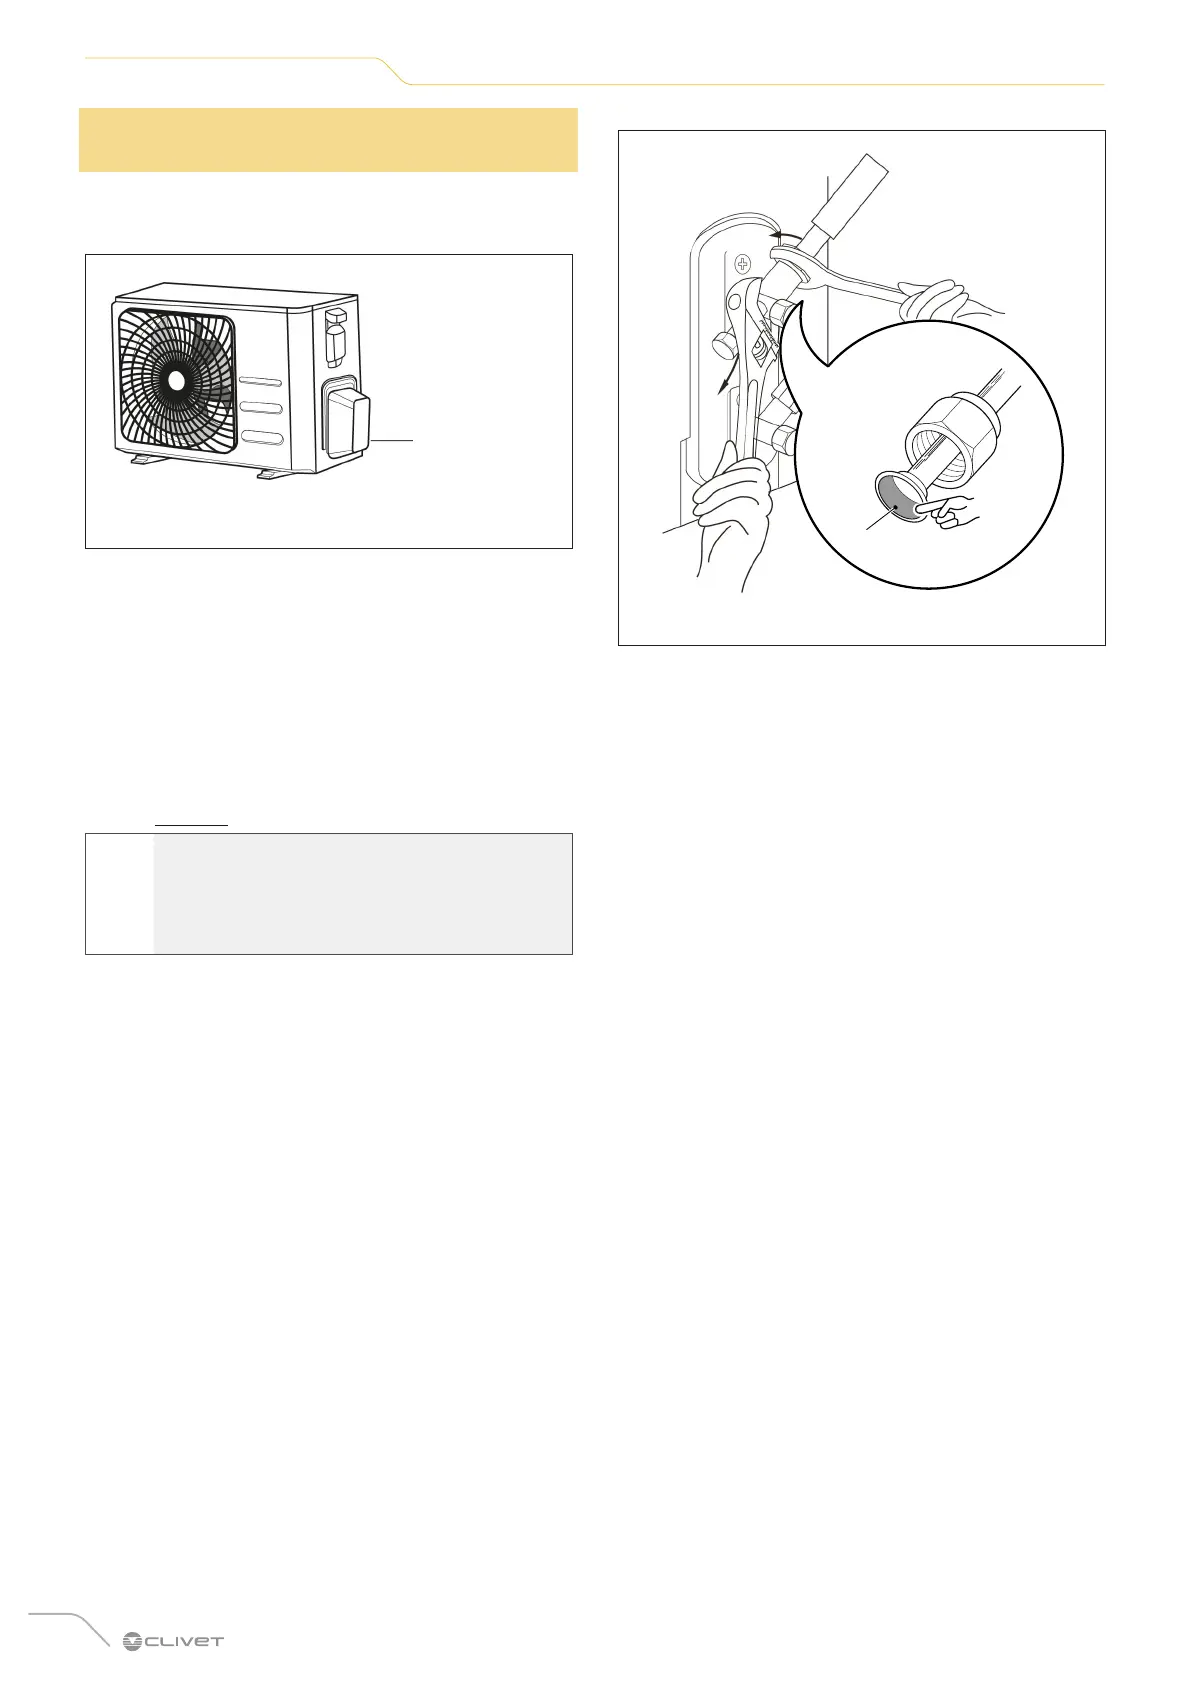
6.3 Connecting the pipes to the
outdoor unit
1 Unscrew the valve unit cover on the side of the
outdoor unit.
Valve group
cover
Fig. 22
2 Remove the protective caps from the valve ends.
3 Apply a little lubricating oil only to the inner surface of
the countersink (B).
4 Align the end of the countersunk pipe with each
valve, then tighten the countersunk nut by hand as far
as possible.
5 Use a wrench to hold the valve body in place. Do not
apply the key to the nut that closes the service valve
(see “Fig. 23”).
m
USE A WRENCH TO HOLD THE MAIN
BODY OF THE VALVE.
The torque applied to tighten the countersunk
nut may cause other parts of the valve to detach.
B
Fig. 23
6 Holding the valve body firmly, use a torque wrench to
tighten the countersunk nut to the correct torque values.
7 Slightly loosen the flared nut, then tighten it again.
8 Repeat steps 3 to 7 for the other pipe.
28
Notions on refrigerant piping connection