9
ENGLISH
Installation
Inserting batteries
Note:
Insert batteries into theoutdoor unit before switching on theindoorunit. Assoon as
theindoor unit is switched on, it will begin to automatically search for thesensors on
theoutdoorunit. When inserting batteries into theunits, note themarkings in thebat-
tery compartments to ensure correct polarity.
Outdoor unit
Insert batteries
into theoutdoor
unit
Unpack and
check contents
Mount theoutdoor
unit in asuitable
location
Switch on the
indoor unit and wait
until theoutdoor unit
has been registered
Make weather
station settings and
check thefunction
of thesensors
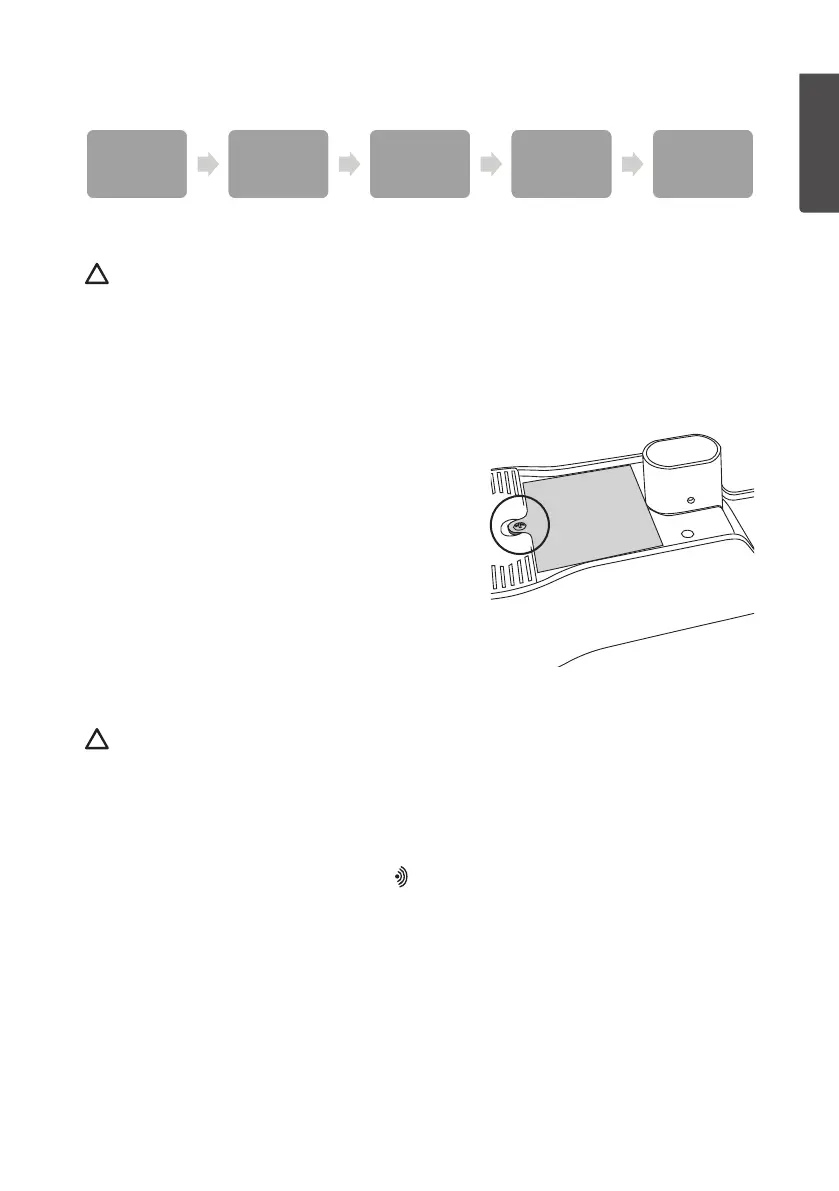
1. Unscrew theretaining screw and remove
thebattery compartmentcover.
2. Insert 3×AA/LR6 batteries. TheLED
indicator will light for 3 seconds and then
flash every 16 seconds to indicate when
data is transmitted from theunit.
3. If theLED indicator does not flash after
thebatteries have been inserted, press
[ RESET ] to reset theunit.
4. Refit thebattery cover and tighten
theretainingscrew.
Indoor unit
Note:
• Make sure that theoutdoor unit is functioning before switching theindoor uniton.
• Make sure that theoutdoor unit is located adistance of between 1.5 m and 30 m
from theindoorunit. Iftheoutdoor unit is too close or too far away, theindoor unit
may have trouble receiving thedata signals.
• As soon as theindoor unit is switched on, it will begin to automatically scan for
thesensors on theoutdoor unit (the symbol will light). Donot press any buttons
until all thesensors have been registered otherwise thescan will be discontinued.
• The indoor unit can be powered either by batteries or themains using theincluded
mains adapter.