Advanced Settings
6.1.2 Live
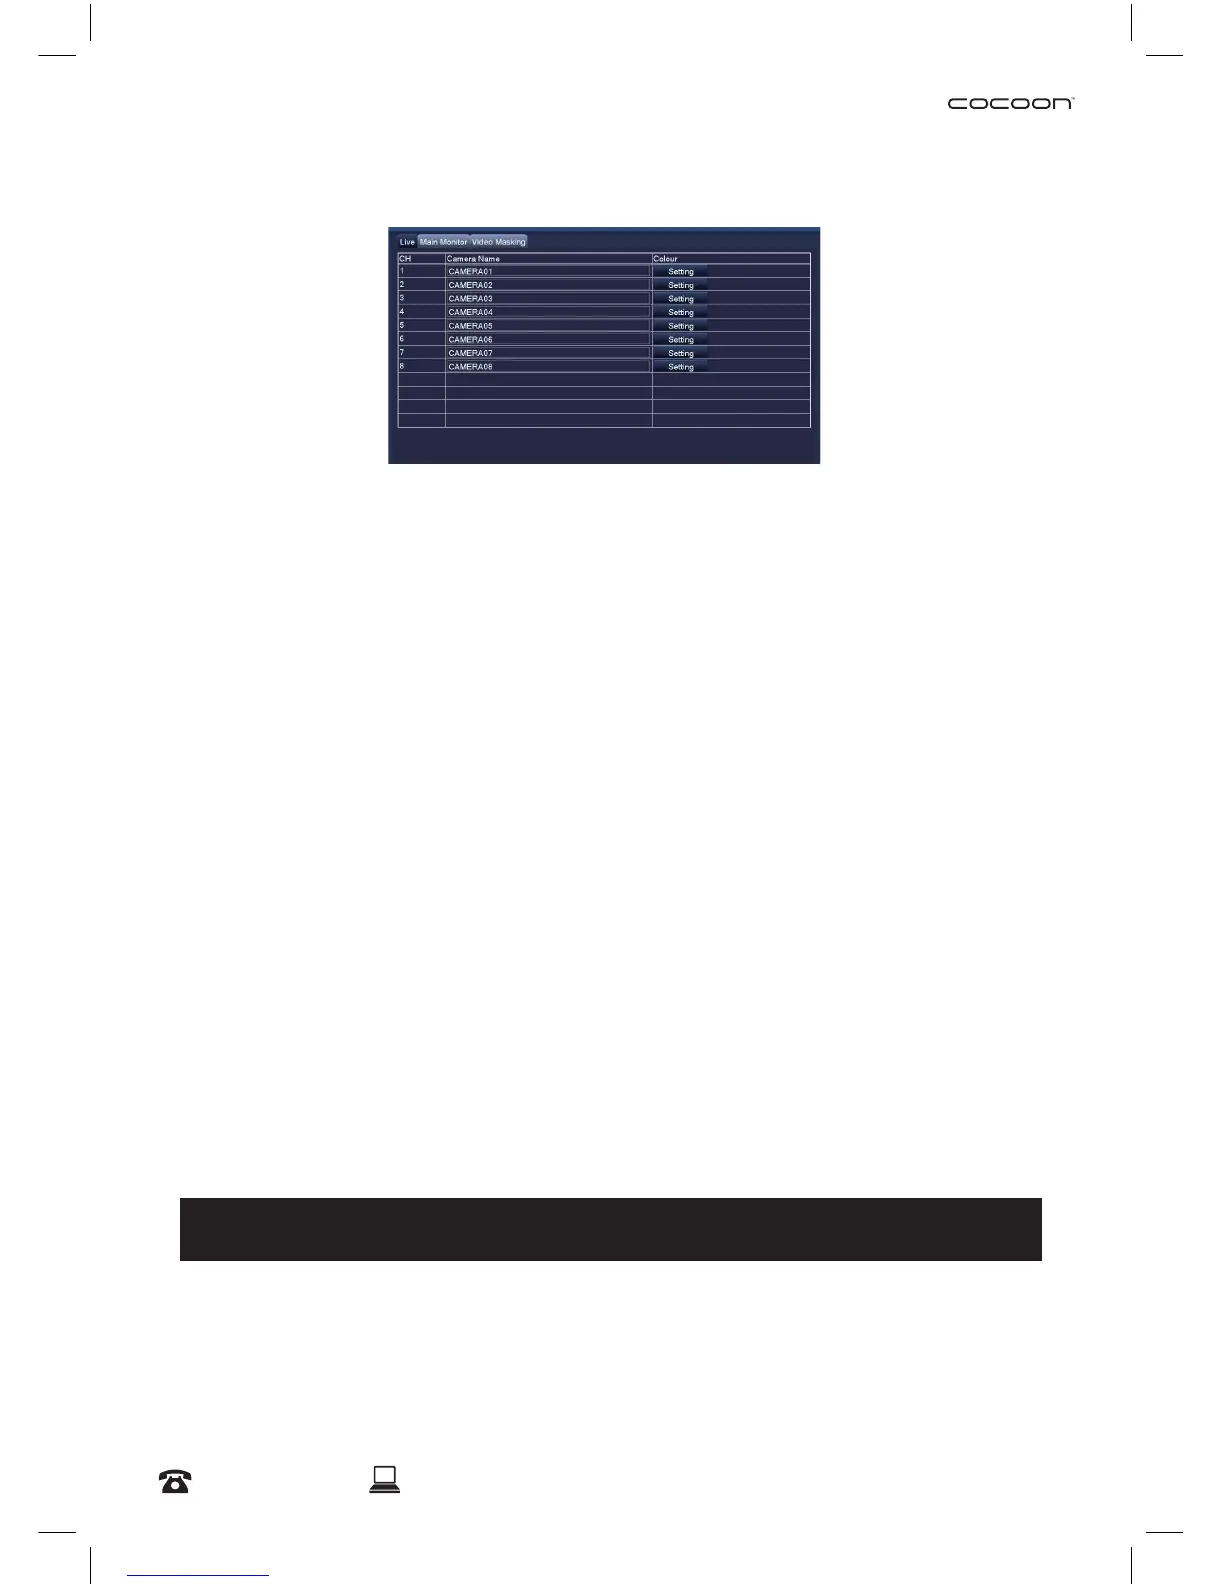
Live tab
• Camera Name: Label the selected camera (up to 31 characters). Defaults names are Camera 1,2,
3,4, 5, 6,7 & 8. Rename to your preferred
• Colour: Click on ‘Setting’ to adjust Brightness, Hue, Saturation, Contrast, and Sharpness settings
for each camera
Main Monitor tab
• Display Mode: Select among 1x1, 2x2, 2x3 or 3x3 view
NOTE: If 1x1 is used, Start/Stop Scan can be used on the viewing screen to automatically change
between cameras
• Interval[S]: Select the interval that Start/Stop Scan should use
• Previous/Next Group: If 1x1 display mode is used, cameras can be re-ordered for when Start/
Stop Scan is used
Video Masking tab
• Mask Area Setting: Mask areas of the camera that you don’t want recorded. Useful for hiding
personal information from recordings. To activate, select ‘Setting’, then use the mouse to draw a
rectangle over the area you want ‘masked’. To remove the masks, select ‘Default’ from the
Live menu
• Default: Reset the displayed settings to factory defaults
• Apply: After all changes are made, click the ‘Apply’ button to save
• Exit: If you want to cancel after making any changes, click ‘Exit’ to exit the menu without changes
IMPORTANT NOTE: Always click ‘Apply’ after making any changes within the menu system. If
you do not click ‘Apply’, your changes will not be saved


 To Next Page