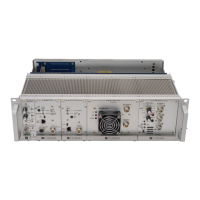
TN247 VR-4E VHF MT-4E Receiver
MT-4 Radio Systems
TECHNICAL NOTES
Page 2 of 2
LMRSALES@CODANCOMMS.COM
CODANCOMMS.COMTECHNICAL NOTE:
TN247, REV 4-1-0, © Mar 2013
CANADA/US +1 250 382 8268 | TOLL FREE +1 800 664 4066
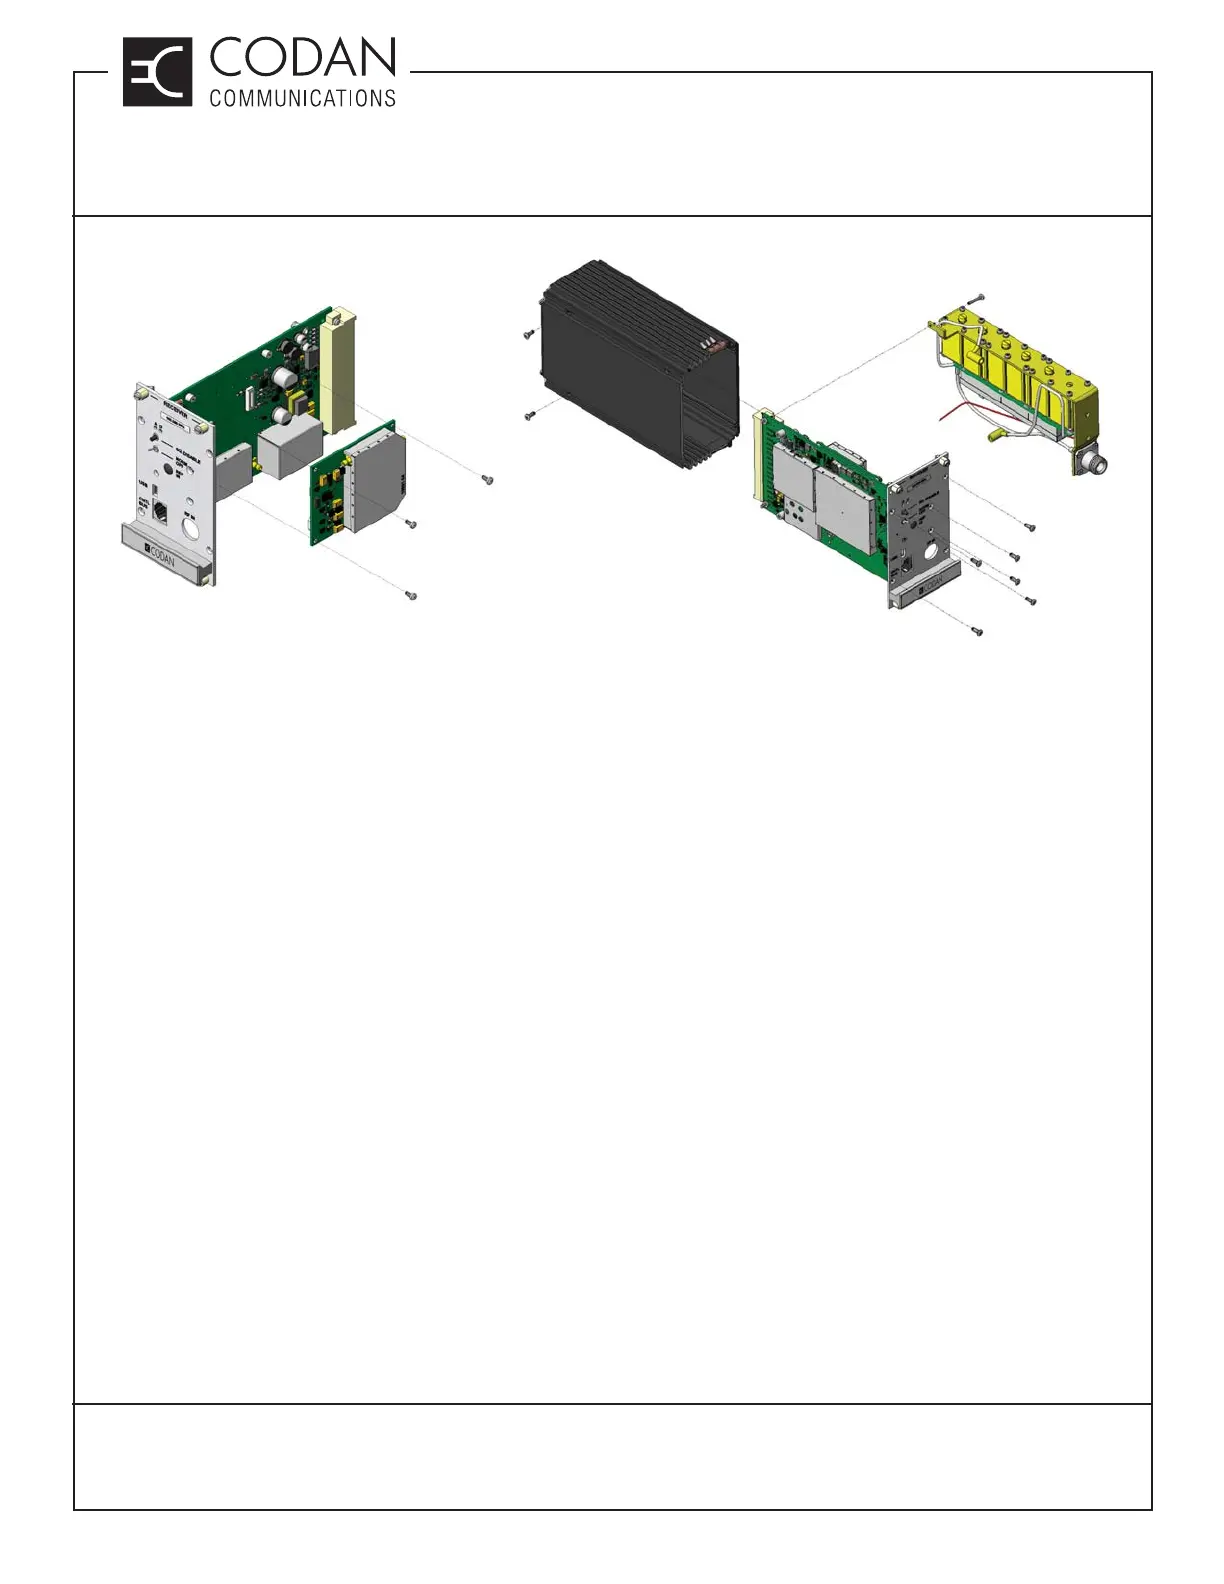
The VR-4E VHF receiver is primarily software-controlled, allowing tuning, programming and maintenance to be
done via software service with few hardware adjustments required.
RF Preselector Alignment:
Alignment for the RF Preselector consists of tuning the fi ve-section helical fi lter only. There are two methods of
tuning the RF Preselector. The preferred method of tuning the RF Preselector is to use a Spectrum Analyzer with
a Tracking Generator. Ensure that the +9.5 Vdc supply is connected to the RF Preselector (red wire). Connect the
Tracking Generator output at a level of -20 dBm to the Receiver’s RF input. Connect the Spectrum Analyzer input to
the RF Preselector’s IF output (SMB cable normally connected to the Receiver Mainboard). Adjust the helical fi lter
trimmer capacitors for a fl at response at a level typically -40 dBm to -65 dBm, centred at the desired RF frequency.
The alternate method of tuning the RF Preselector is to monitor receiver SINAD. Inject the desired RF signal to the
RF input connector at a level of -118 dBm and adjust the helical fi lter trimmer capacitors for best receiver SINAD (≤
-118 dBm).
RSS Service Mode:
The RSS has the ability to put a receiver into Service Mode, where the Reference Oscillator may be aligned, Audio
Levels may be set, Jumper Settings may be selected, a BER test can be performed, and an RSSI meter can be
monitored. To put the receiver into Service Mode, it must be connected to a PC running the Radio Service Software
(RSS) using a type A to 5-pin mini-type B USB cable. From the RSS Receiver Confi guration window, click on the
Service button. Note that you must not remove power to the radio or swap radios during servicing. When any
required Service functions have been completed, the radio can be taken out of Service Mode by clicking on the Quit
button in the Service window.
Note: For complete alignment procedures, refer to the instruction manual. These notes are for reference only.