10
Poker Chip Lab
The first lab uses Cognex poker chips; each lab station should have a few of these chips. When
developing an inspection you would follow the Application Steps from top to bottom to create a
complete, fully functional inspection.
You have already finished the Get Connected step and learned about the Set Up Image step, so
now you can complete this step for your part. Set up your image to appear similar to the left image
in Fig. 11 with the same side facing up. In setting the exposure time for this part you may notice that
the area in the center of the chip is a highly reflective material. Adjusting the exposure settings for
this part such that the brightest area is at about ninety percent of full value leaves the image a bit
darker than desired. For this lab you will use the Manual Exposure mode, set the Target Brightness
to 50 and the Light Intensity to 70 and then click the Compute button. Your exposure time should
probably be around 0.2 to 0.3 milliseconds but it may vary more depending on the ambient light.
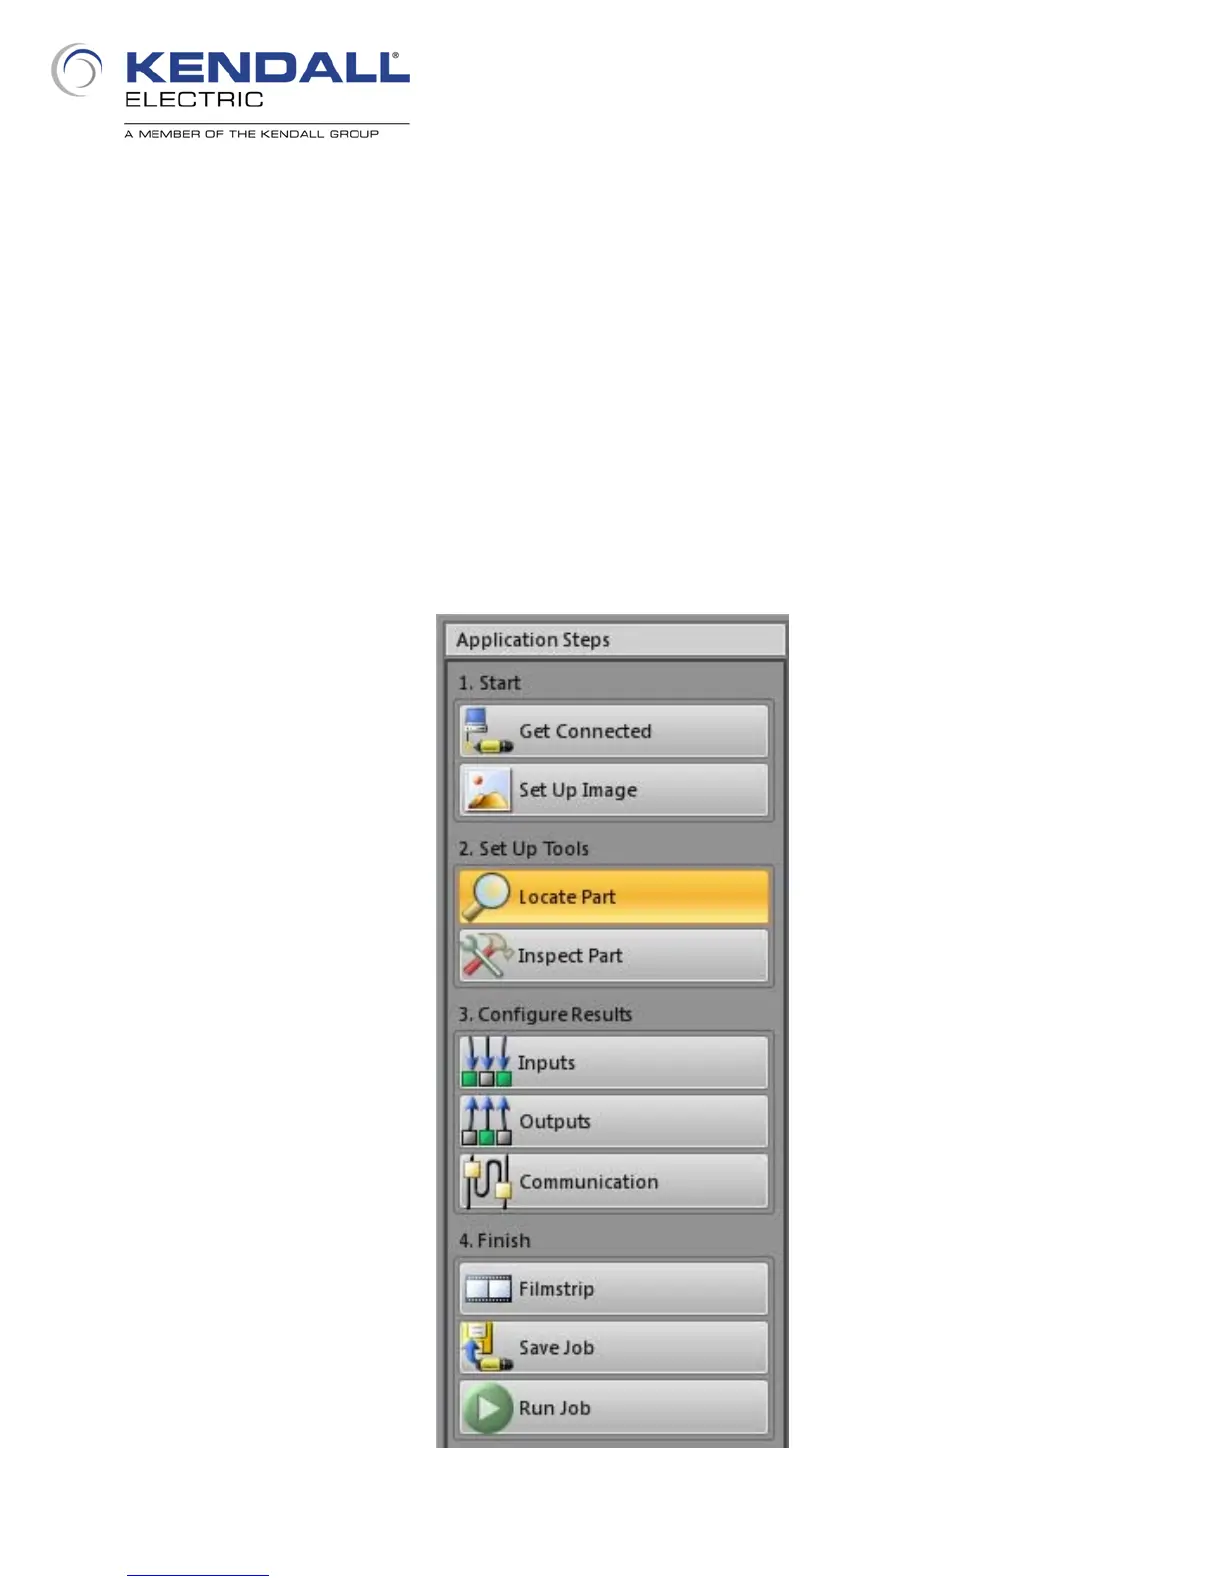
The next Application Step is the Locate Part step; click on this step (Fig. 12).
Fig 12: Application Steps - Locate Part
 Loading...