5
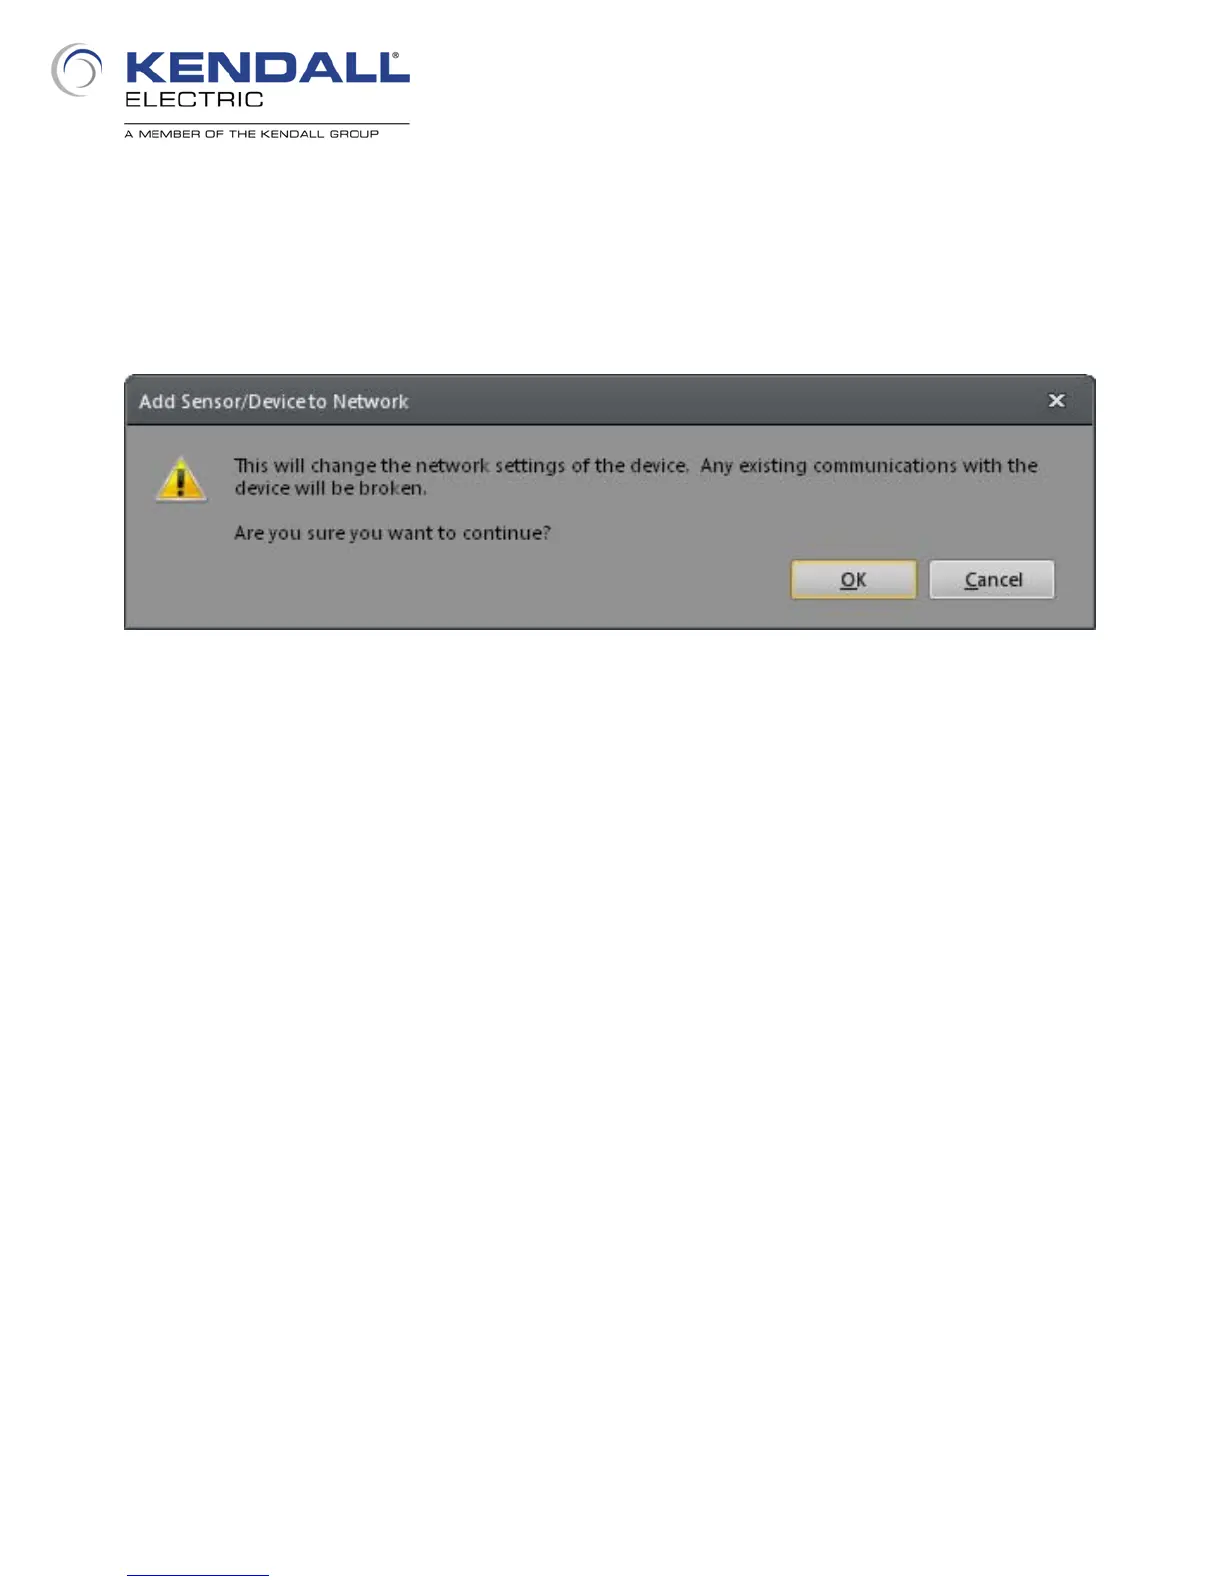
Click Apply at the bottom of the dialog; when you do this another dialog (Fig. 4) will appear, warning
you of the changes about to take place. Click OK at the bottom of the message box to continue with
changing the IP Address. When the process has finished another message box will appear noting
the success of the change; click OK at the bottom of this dialog as well. Click Close at the bottom of
the Add Sensor/Device to Network dialog.
When the dialog closes you should now see your In-Sight 2000 listed in the pane showing In-Sight
systems on your subnet (Fig. 2 on page 3). Click on it to select it and click the Connect button. You
will see the software appearance change while attempting to connect to the In-Sight 2000 and after
several seconds you will then see that it is connected. You are ready to move to the next
application step.
Fig. 4: Add Sensor Message Box
 Loading...