Do you have a question about the Coleman 9271-141 and is the answer not in the manual?
Choose a level campsite free of sharp objects and avoid setting up under trees. Position tent end into wind for windy conditions.
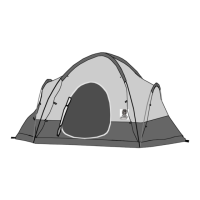
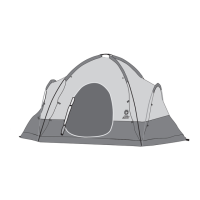
Position tent with doors facing desired direction, stake down corners, and keep the floor taut.
Insert poles into tent stake loops, form arches by applying pressure, and attach frame clips to poles.
Insert side frame poles into pin & ring systems, arch poles to fit, and attach frame clips.
Assemble rainfly poles, insert into sleeves, drape over tent, secure to body with ties and hooks, and attach guy lines.
Condensation can form; minimize it by removing wet clothing and ensuring good ventilation.
Dry tent thoroughly before storage, do not telescope poles, and consider seam sealing.
Remove stakes by pulling the stake itself, keep flame sources away from fabric, and be aware of UV damage.
| Brand | Coleman |
|---|---|
| Model | 9271-141 |
| Capacity | 4-person |
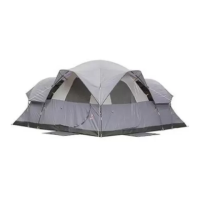
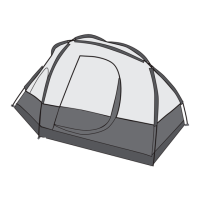
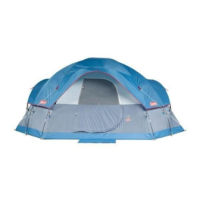
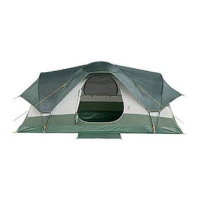
| Shape | Dome |
| Doors | 1 |
| Poles | Fiberglass |
| Setup Time | 10 minutes |
| Type | Dome |
| Center Height | 4 ft 11 in |
| Material | Polyester |