30
2
1
3
4
5
ON
1 2 3 4 6 75 8
cod. 114
2
S1 S2
1
3
3
2
S1 S2
1
2
3
5
6
1
2
3
1
1
2
1
4
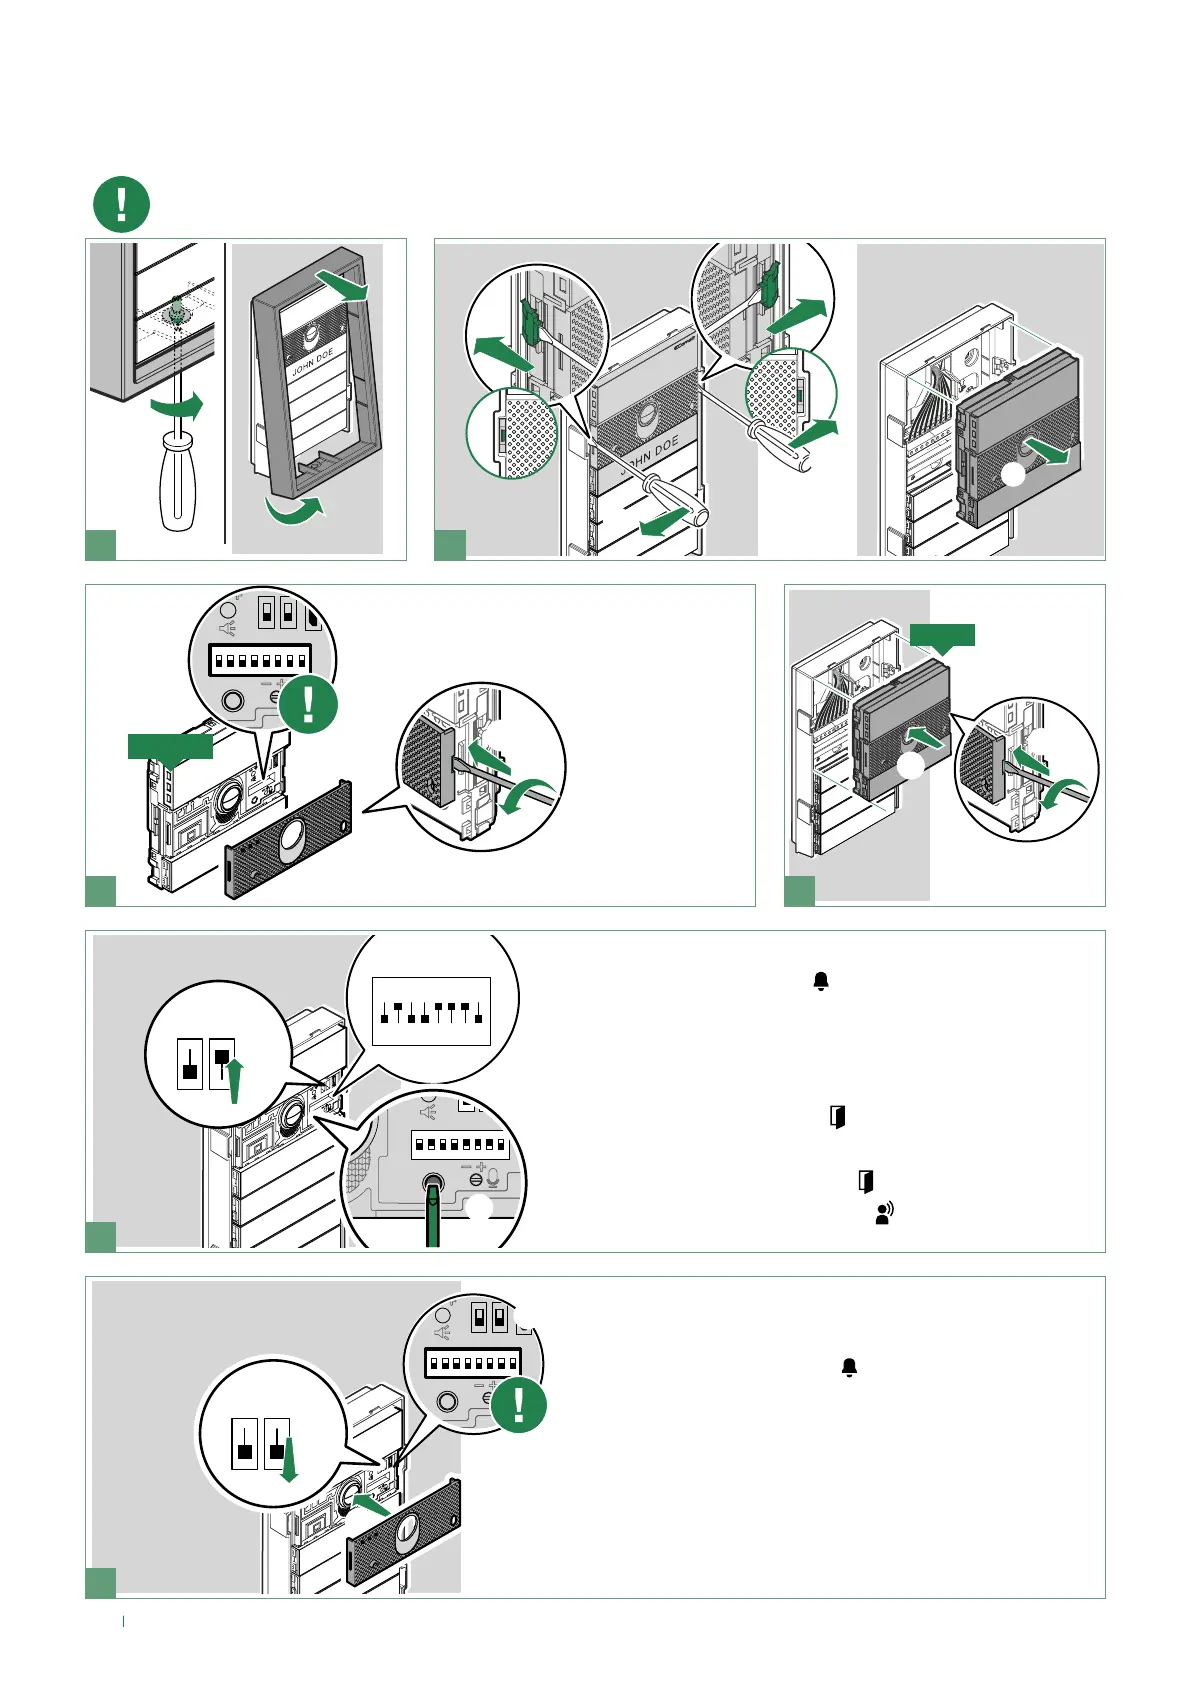
If the audio or audio/video module is replaced, the following instructions must be observed.
The procedure should be completed within one hour of removal of the old module.
Take note of the DIP-switch
settings
1. Enter programming mode by moving S2 DIP-switch upwards
» the red “system busy” LED
flashes for the duration of the
procedure
2. Set special programming 114 to import all the programming
settings
3. Press the confirm programming button
» the green “lock-release” LED
will start flashing
» at the end of the backup (approx. 30 sec.):
» the green “lock-release” LED
switches off
» the green “audio enabled” LED
comes on for a few
seconds.
1. Exit programming mode by moving the S2 DIP-switch
downwards
» the red “system busy” LED
switches off
2. Reset the configuration of the DIP-switches
3. Reattach the front panel
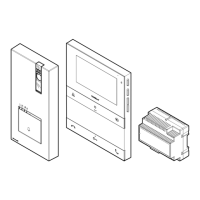
NEW
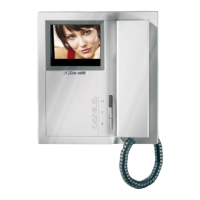
OLD
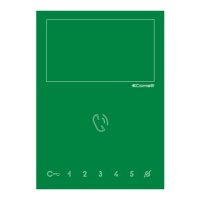
Replacing the audio/video module with programming
restore backup