25
K09657H02 | PROC-CAL/002/03 USER MANUAL | V. 11/07/2023
. CLEANING
.. GENERAL CLEANING
11.1.1. To ensure that the grinder functions
properly, and produces the highest quality
grind possible, the parts that come into
contact with coee should cleaned
periodically.
General Cleaning guidelines as follows:
• Always turn the main power switch to
the o position ( ).
• Unplug the machine from the power
source.
• Do not submerge the grinder in water
or use power washing devices.
• The appliance is not to be cleaned with
a water jet.
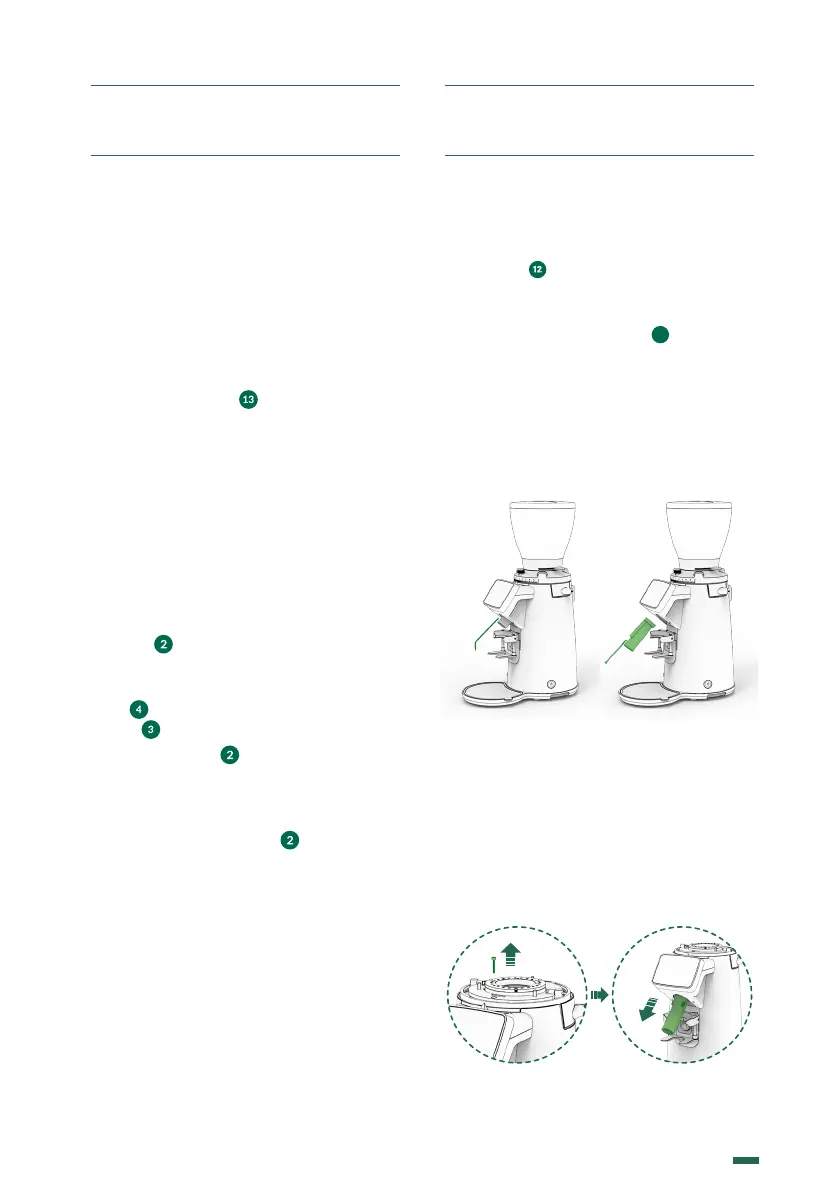
.. BEAN HOPPER CLEANING
11.2.1. In order to properly clean the bean
hopper ( ), first empty out all remaining
beans and fragments.
To remove the hopper, first close the bean
trap ( ), and then loosen the hopper lock
screw ( ) and lift the hopper straight up.
Clean the hopper ( ) with a moist soft cloth
or with a small amount of water and neutral
soap to eliminate any oily residue from the
beans.
Replace the bean hopper ( ) following the
same steps as the removal process, but in
reverse.
.. CLEANING THE COFFEE EXIT CHUTE
11.3.1. It is very important to maintain the
exit chute ( ) clean of coee in order to
assure the consistency of the dose and the
continued functioning of the grinder.
The dose activation button
(
11
)
along with
the portafilter holders should be wiped
periodically to prevent buildup of coee
grounds and oils.
In order to clean the coee outlet in E6 and
E8 models, use the #3 Hex Allen key supplied
to loosen the screw that holds the nozzle and
thus be able to remove and clean it.
11.3.2. For the E10, to properly disassemble
the regulator, please follow the steps outlined
in section 12.3.7. for standard grinders or
section 12.3.10. for grinders equipped with
the Lock Load System. Use the #3 Hex
Allen key supplied to loosen the screw
that holds the nozzle located on top of the
grinding cavity, according to (Fig. 1), and
remove it by pulling downwards, as shown
in (Fig. 2).
Fig. 10 Fig. 11