The Smoke Screen can be mounted on a ceiling or a wall using the simple standard bracket supplied with the unit.
This flush-fitting bracket maximizes security by concealing all the mounting fastenings such that they can only be
accessed, or the Smoke Screen dismounted, by dismantling the unit. Moreover, the Smoke Screen has a tamper
protection switch to provide an alert in the unlikely event that it is disturbed. In all cases, the installer must attach the
Smoke Screen to the building structure using appropriate fasteners.
NB: When mounting the Smoke Screen ensure that the airflow through the vent holes in the rear of the unit is not
obstructed.
Wall and ceiling mounting
Ceiling or wall mounting is the same process except that rather than fixing the Smoke Screen direct to a ceiling an
intermediate unistrut section may be used or it can be suspended as described in the next section. Attach the
bracket to the wall or ceiling using appropriate fixings.
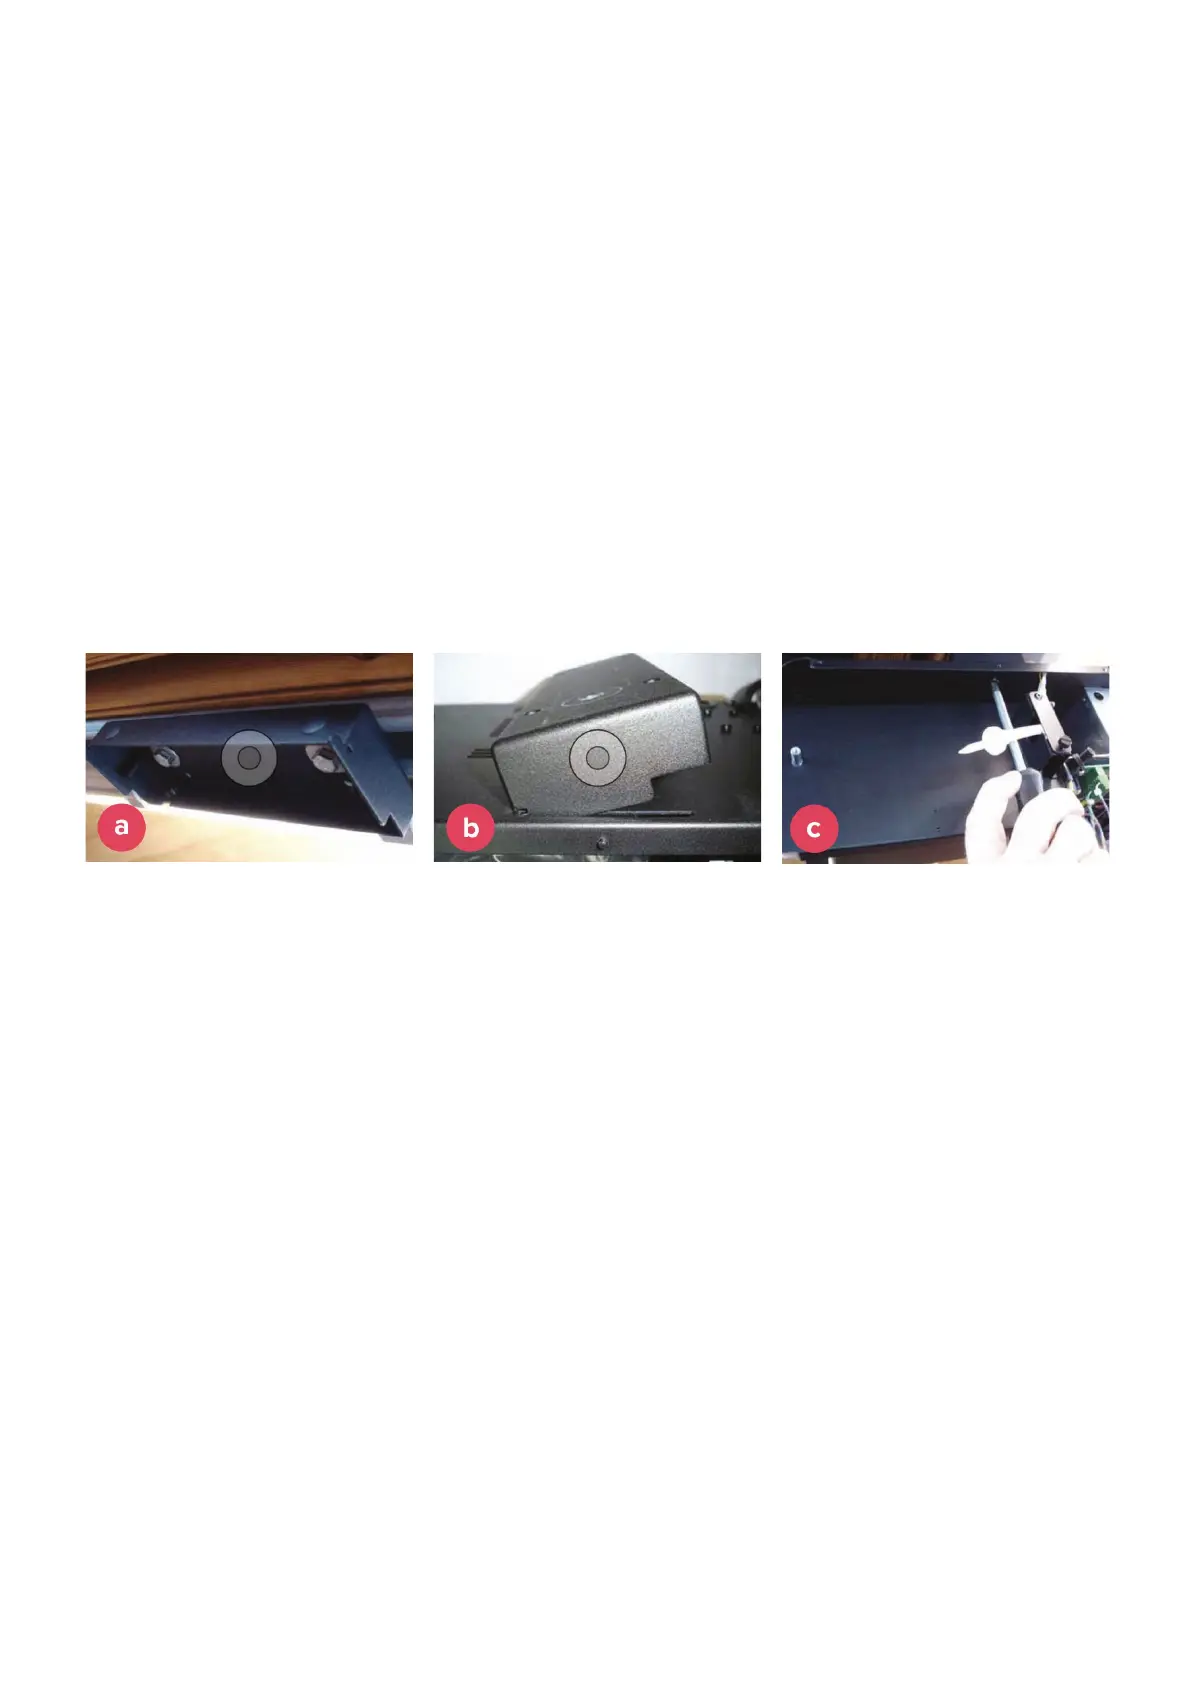
Slide along to align the screw fixing
holes. The unit will now hang on the
bracket. Fit, and ensure tight, 4 x M6
set screws with washers in the holes
in the back of the Smoke Screen
alongside each mounting slot.