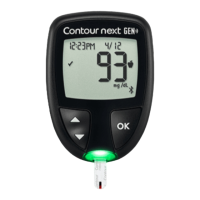
31
USING THE
MAINMENU
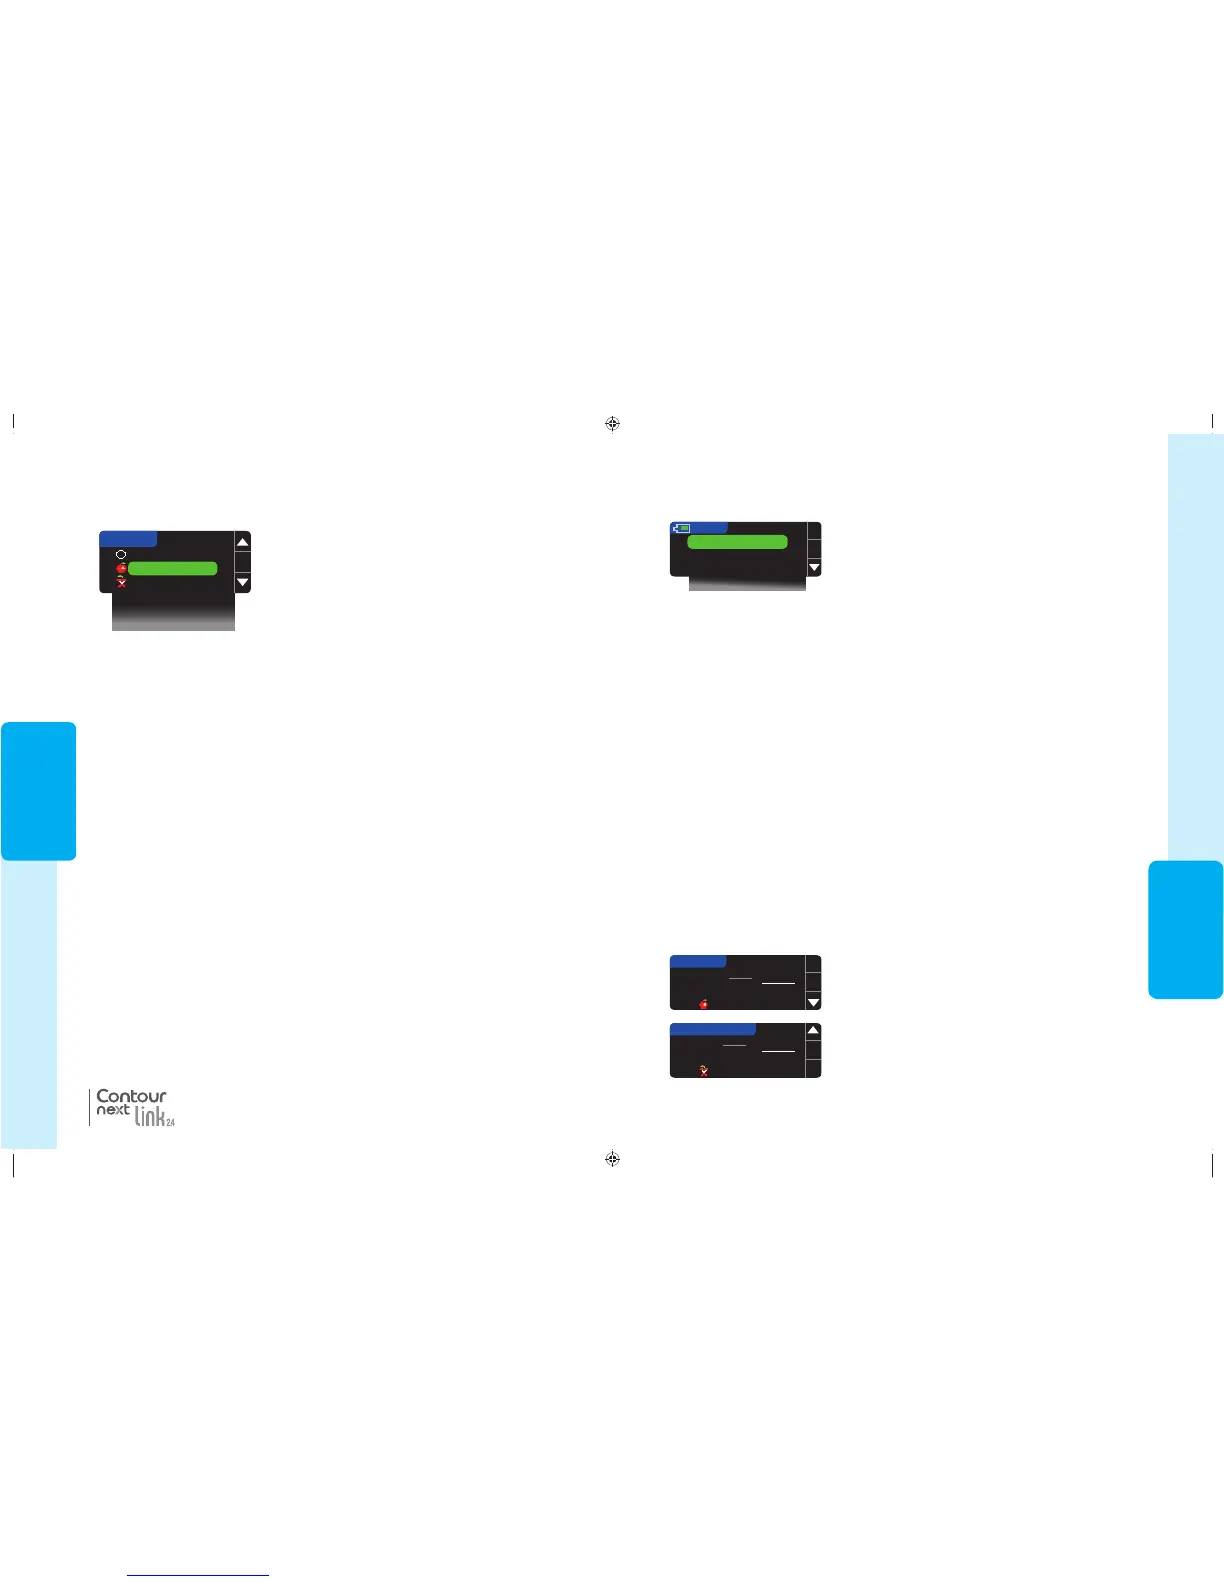
LOGBOOK
9.3
mmol
L
Sent, Before Meal
11/06/09
10:30 PM
END OF LOGBOOK
4.2
mmol
L
Sent, After Meal
11/05/09
11:24 PM
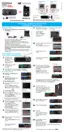
Using the Main Menu
The Main Menu has 4 choices: Bolus, Logbook, Trends and Setup. To select one, press the
or button to scroll to your desired selection. When your choice is highlighted, press
OK
.
OK
Bolus
Logbook
Trends
Setup
MENU
Bolus
Bolus
The Bolus function allows you to send a Manual or Preset Bolus from your meter to your
pump if your pump and meter are connected.
You can send a bolus from the main menu or directly from your blood test result screen.
If your pump and meter are not yet connected and you select Bolus, you are asked if you
want to connect to a pump. You can only send a bolus to the pump if you have enabled
Remote Bolus on the pump.
If Block Mode is turned on at your pump, you will be asked if you want to proceed with the
bolus. Block Mode is a MiniMed insulin pump setting that restricts access to critical pump
settings. Please see your MiniMed insulin pump user guide for more detailedinstructions.
NOTE: To send a bolus from your meter, you must be connected to the pump AND
the Remote Bolus feature must be turned ON at the pump. Remote Bolus is ON by
default on the pump.
For the steps on sending a bolus to your pump, see page25.
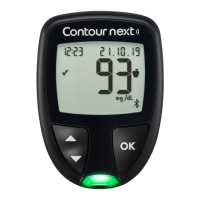
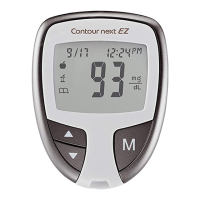
Logbook
The Logbook contains blood sugar test results and notes that you have made to those test
results. The Logbook will hold up to 1000 results. When the maximum is reached, the oldest
test result will be removed as a new test is completed and saved to the Logbook. A sound
indicates the last entry.
3. You can scroll through all your stored test results using
the button.
When you reach the oldest entry you will see the End
of Logbookscreen.
1. To review entries in the Logbook, press and hold the top Menu button to turn the
meteron.
2. Press the button to highlight Logbook. Press OK to select.
81552940_CntrNextLINK2_4_UG_EN_FpBp_v5.indd 31 8/18/16 11:21 AM
FEATURES
30
2. Press the or button to scroll through the choices.
Some may not be visible until you scroll down. Press
OK when your choice is highlighted.
A screen confirms your choice.
Fasting
Before Meal
After Meal
Time After Meal
Don’t Feel Right
Sick
OK
ADD NOTES
®
Notes
You may add notes to your test result that may help explain results. Your notes will be saved
in the Logbook. The option to add a note is available only after a test result.
1. From the test result screen, press Notes.
NOTE: When you choose After Meal, Time After Meal will be selectable. Select T
ime After
Meal
and then you can select times from 15 minutes to 3 hours.
After the confirmation screen disappears, you may remove the note or add one or more
notes by repeating the steps above. The notes will scroll across the bottom so that you
can read them all. While you can add more than one note, only one AutoLog option can be
chosen (e.g., Fasting, Before Meal or After Meal).
Notes
81552940_CntrNextLINK2_4_UG_EN_FpBp_v5.indd 30 8/18/16 11:21 AM
31
USING THE
MAINMENU
LOGBOOK
9.3
mmol
L
Sent, Before Meal
11/06/09
10:30 PM
END OF LOGBOOK
4.2
mmol
L
Sent, After Meal
11/05/09
11:24 PM
Using the Main Menu
The Main Menu has 4 choices: Bolus, Logbook, Trends and Setup. To select one, press the
or button to scroll to your desired selection. When your choice is highlighted, press
OK
.
OK
Bolus
Logbook
Trends
Setup
MENU
Bolus
Bolus
The Bolus function allows you to send a Manual or Preset Bolus from your meter to your
pump if your pump and meter are connected.
You can send a bolus from the main menu or directly from your blood test result screen.
If your pump and meter are not yet connected and you select Bolus, you are asked if you
want to connect to a pump. You can only send a bolus to the pump if you have enabled
Remote Bolus on the pump.
If Block Mode is turned on at your pump, you will be asked if you want to proceed with the
bolus. Block Mode is a MiniMed insulin pump setting that restricts access to critical pump
settings. Please see your MiniMed insulin pump user guide for more detailedinstructions.
NOTE: To send a bolus from your meter, you must be connected to the pump AND
the Remote Bolus feature must be turned ON at the pump. Remote Bolus is ON by
default on the pump.
For the steps on sending a bolus to your pump, see page25.
Logbook
The Logbook contains blood sugar test results and notes that you have made to those test
results. The Logbook will hold up to 1000 results. When the maximum is reached, the oldest
test result will be removed as a new test is completed and saved to the Logbook. A sound
indicates the last entry.
3. You can scroll through all your stored test results using
the button.
When you reach the oldest entry you will see the End
of Logbookscreen.
1. To review entries in the Logbook, press and hold the top Menu button to turn the
meteron.
2. Press the button to highlight Logbook. Press OK to select.
81552940_CntrNextLINK2_4_UG_EN_FpBp_v5.indd 31 8/18/16 11:21 AM
FEATURES
30
2. Press the or button to scroll through the choices.
Some may not be visible until you scroll down. Press
OK when your choice is highlighted.
A screen confirms your choice.
Fasting
Before Meal
After Meal
Time After Meal
Don’t Feel Right
Sick
OK
ADD NOTES
®
Notes
You may add notes to your test result that may help explain results. Your notes will be saved
in the Logbook. The option to add a note is available only after a test result.
1. From the test result screen, press Notes.
NOTE: When you choose After Meal, Time After Meal will be selectable. Select T
ime After
Meal
and then you can select times from 15 minutes to 3 hours.
After the confirmation screen disappears, you may remove the note or add one or more
notes by repeating the steps above. The notes will scroll across the bottom so that you
can read them all. While you can add more than one note, only one AutoLog option can be
chosen (e.g., Fasting, Before Meal or After Meal).
Notes
81552940_CntrNextLINK2_4_UG_EN_FpBp_v5.indd 30 8/18/16 11:21 AM
81552940_CntrNextLINK2_4_UG_EN_FpBp_v6_placed.pdf:34
 Loading...