33
USING THE
MAINMENU
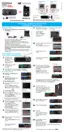
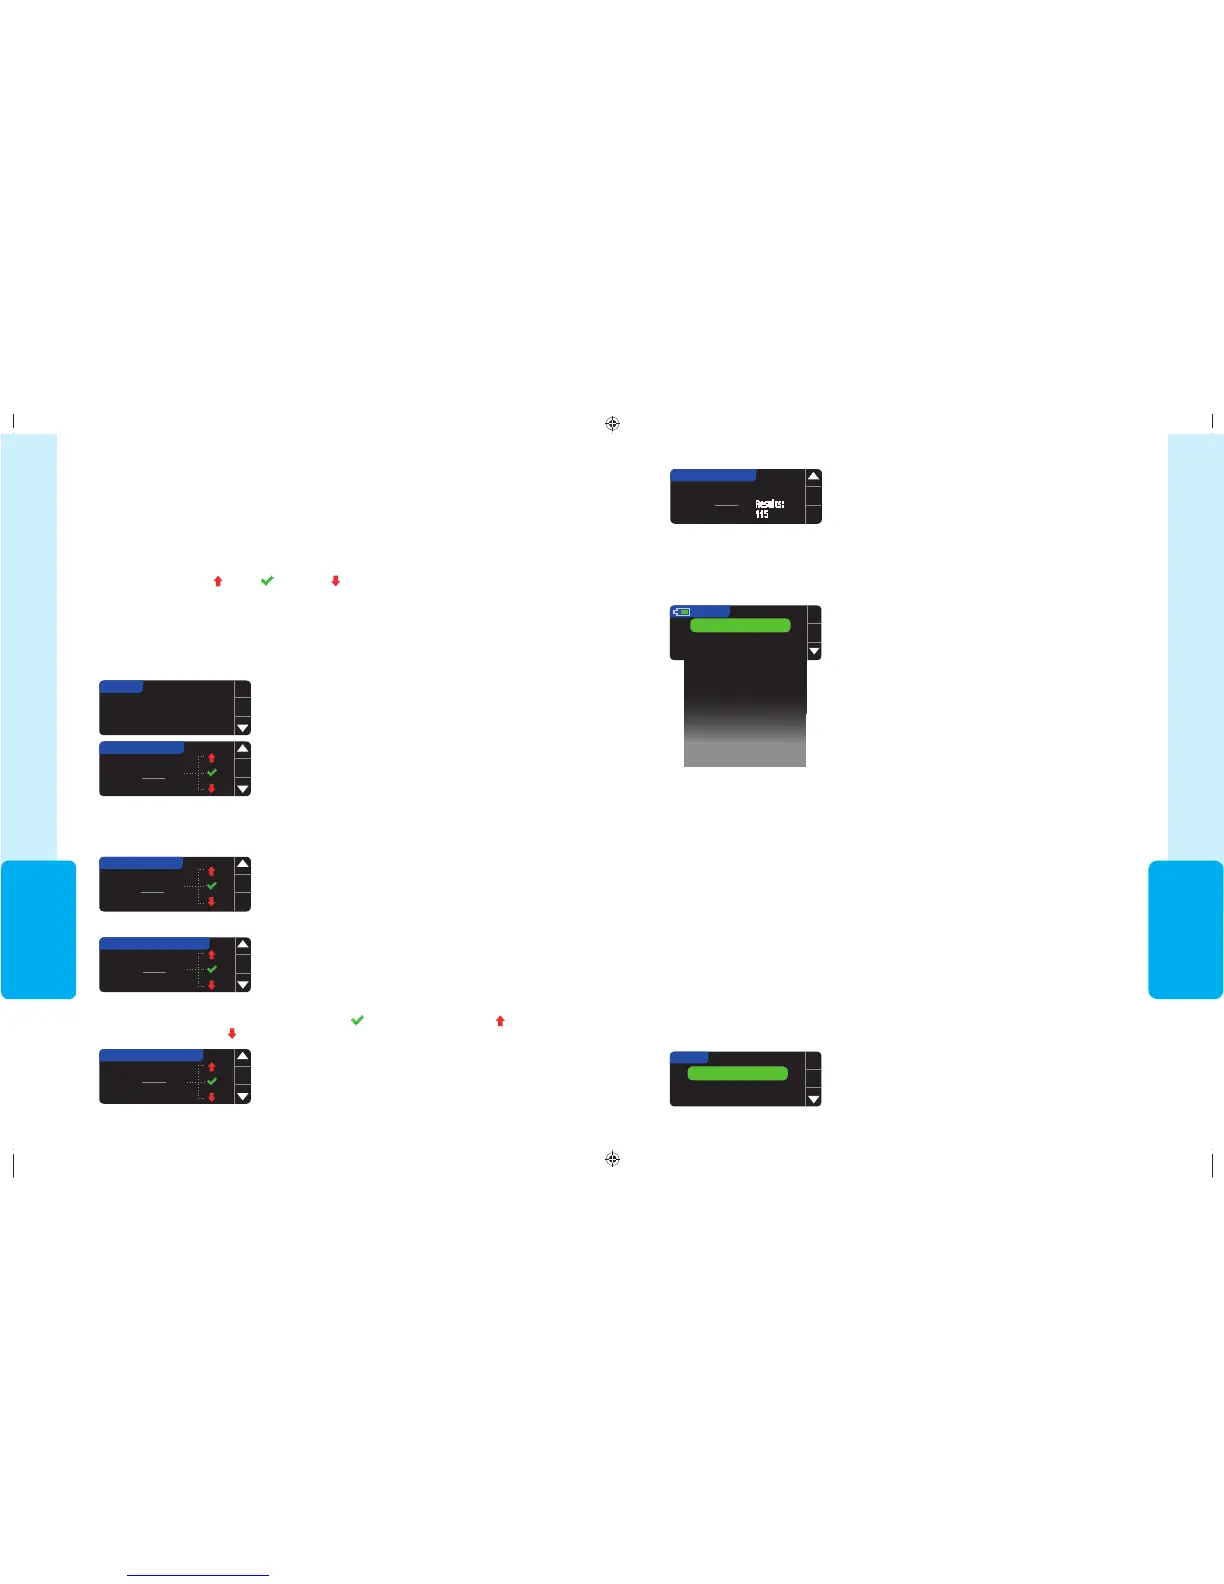
6. Press the button to go to the 14 Day Resultsscreen.
14 DAY RESULTS
AVERAGE
9.7
Results:
115
mmol
L
Setup
You can view and change options on your meter and personalize it from the Setup Menu.
1. Press and hold the top Menu button to turn the meter on.
2. Press the button to highlight Setup. Press OK to select.
OK
SETUP
Pump Options
Reminder
Date
Time
Sound
AutoLog
Target
Trends Range
High and Low Alerts
Language
Customer Service
The current settings in the meter for the Reminder,
Date, Time, Sound and AutoLog can be viewed by
scrolling through the Setup Menu items. To view the
settings of the other items, or to make any changes to
any of the items, you can select the item using the
and keys and pressing OK.
3. Press the button to highlight Pump Options.
Press OK to select.
Pump Options
Reminder
Date
OK
SETUP
1. Press and hold the top Menu button to turn the meter on.
2. Press the button to highlight Setup. Press OK to select.
Setup
Pump Options
Pump Options allows you to connect or disconnect from a MiniMed insulin pump and
change your Send Settings (how your blood sugar readings are sent to your pump).
Connecting the Meter and Pump
You can send blood sugar results and a remote bolus to your pump if your meter and pump
are connected.
There are two ways to connect your meter to your pump: Manual Connect and Auto
Connect. Use Auto Connect to quickly connect to your pump. Use Manual Connect if
there are other Medtronic devices nearby. With Manual Connect, you will be prompted
to enter the device (meter) serial number so the pump can find your meter. With Auto
Connect, there is no need to enter a serial number. The meter and pump search for each
other, and you just need to confirm the serial numbers to connect.
Connecting to the Pump Using Auto Connect
NOTE: Place your meter and your pump side by side before you begin the
connection process. You need to alternate between both devices to complete
theconnection.
81552940_CntrNextLINK2_4_UG_EN_FpBp_v5.indd 33 8/18/16 11:21 AM
USING THE
MAINMENU
32
3. Press the button to display the 14 Day Fasting
Average. If you have marked any test results as
Fasting, you will see your Fasting Average first.
14 DAY FASTING
AVERAGE
7.1
12
8
40
60
mmol
L
5. Press the button to go to the 14 Day After Meal
Average.
4. Press the button to go to the 14 Day Before Meal
Average.
14 DAY BEFORE MEAL
AVERAGE
7.1
8
26
4
38
mmol
L
14 DAY AFTER MEAL
AVERAGE
9.7
9
8
0
17
mmol
L
TRENDS
TARGET:
3.9 - 7.2
Viewing Trends With AutoLog Off
Your meter has been preset to 14 day averages. You can change the Trends time range to 7,
30, or 90 days inSetup.
1. Press and hold the top Menu button to turn the meter on.
2. Press the button to highlight
Trends
. Press OK to select.
3. Press the button to display the
14 Day
Results
screen.
14 DAY RESULTS
AVERAGE
9.7
mmol
L
18
22
5
45
Trends (Averages and Summaries)
The Trends feature displays your averages and your results as they compare to your
Targets, over a period of time that you select. The options available are 7, 14, 30 and 90 day
averages. Your meter has been preset to 14day averages, but you can change this under
Trends Range in the Setup Menu (see page51).
Your 90 day average is not intended to be reflective of your HbA1c result.
Your screen will display the total number of test results included in the average and the
number of tests above
, within and below Target.
Trends (Averages and Summaries)
Viewing Trends With AutoLog On
1. Press and hold the top Menu button to turn the meter on.
2. Press the button to highlight
Trends
. Press OK to select.
This example shows that your Before Meal average is 7.1 mmol/L and 38 test results are
included in the Before Meal average with 26within
the Target range, 8above the
Target range and 4 below
the Targetrange.
81552940_CntrNextLINK2_4_UG_EN_FpBp_v5.indd 32 8/18/16 11:21 AM
33
USING THE
MAINMENU
6. Press the button to go to the 14 Day Resultsscreen.
14 DAY RESULTS
AVERAGE
9.7
Results:
115
mmol
L
Setup
You can view and change options on your meter and personalize it from the Setup Menu.
1. Press and hold the top Menu button to turn the meter on.
2. Press the button to highlight Setup. Press OK to select.
OK
SETUP
Pump Options
Reminder
Date
Time
Sound
AutoLog
Target
Trends Range
High and Low Alerts
Language
Customer Service
The current settings in the meter for the Reminder,
Date, Time, Sound and AutoLog can be viewed by
scrolling through the Setup Menu items. To view the
settings of the other items, or to make any changes to
any of the items, you can select the item using the
and keys and pressing OK.
3. Press the button to highlight Pump Options.
Press OK to select.
Pump Options
Reminder
Date
OK
SETUP
1. Press and hold the top Menu button to turn the meter on.
2. Press the button to highlight Setup. Press OK to select.
Setup
Pump Options
Pump Options allows you to connect or disconnect from a MiniMed insulin pump and
change your Send Settings (how your blood sugar readings are sent to your pump).
Connecting the Meter and Pump
You can send blood sugar results and a remote bolus to your pump if your meter and pump
are connected.
There are two ways to connect your meter to your pump: Manual Connect and Auto
Connect. Use Auto Connect to quickly connect to your pump. Use Manual Connect if
there are other Medtronic devices nearby. With Manual Connect, you will be prompted
to enter the device (meter) serial number so the pump can find your meter. With Auto
Connect, there is no need to enter a serial number. The meter and pump search for each
other, and you just need to confirm the serial numbers to connect.
Connecting to the Pump Using Auto Connect
NOTE: Place your meter and your pump side by side before you begin the
connection process. You need to alternate between both devices to complete
theconnection.
81552940_CntrNextLINK2_4_UG_EN_FpBp_v5.indd 33 8/18/16 11:21 AM
USING THE
MAINMENU
32
3. Press the button to display the 14 Day Fasting
Average. If you have marked any test results as
Fasting, you will see your Fasting Average first.
14 DAY FASTING
AVERAGE
7.1
12
8
40
60
mmol
L
5. Press the button to go to the 14 Day After Meal
Average.
4. Press the button to go to the 14 Day Before Meal
Average.
14 DAY BEFORE MEAL
AVERAGE
7.1
8
26
4
38
mmol
L
14 DAY AFTER MEAL
AVERAGE
9.7
9
8
0
17
mmol
L
TRENDS
TARGET:
3.9 - 7.2
Viewing Trends With AutoLog Off
Your meter has been preset to 14 day averages. You can change the Trends time range to 7,
30, or 90 days inSetup.
1. Press and hold the top Menu button to turn the meter on.
2. Press the button to highlight
Trends
. Press OK to select.
3. Press the button to display the
14 Day
Results
screen.
14 DAY RESULTS
AVERAGE
9.7
mmol
L
18
22
5
45
Trends (Averages and Summaries)
The Trends feature displays your averages and your results as they compare to your
Targets, over a period of time that you select. The options available are 7, 14, 30 and 90 day
averages. Your meter has been preset to 14day averages, but you can change this under
Trends Range in the Setup Menu (see page51).
Your 90 day average is not intended to be reflective of your HbA1c result.
Your screen will display the total number of test results included in the average and the
number of tests above
, within and below Target.
Trends (Averages and Summaries)
Viewing Trends With AutoLog On
1. Press and hold the top Menu button to turn the meter on.
2. Press the button to highlight
Trends
. Press OK to select.
This example shows that your Before Meal average is 7.1 mmol/L and 38 test results are
included in the Before Meal average with 26within
the Target range, 8above the
Target range and 4 below
the Targetrange.
81552940_CntrNextLINK2_4_UG_EN_FpBp_v5.indd 32 8/18/16 11:21 AM
81552940_CntrNextLINK2_4_UG_EN_FpBp_v6_placed.pdf:36
 Loading...