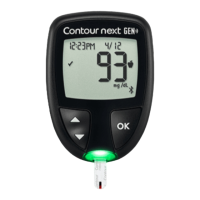
47
USING THE
MAINMENU
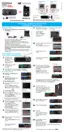
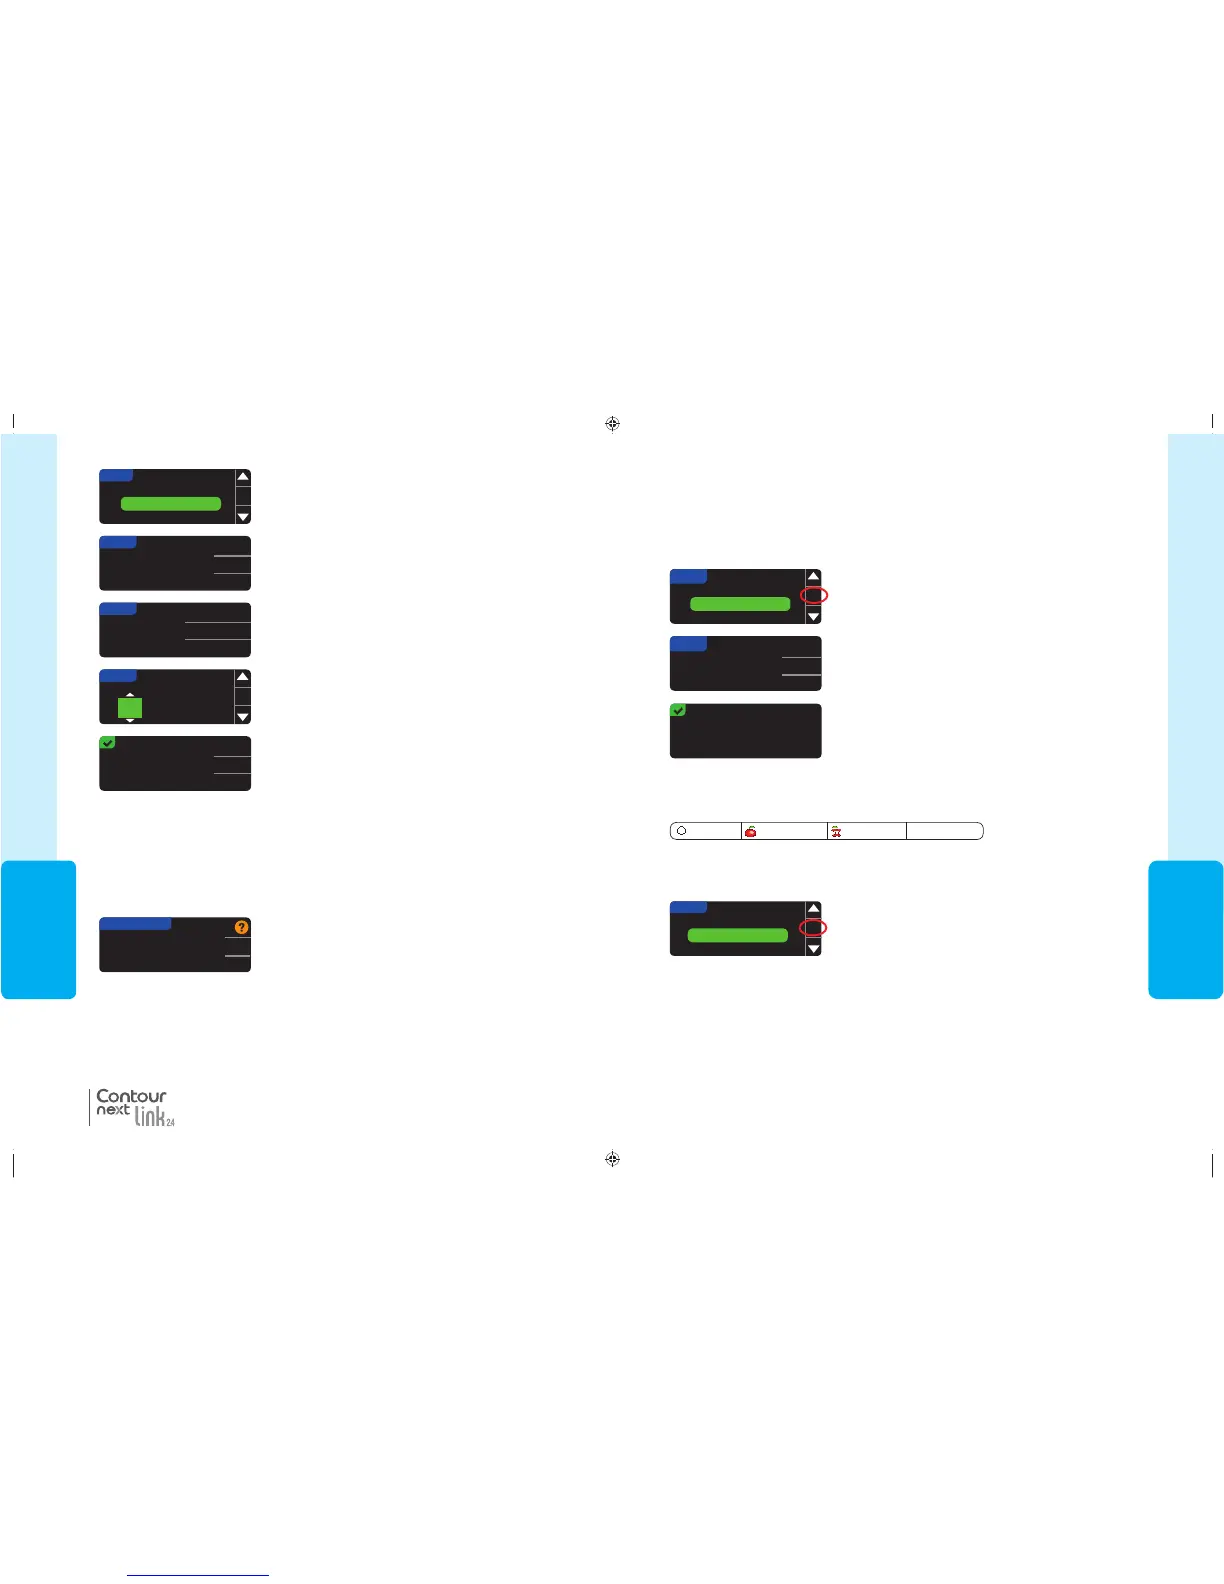
SETUP
OK
Time
Sound: On
AutoLog
Sound is Off.
Sound is On.
Accept
Turn Off
SOUND
Sound
AutoLog: Off
Target
OK
SETUP
Sound
Sound
Turning the Sound On/Off
Sound is ON when you receive your meter. Some error messages and the Reminder bell will
override the Sound Offsetting.
1. Press and hold the top Menu button to turn the meter on.
2. Press the button to highlight
Setup
. Press
OK
to select.
3. Press the button to select Sound. Press OK.
4. To turn the sound OFF, press Turn Off. To keep the
sound turned ON, press Accept.
A screen confirms yourchoice.
AutoLog
NOTE: Your meter comes with AutoLog turned OFF.
The AutoLog feature lets you mark your test result as
Fasting Before Meal After Meal No Mark
To Turn On AutoLog
1. Press and hold the top Menu button to turn the meter on.
2. Press the button to highlight
Setup
. Press
OK
to select.
3. Press the button to highlight
AutoLog
. Press
OK
to select.
81552940_CntrNextLINK2_4_UG_EN_FpBp_v5.indd 47 8/18/16 11:21 AM
USING THE
MAINMENU
46
SETUP
OK
Date
Time: 11:30 PM
Sound
3. Press the button to highlight Time. Press
OK
to select.
4. To change the time, pressChange.
TIME
11:3 0
24 HOUR CLOCK
Change
Go Back
5. Select either the
12 Hour Clock
or
24 Hour Clock
option.
TIME
SELECT
12 Hour Clock
24 Hour Clock
6. Press the or button to select the correct hour and
minute. Press
OK
after each selection.
7. If you have selected the 12 hour clock format, press
the or button to select AM or PM.
OK
Sync
DATE/TIME
Date / Time is set
by Pump.
10:30 PM | 10/13/11
TIME
CHANGE HOURS
OK
10:30
AM
Time is set.
Done
Change
10:30
PM
8. Time is set. A screen confirms your choice. Press Done.
NOTE: The date format change only applies to the meter (not the pump).
®
Setting the Time (When Not Connected to aPump)
If this is the first time you are setting the date and time, return to Initial Setup,
AutoLog, Step 21 (page 10).
When connected to a pump, you can only change the
format of the date as it appears on themeter.
Press Sync to synchronize the meter with the date and
time that is set on the Pump.
Setting Date and Time (When Connected to aPump)
When connected to a pump, you can change the date and time at the pump. The date
and time are synchronized to the pump when the meter is first connected to the pump,
when a blood sugar result is sent to the pump, or if you select the
Date
or
Time
option in the
SetupMenu.
81552940_CntrNextLINK2_4_UG_EN_FpBp_v5.indd 46 8/18/16 11:21 AM
47
USING THE
MAINMENU
SETUP
OK
Time
Sound: On
AutoLog
Sound is Off.
Sound is On.
Accept
Turn Off
SOUND
Sound
AutoLog: Off
Target
OK
SETUP
Sound
Sound
Turning the Sound On/Off
Sound is ON when you receive your meter. Some error messages and the Reminder bell will
override the Sound Offsetting.
1. Press and hold the top Menu button to turn the meter on.
2. Press the button to highlight
Setup
. Press
OK
to select.
3. Press the button to select Sound. Press OK.
4. To turn the sound OFF, press Turn Off. To keep the
sound turned ON, press Accept.
A screen confirms yourchoice.
AutoLog
NOTE: Your meter comes with AutoLog turned OFF.
The AutoLog feature lets you mark your test result as
Fasting Before Meal After Meal No Mark
To Turn On AutoLog
1. Press and hold the top Menu button to turn the meter on.
2. Press the button to highlight
Setup
. Press
OK
to select.
3. Press the button to highlight
AutoLog
. Press
OK
to select.
81552940_CntrNextLINK2_4_UG_EN_FpBp_v5.indd 47 8/18/16 11:21 AM
USING THE
MAINMENU
46
SETUP
OK
Date
Time: 11:30 PM
Sound
3. Press the button to highlight Time. Press
OK
to select.
4. To change the time, pressChange.
TIME
11:3 0
24 HOUR CLOCK
Change
Go Back
5. Select either the
12 Hour Clock
or
24 Hour Clock
option.
TIME
SELECT
12 Hour Clock
24 Hour Clock
6. Press the or button to select the correct hour and
minute. Press
OK
after each selection.
7. If you have selected the 12 hour clock format, press
the or button to select AM or PM.
OK
Sync
DATE/TIME
Date / Time is set
by Pump.
10:30 PM | 10/13/11
TIME
CHANGE HOURS
OK
10:30
AM
Time is set.
Done
Change
10:30
PM
8. Time is set. A screen confirms your choice. Press Done.
NOTE: The date format change only applies to the meter (not the pump).
®
Setting the Time (When Not Connected to aPump)
If this is the first time you are setting the date and time, return to Initial Setup,
AutoLog, Step 21 (page 10).
When connected to a pump, you can only change the
format of the date as it appears on themeter.
Press Sync to synchronize the meter with the date and
time that is set on the Pump.
Setting Date and Time (When Connected to aPump)
When connected to a pump, you can change the date and time at the pump. The date
and time are synchronized to the pump when the meter is first connected to the pump,
when a blood sugar result is sent to the pump, or if you select the
Date
or
Time
option in the
SetupMenu.
81552940_CntrNextLINK2_4_UG_EN_FpBp_v5.indd 46 8/18/16 11:21 AM
81552940_CntrNextLINK2_4_UG_EN_FpBp_v6_placed.pdf:50
 Loading...