2-19
3. Install The Lamp Fixtures: (Item F and G)
The AR kit is provided with two (2) lamps canopies
(item F). The location of the canopies within the
chamber may vary according to the experiment,
or specific user requirements. However, there is a
limitation determined by the distance from the
top canopy to the fan housing. If the canopy is
installed too close, the airflow may be significantly
reduced, affecting the unit’s performance.
CAUTION: Do not install the top canopy closer than 3” (75mm) from
the fan housing.
The maximum growth height that the A1000 provides
when using the AR kit is 18” (450mm). The user can
adjust the growth height according to their needs.
Another option is to have different growth heights
between the two tiers, or to install a single canopy with
one large growth height. (See figure 2.42)
To install the lamp canopy supports, first insert the top
portion into the desired slot and then press slightly on
the bottom portion to snap it into place (about 1” / 25
mm below the upper slot).
Slide the canopy above the supports with the cord plug
close to the connectors located on the right side wall.
Notice a socket head screw present in the center of the
canopy side flanges. The socket must enter into the hole
in the center of the supports, preventing the canopy
from sliding.
Remove the plug cover from the side wall. Plug the front
fixture into the back fixture, and plug the back fixture
into the side wall. Repeat with the second lamp canopy.
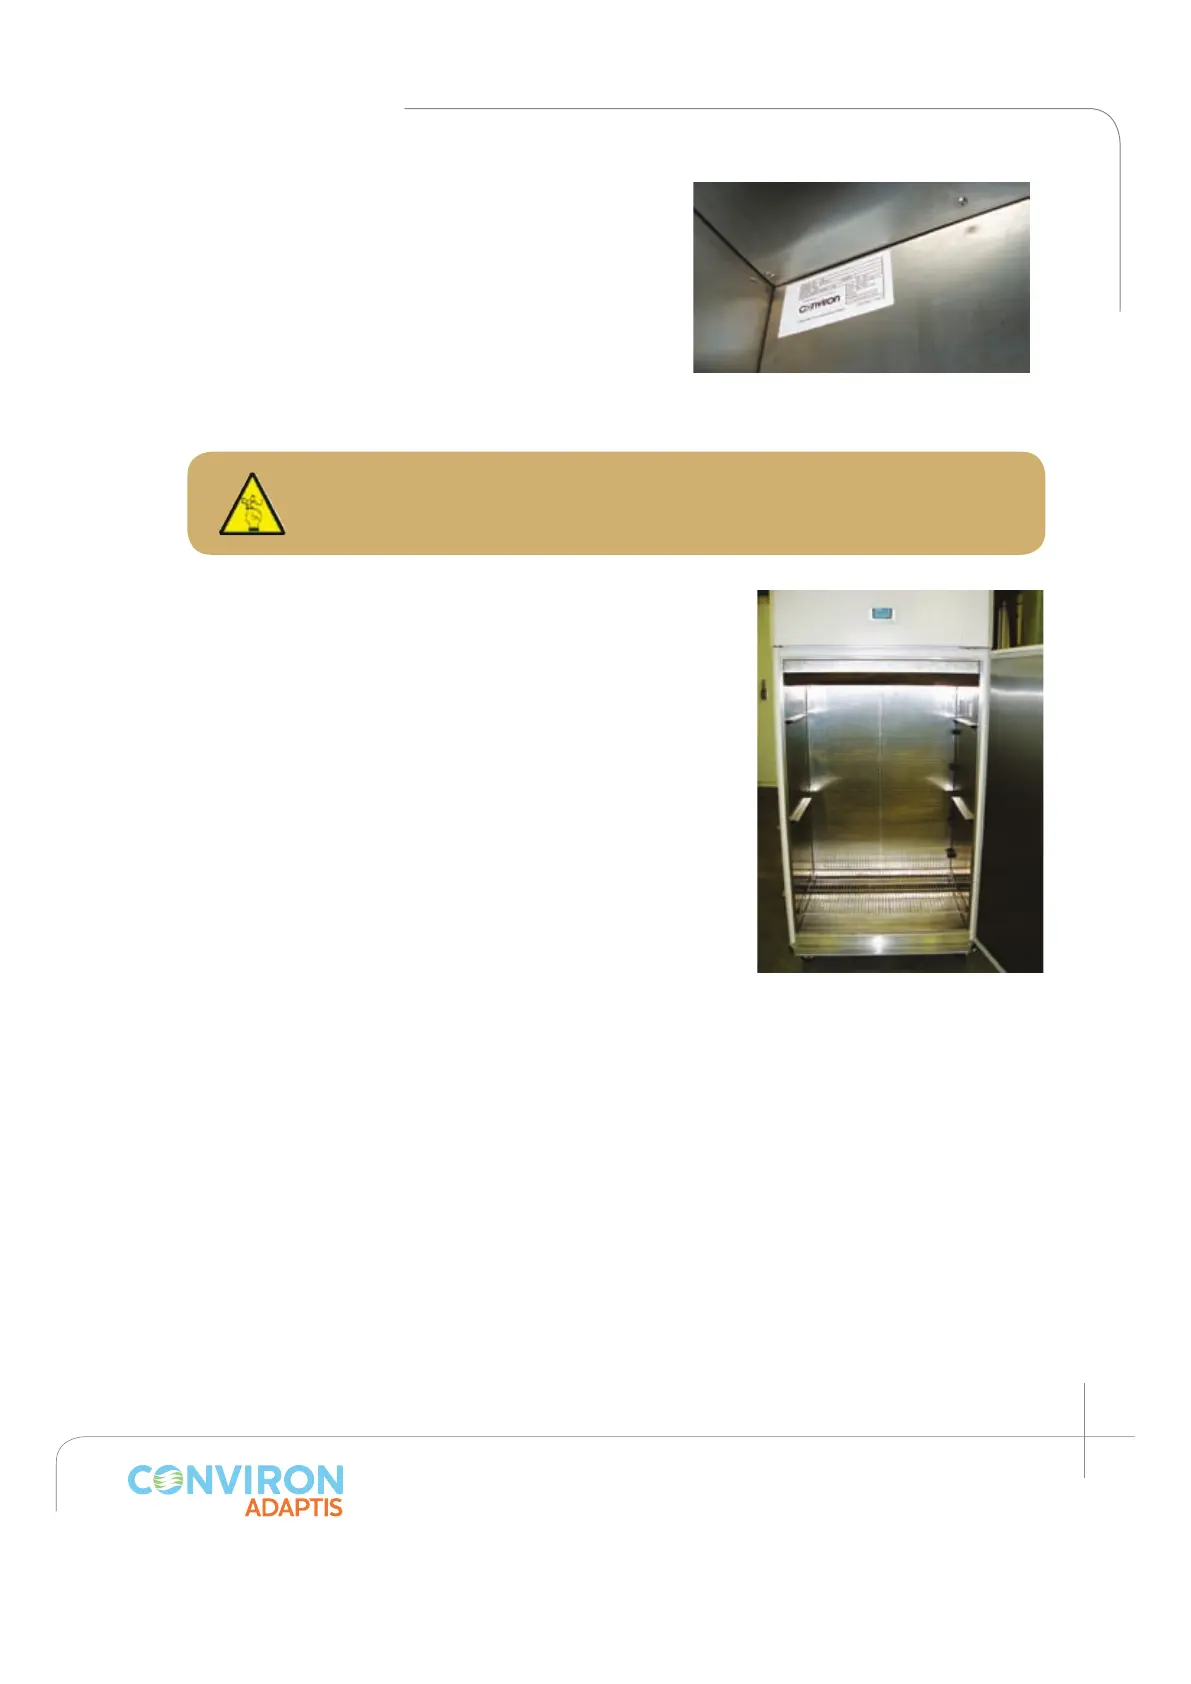
Figure 2.41: Shows in detail the back
plenum installed above the fan housing.
Figure 2.42: Canopy support
showed with 18” (450 mm)
between them for maximum
growth height.
 Loading...