6.
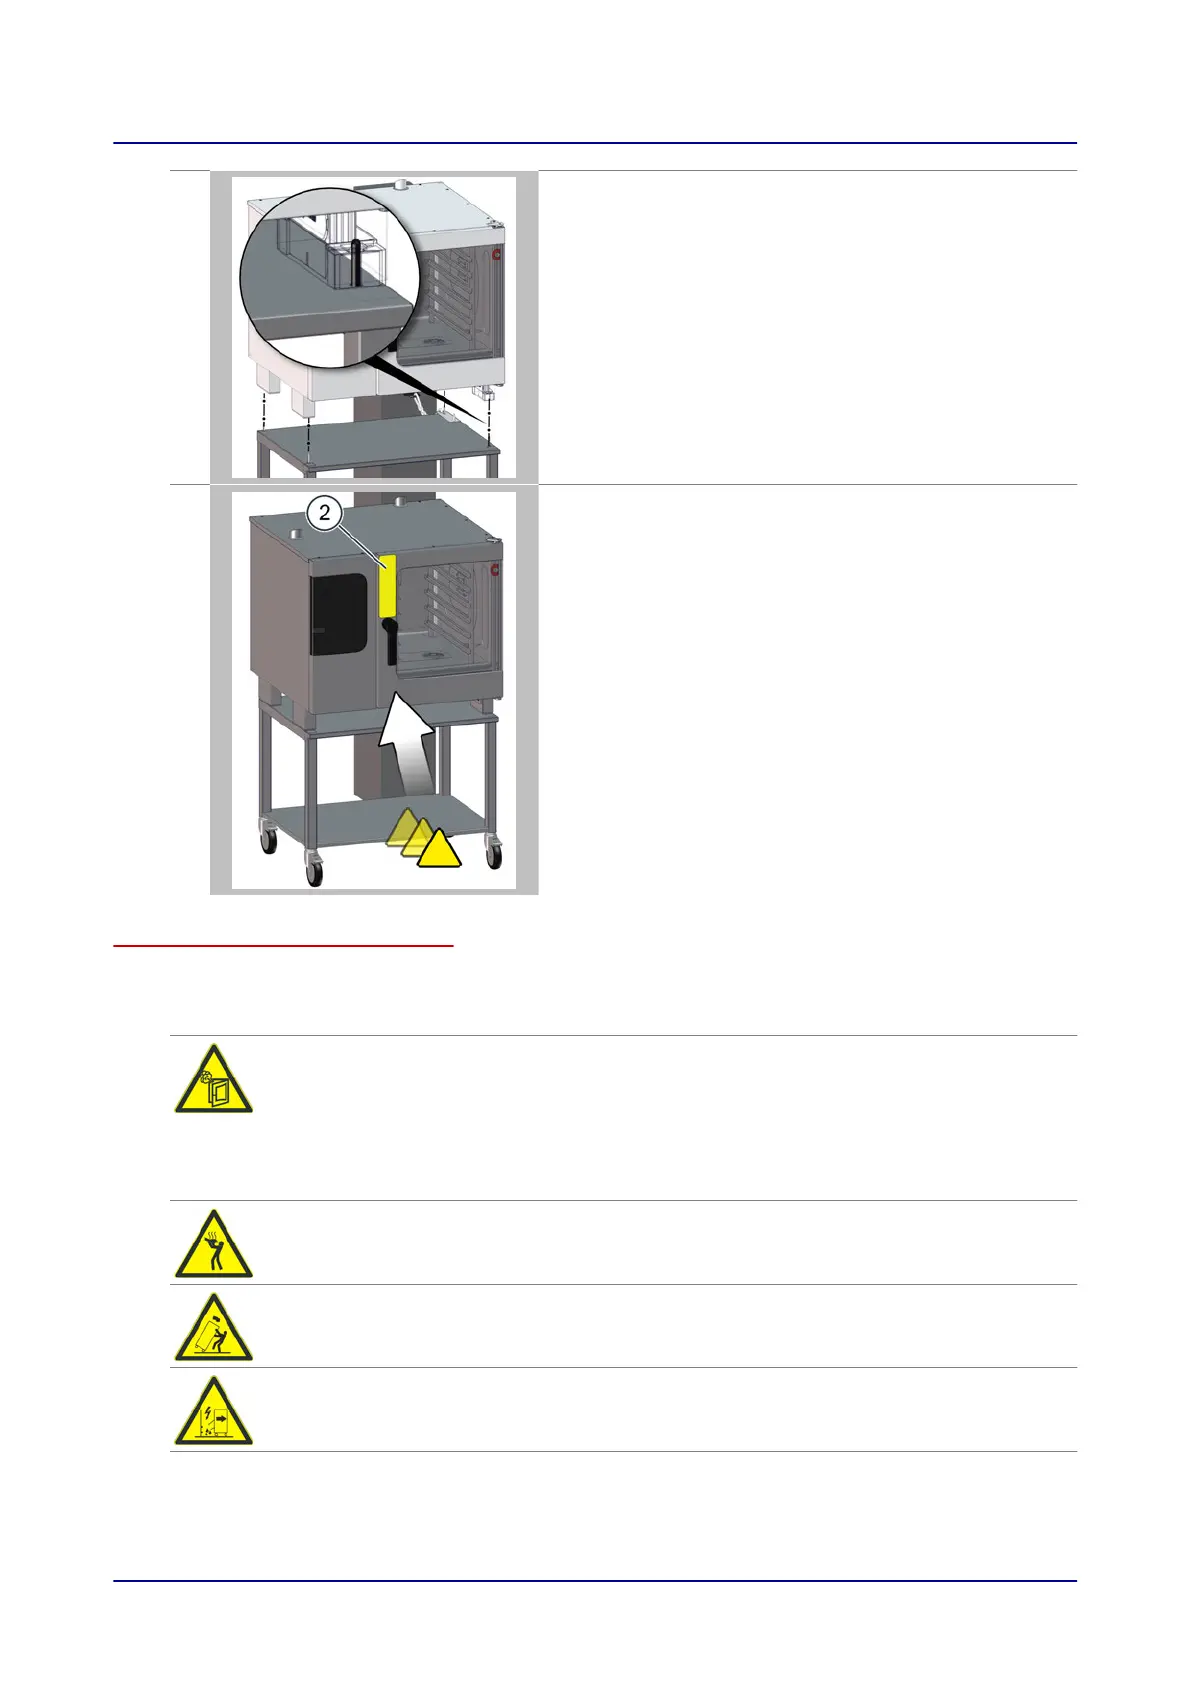
Position the appliance on the stand.
Make sure that all four bolts and the pin on the bracket are
guided into the locating holes in the appliance feet provi‐
ded for the purpose.
7.
Stick the necessary warning labels in the specified posi‐
tions. Make sure that the surface is clean of oil and grease
before sticking the warning label in place.
Additional information:
you can find the warning labels inside the cooking cham‐
ber.
Type and position of the warning sign stickers to be attached
The following warning signs must be attached to the combi oven in the specified positions:
Warning sign Position on the combi oven
Somewhere on the left side of the appliance door in area 2 (see 'Warning signs on
the combi oven' on page 23) depending on the installation situation
Directly above the door handle if
■
the top of the appliance lies above 1.20 m or
■
personnel are mainly semi-skilled staff (recommended)
Right at the top of the appliance door if
■
the top of the appliance does not lie above 1.20 m
On the left side of the appliance door in area 2 (see 'Warning signs on the combi
oven' on page 23) at a height of 1.60 m above the kitchen floor.
On the left side of the appliance door in area 2 (see 'Warning signs on the combi
oven' on page 23)
On the left side of the appliance door in area 2 (see 'Warning signs on the combi
oven' on page 23)
5 Setting up the appliance
73
 Loading...