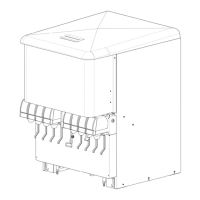
KIT Base Unit ED175 Installation Instructions
© 2016, Cornelius Inc. - 13 - Publication Number: 629097525INS
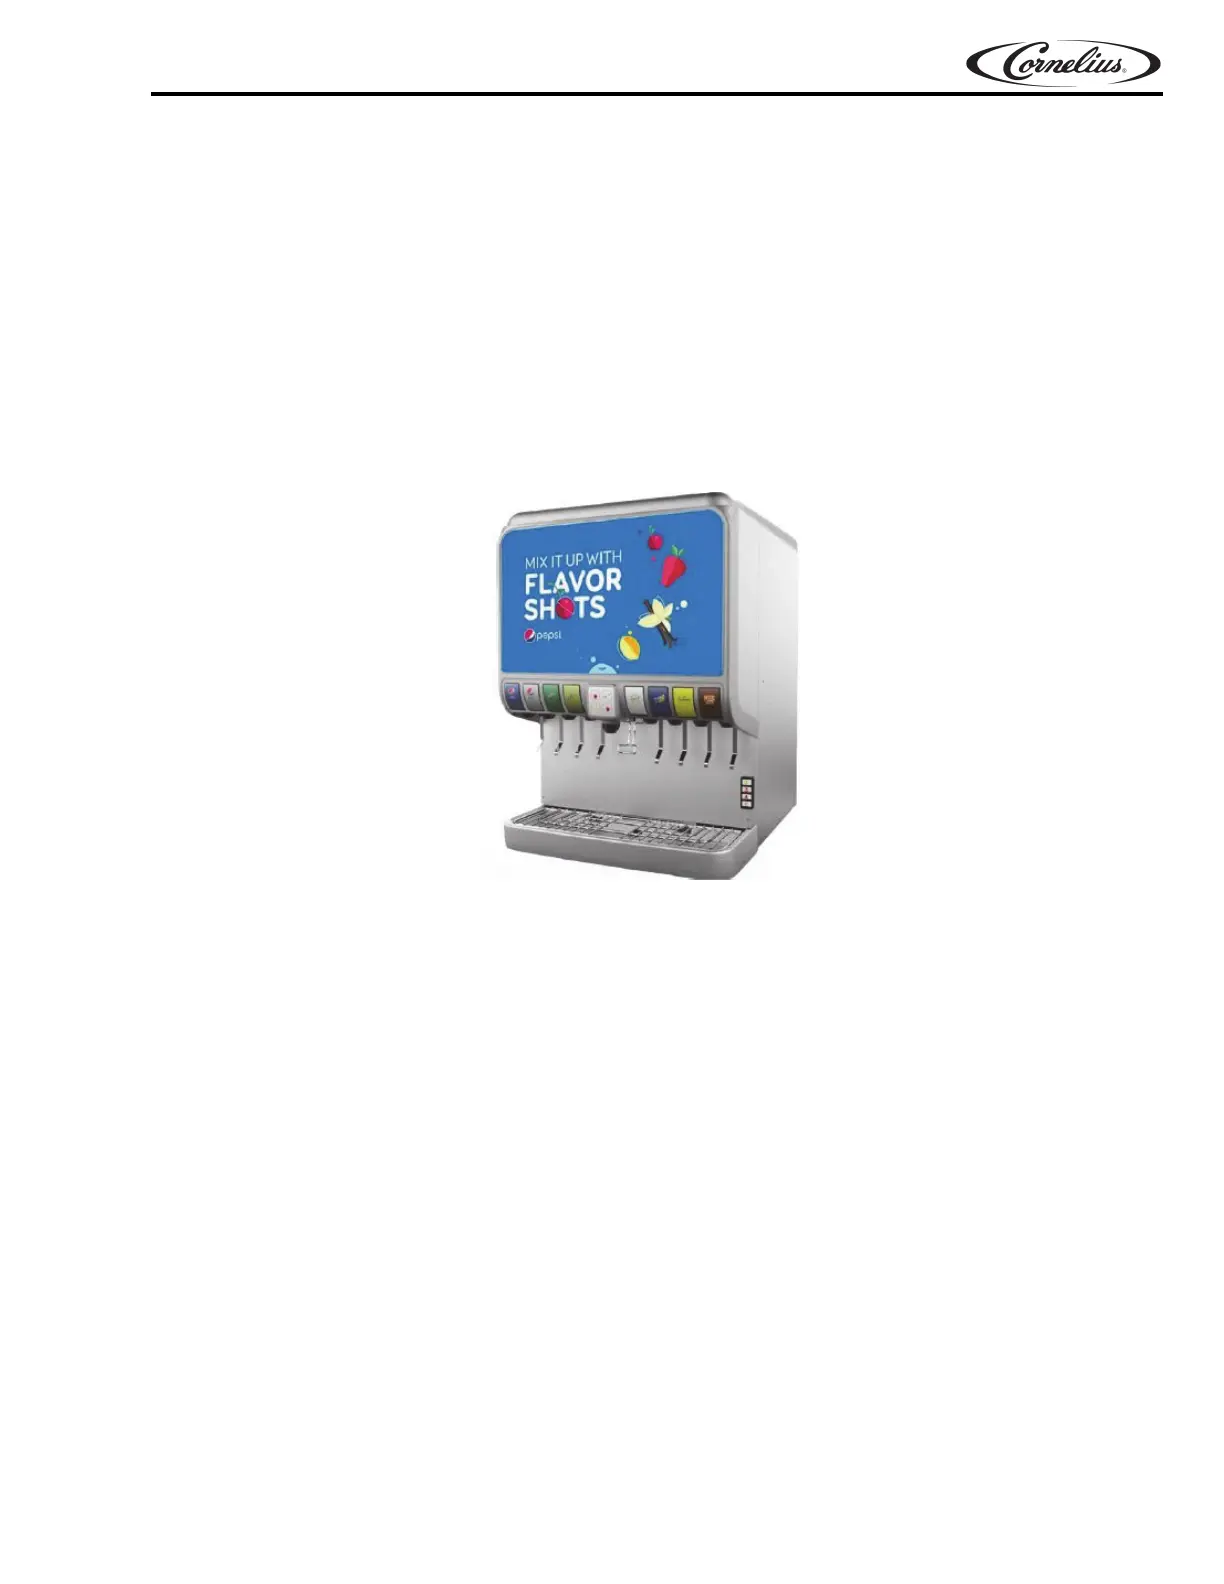
START-UP (SHOTS UNITS ONLY)
1. Reconnect power to dispenser and turn on primary regulator on CO
2
tank in Back-Room Package.
2. Actuate keypad to purge syrup through beverage tubing and through inner nozzle. Initial purging can also
be accomplished by removing the merchandiser with the harness still connected to control board. Manually
pushing the plungers on each solenoid valve will purge the syrup through the inner nozzle. Keep keypad
housing and connections clear of drip tray area when purging in this manner.
3. Check connections in the following areas for possible leaks: in front of the unit at syrup connections, elbow
fittings at flow controls and connections at inner nozzle.
4. With keypad jumper connected to control board, proceed with installation of the new merchandiser (with
assembled components) onto unit. Wind up and tuck slack from jumper and keypad, onto U-clip mounted
to right side of control board label.
Figure 22.
5. Install drip tray with “L” pins.
6. Apply both the plumbing labels & service call number label provided in the kit to the inside of the splash
panel.
7. Install front splash panel with ADA keypad fitted and plugged into the control module.