Test wire connection
status:
disconnected
connected
File clip contact connects to lip hook
directly,
it can be used simply to test the test wire is
normal.
r:::7'
NOTE:
It
is recommended to check whether the test wire is
normal
frequently.lfthe
File clip contact connects to lip
hook
directly, but this icon is not
displayed,
i
t
indicates
a
poor
contact.
The
n
the user can do as
follow:
• Check proper connection of the
cables.
• Clean the File clip
contact.
C-SMART
-I
Pro
U11er
Manual
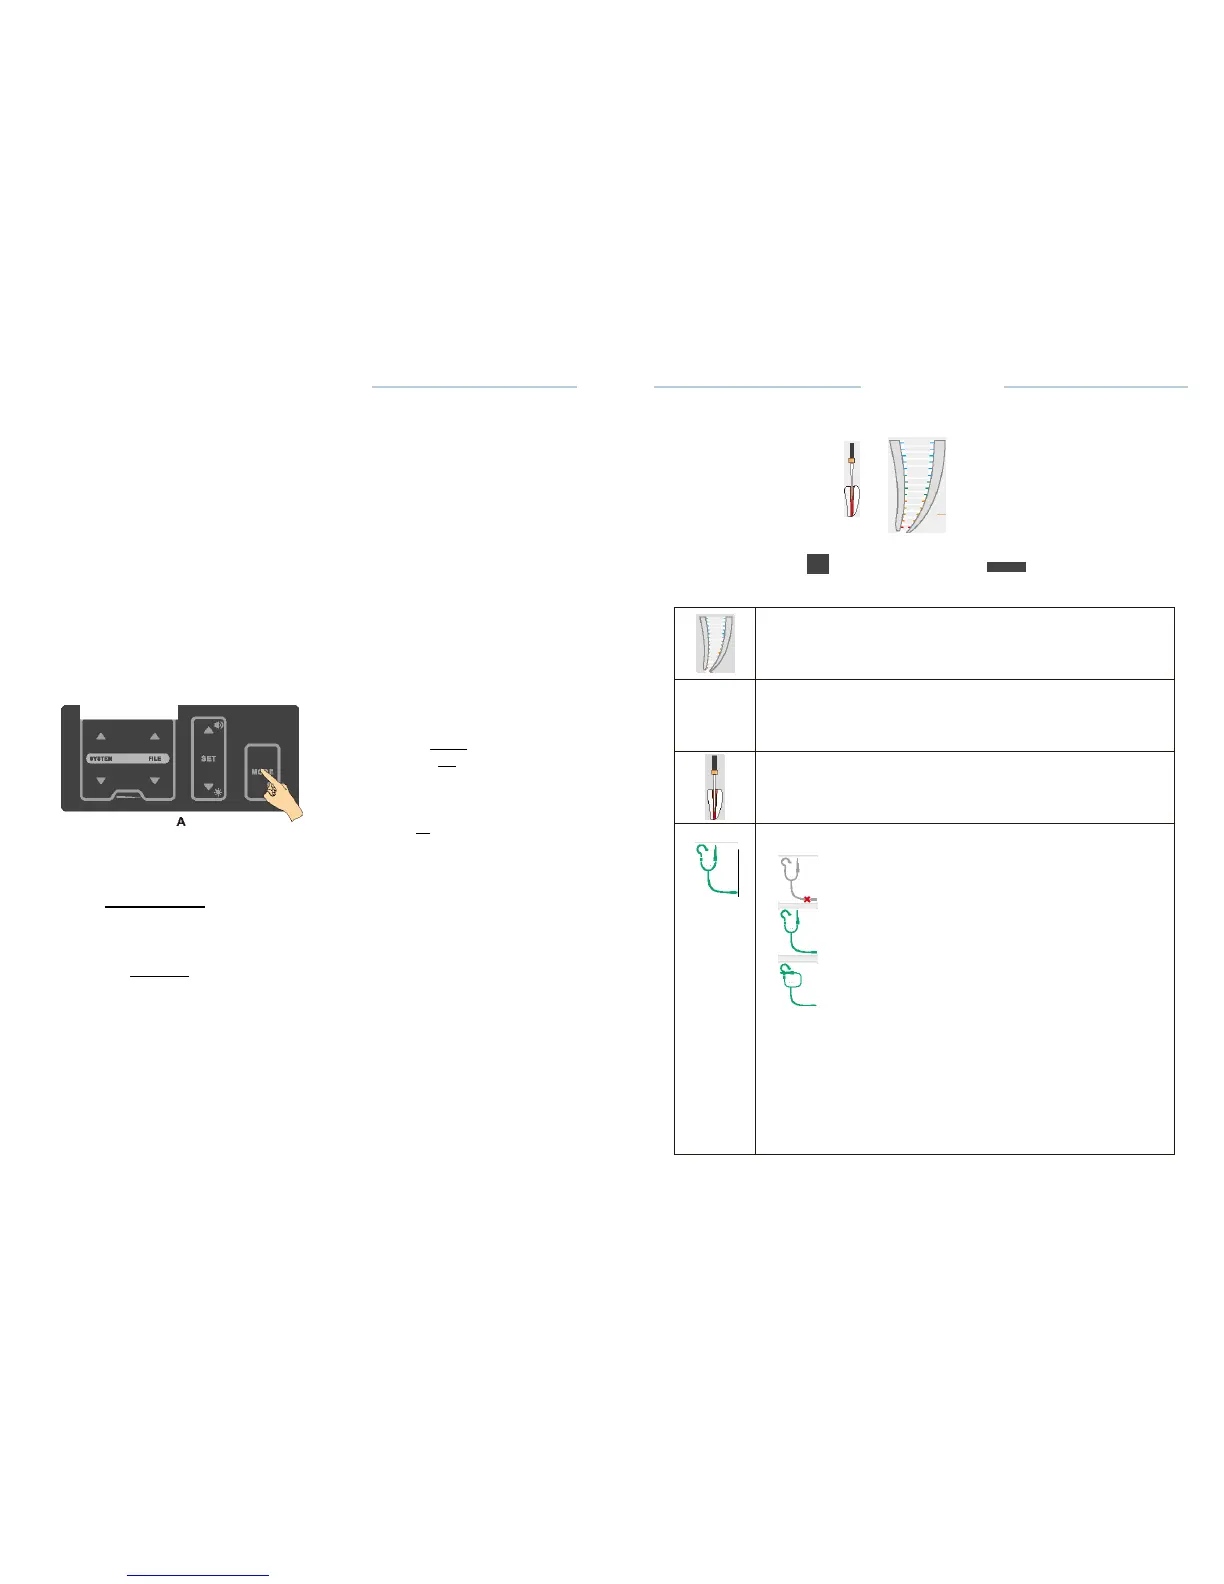
·Press
the MODE key for 2 seconds (A) to enter setting
interface;
·Press
Up or Down key to select AUTO REVERSE
(
B
)
;
• Press SET key to on/off AUTO REVERSE
function;
·The
change will be saved automatically. Press any key other than SET
and
up or down key to exit the setting, or exit the setting
automatically
after
3
seconds.
Motor option area shows the state of AUTO
REVERSE,
8.3.1.2 Working
area
C·SMART·IPro Uoer
Manual
0.2
Means auto reverse function is
available.
-
Means auto reverse is not
available.
8.3.2.7 LED lighting
function
When LED light is
on,illumination
will be provided during motor
operation,
and if the appropriate delay time is selected, the LED will continue to
provide
delayed
illumination
of the set time after the motor has
stopped.
Set the LED lighting and delay
time:
Ml
f;
•..,.
Fig.16 M1
interface
0
SETUP
A
!'!!.c
.
r..o
tllnQI
I
••
AI
..
a
m-.-
...
•11•
;
!
ght
')t:
!t
I
L
I
E
EDIHIIytl-.
:
:..
-
.
118
8
:!
tort•refule'W'
...
ltl
0
SETUP
B
English
ON
•
ON
•
A
:
ltctdlrr.nnti•1'41UIII•
lA
:!'
n
R
!':
......
....
_.
;
!!!
n
lht
')t
!
d•li'JIIIM.
I§Y
!! ri.,..,......,
....
c
Engli11h
ON
•
ON
•
3s
• Press the MODE key for 2 seconds (A) to enter setting
interface;
• Press Up or Down key to select LED LIGHTING SWITCH
(
B
)
;
• Press SET key to on/off LED
lighting;
• Press Up or Down key to select LED DELAY TIME function
(C);
• Press SET key to select different LED delay
times.
• The change will be saved automatically. Press any key other than SET
and
up or down key to exit the setting, or exit the setting
automatically
after
3
seconds.