.
.
.
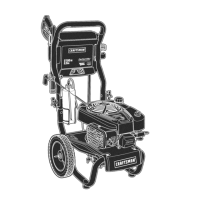
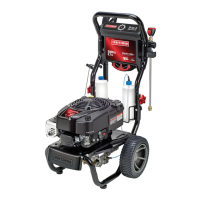
Attach rope guide (A) through handlewith plastic knob
(B). Tighten by hand. Route engine recoil rope through
guide.
Align hose wrap (C) to the back side of accessorytray.
Locate notch with "unlock" icon (B) on hose wrap.
Position notch at top with hosewrap in vertical position.
Clips in the back of accessory tray should slide into the
grooves on the inside surface of hosewrap. Slide hose
wrap on back of accessorytray and rotate 1/8 turn until
"locked" icon (E) is in vertical position. Hosewrap is
easily removed from the accessorytray for wrapping and
unwrapping of the high pressure hose. A clip to secure
the hoseon the reel makesit easyto wrap the hose
while it is detachedfrom the accessorytray.
Attach bottle bracket (F) to handle with carriage bolt (6)
and black plastic knob (N). Tighten by hand.
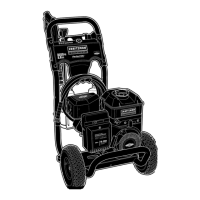
2-1N-1SoapSystem
The pressure washer is equipped with two detergent
siphoning hoses.
Project Pro PerfectMW MSiphon
Bluetube with blue bottle cap:
When using the blue PerfectMixTMsiphon, use
the PerfectMixTMExtremeConcentratestraight
from the bottle.
Standard Siphon Tube
Cleartube with filter:
Whenusing the clearsiphon tube, dilute
1 part PerfectlViixTMExtremeConcentrate
to 16 parts water (4 oz of concentrate
makes1/2 gallon of mix.)
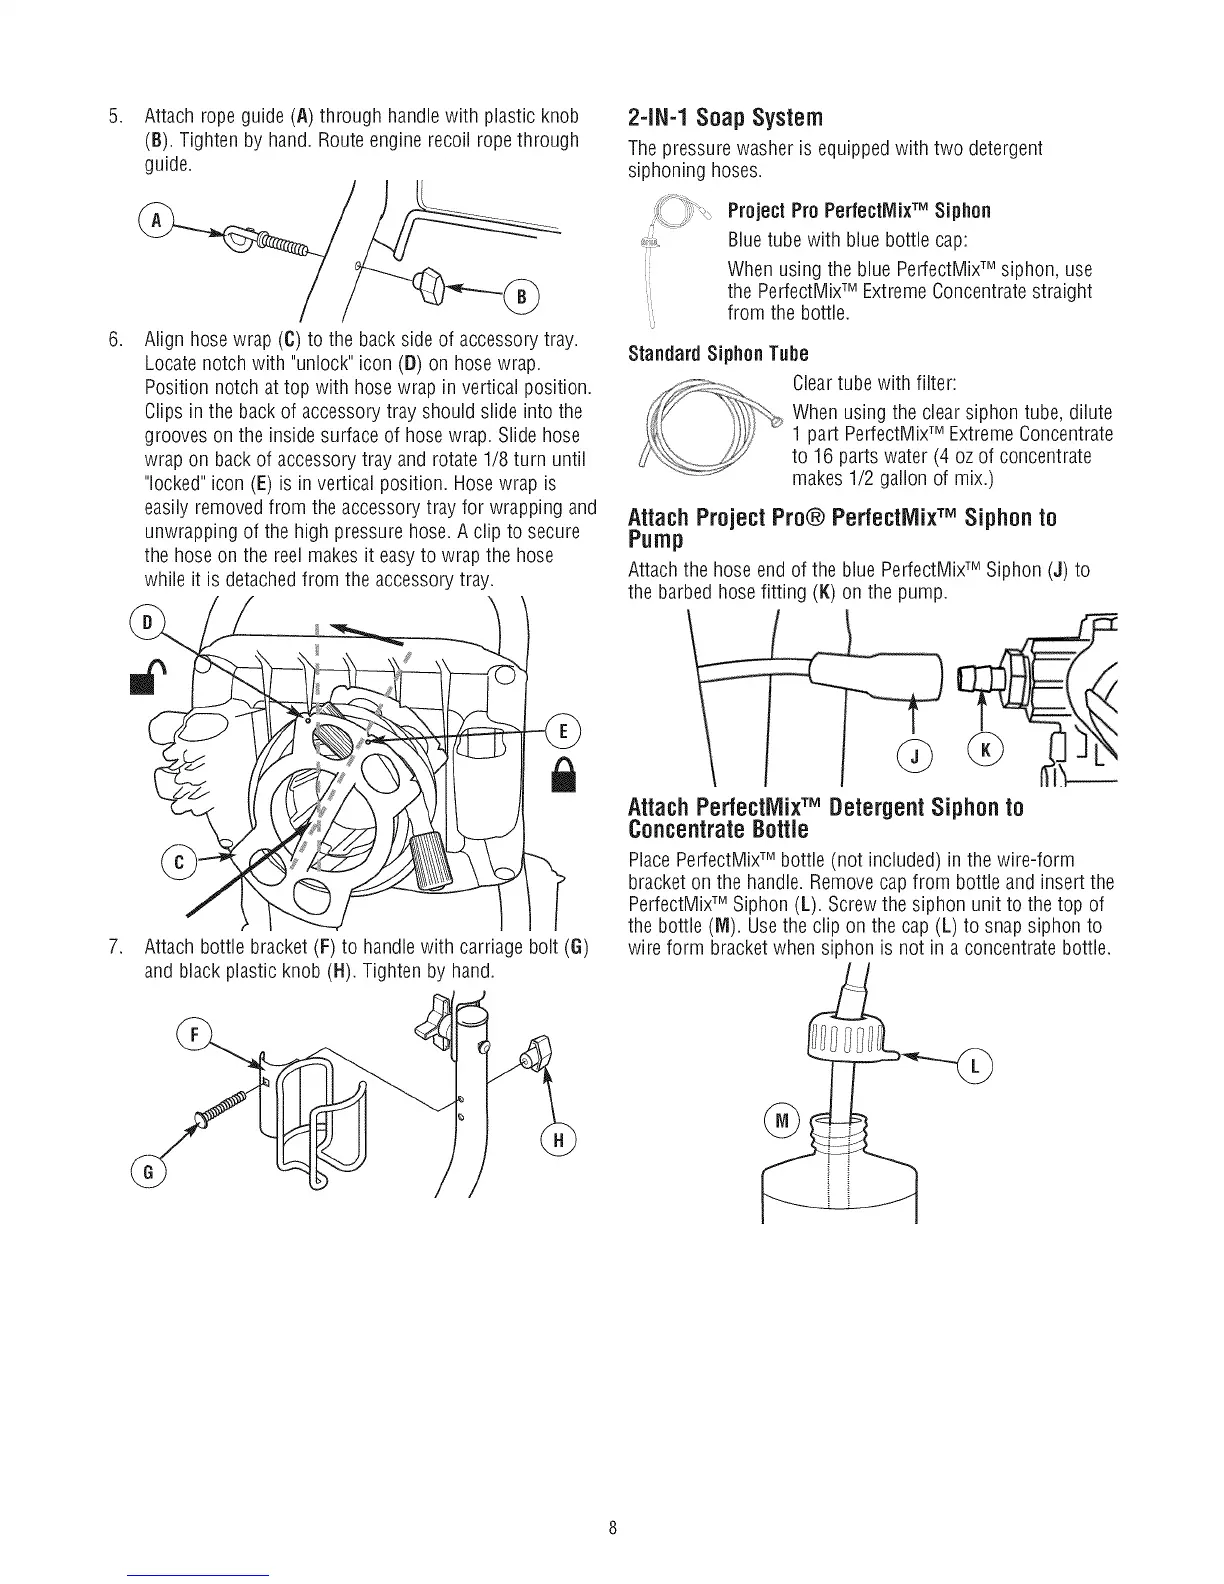
Attach Project Pro® PerfectiVIWMSiphon to
Pump
Attach the hose end of the blue PerfectMixTMSiphon (J) to
the barbed hose fitting (l{) on the pump.
Attach PerfectiVlixTMDetergentSiphon to
ConcentrateBottle
PlacePerfectMixTMbottle (not included) in the wire-form
bracketon the handle. Removecap from bottle and insert the
PerfectMixTMSiphon (L). Screwthe siphon unit to the top of
the bottle (M). Usethe clip on the cap (L) to snapsiphon to
wire form bracketwhen siphon is not in a concentrate bottle.
®