Your pressure washer requires some assembly and is ready
for useonly after it has been properly servicedwith the
recommendedoil and fuel.
If you haveany problemswith the assemblyof your
pressurewasher, please call the pressurewasher helpline
at 1=800-222-3136.
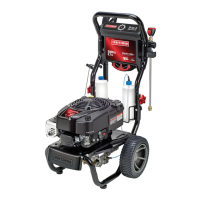
UNPACKTHEPRESSUREWASHER
1. Removeeverythingfrom carton except pressurewasher.
2. Opencarton completely by cutting eachcorner from top
to bottom.
3. Removepressure washer from carton.
CARTONCONTENTS
Checkall contents. If any parts are missing or damaged,call
the pressure washer helplineat 1-800-222-3136.
• Main Unit
• Handle
• AccessoryTray
• High PressureHose
• Spray Gun
• NozzleExtensionwith Quick Connect Fitting
• Quick Connect Selector Nozzle
• Oil Bottle
• HoseWrap
• DetergentSiphoning Hose/Filter
• Bottle Bracket Wireform
• PerfectMWMSiphoning Unit/Hose
• Parts Bag(which includes the following):
• Operator's Manual
• Owner's Registration Card
• HandleFasteningHardwareKit (whichincludes):
• HandleBolts (2)
• CarriageBolt (1)
• Rope Guide(1)
• Plastic Knobsfor Handle(2)
• Plastic Knob (2)
• TreeClips (4)
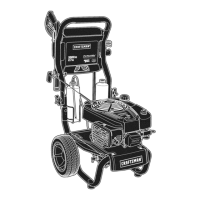
Becomefamiliar with each piece before assembling the
pressure washer, identify all contents with the illustration on
page 6. if any parts are missing or damaged, call the
pressure washer helpline at 1-800-222-3136.
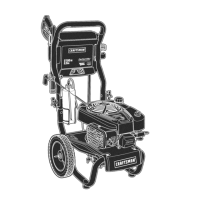
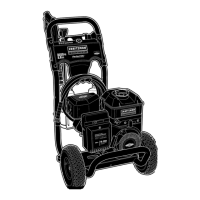
ASSEMBLINGPRESSUREWASHER
Your Craftsman pressure washer will needassembly before
operation:
1. Fill out and send in registration card.
2. Attach handle and accessorytray.
3. Connectdetergent siphon hose to pump.
4. Add oil to engine crankcase.
5. Add fuel to fuel tank.
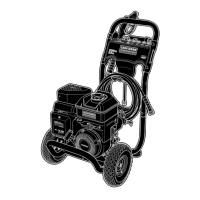
6. Connectpressure hose to spray gun and pump.
7. Connectwater supply to pump.
8. Attach nozzleextension to spray gun.
9. Attach quick connect selector nozzleto nozzleextension.
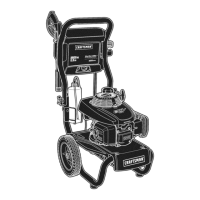
Attach Handleand Accessory Tray
1. Placehandle(A) onto handle supports (B) connected to
main unit. Make sure holes (C) in handlealign with holes
(C) on handlesupports.
.
insert handle carriagebolts (D) through holes from
inside of unit and attach a plastic knob (E) from outside
of unit. Tighten by hand. Byloosening both knobs to the
middle section of the attachmentbolt, the upper handle
canfold forward to store fiat atop the cold engine.
NOTICE DONOTfold the handle down while the engine is
hot.
3. Placeaccessory tray (F) over holes (6) on handle
(viewing from backof unit). Pushthe tree clips (H) into
the holes until they sit fiat against the accessorytray.
.
/
insert supplied accessories in spaces provided in
accessorytray. See How to UseAccessory Tray.