How to fix Ender 3 S1/S1 Pro ABL issues
Alex Schladetsch
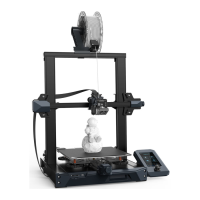
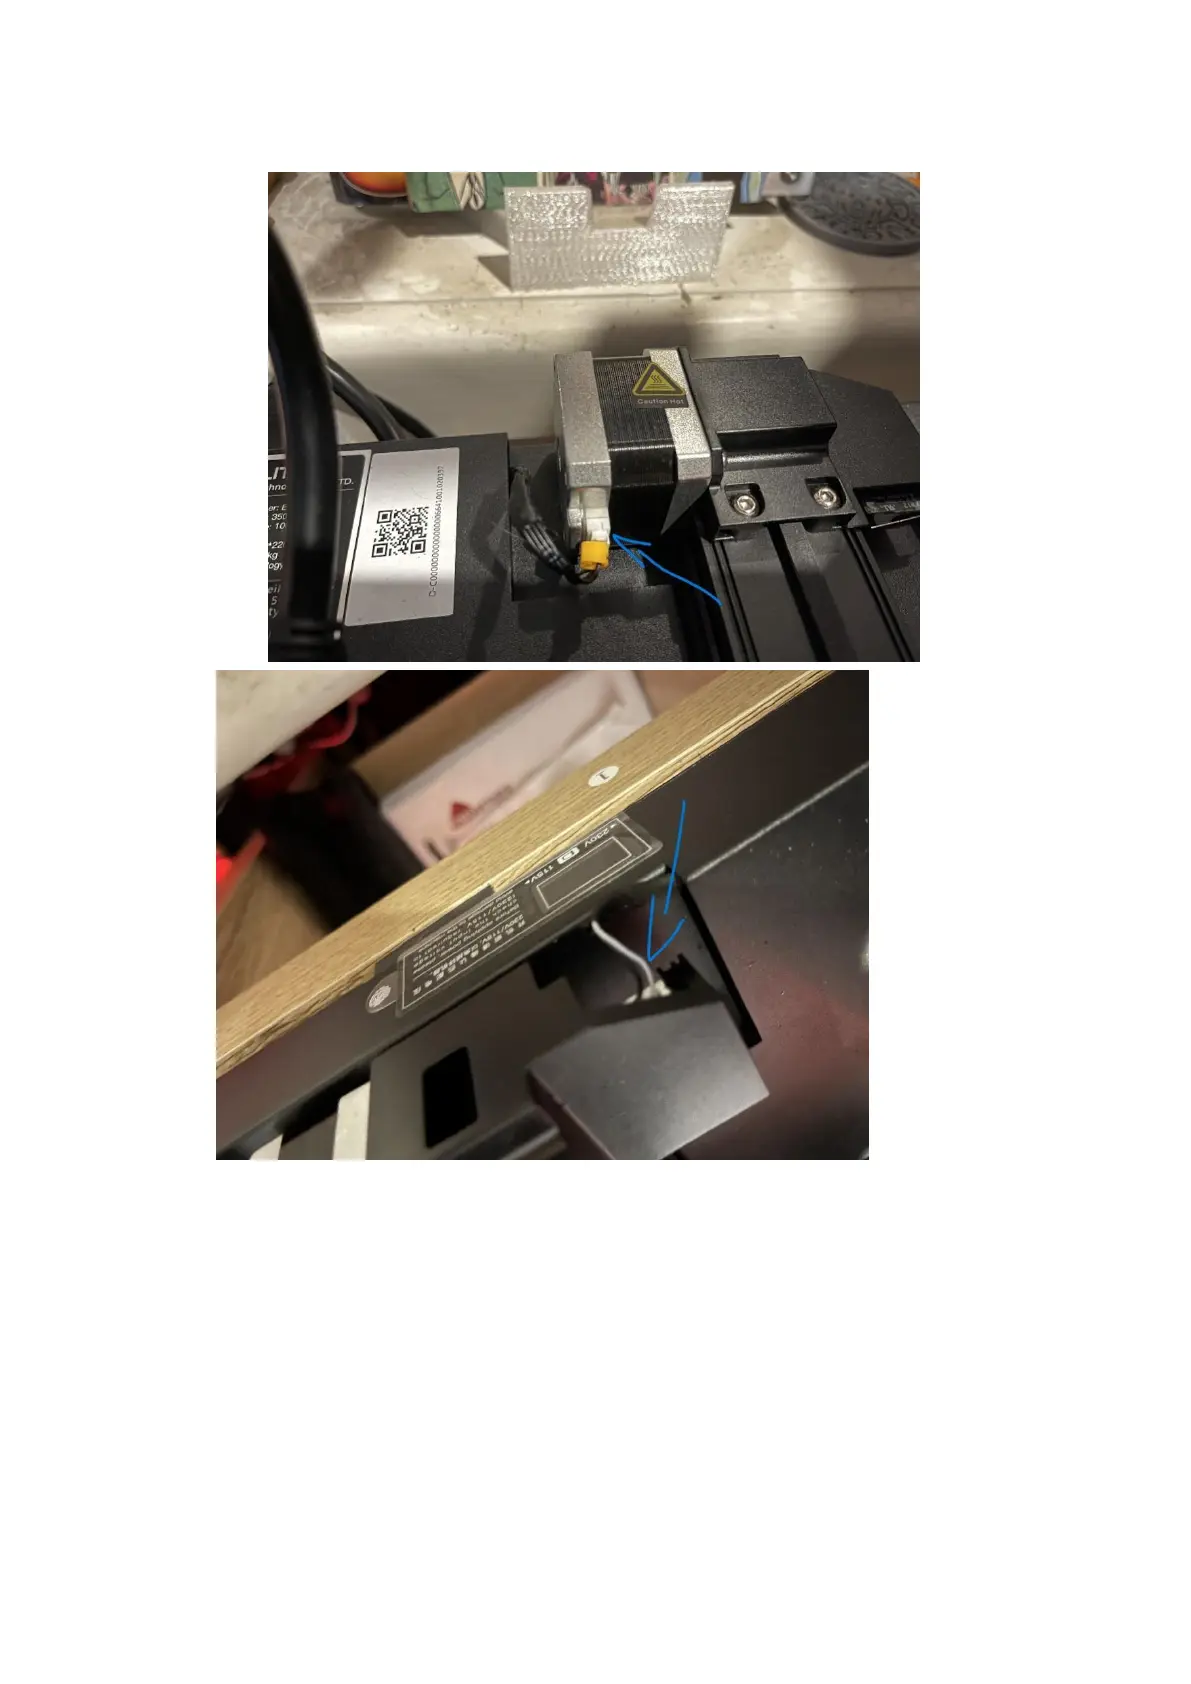
7. Remove the Y axis motor cable, and the Y end-stop
cable.
8. At this point, your entire Y axis should be able to be completely removed from the printer in
one assembly, with the heated bed staying attached to the printer by its cables, being free of
the bed carriage.
9. Observe with a straight edge if you have one (if not, a granite/stone kitchen bench can be
used, or a desk, or anything else that you know to be relatively straight). If the aluminium
extrusion appears straight – that’s good! That means that you can fix the issue by doing the
following steps.
10. Place the Y axis back on to the printer, and tighten the bolts back down, BEING CAREFUL to
not overtighten. They should get to the point where a reasonable amount of force is
required, but you should not be cranking them down.
11. Once you have done this, try running the carriage along the Y axis again. You should not feel
any tight spots, or any areas where it requires more force to move. If you can still feel
friction in certain areas, try loosening the bolts at the front a bit more, or shimming with a