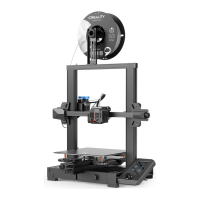
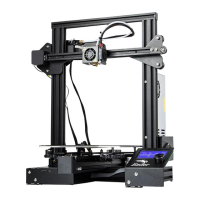
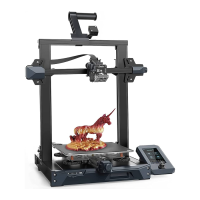
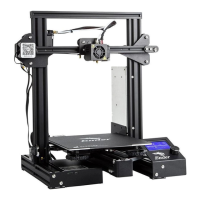
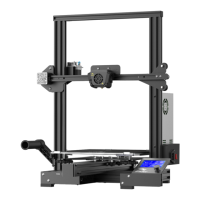
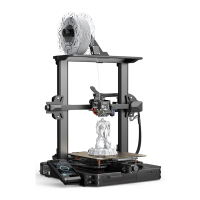
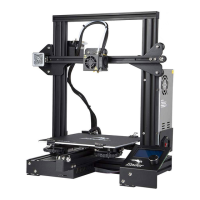
Do you have a question about the Creality ENDER-3 V2 and is the answer not in the manual?
Guidelines for safe operation concerning workplace conditions, flammables, dust, and temperature.
Precautions for using grounded outlets, unplugging, and avoiding outdoor/thunderstorm use.
Warnings about moving parts, operating while impaired, hot components, and keeping others safe.
Important warnings about unattended operation, modifications, force during removal, ventilation, and temperature limits.
Recommendations for filament handling, storage in dry conditions, and avoiding contact with food.
Guide for installing the Z-axis limit switch and connecting the Z-axis profiles to the printer base.
Instructions for attaching the Z-axis motor and inserting the lead screw into the coupler.
Steps to install the pneumatic joint, XE-axis assembly, and wrap the drive belt around the pulley.
Instructions for mounting the nozzle assembly and attaching the Z-axis roller bracket.
Guidance on fitting the X-axis tensioner and securing the drive belt.
Instructions for mounting the Z-axis gantry and adjusting belt tensions for X and Y axes.
Steps to secure the gantry profile and connect the display screen assembly.
How to attach the filament holder, gantry cover, and extruder knob.
Detailed steps for correctly connecting the Bowden tube to the extruder fitting.
Guide for making correct electrical connections, including voltage selection and power.
Overview of the printer's screen interface, knob functions, and status bar.
Explanation of selecting files, starting prints, and using Tune, Pause, and Stop functions.
Details on manual control functions like Move, Disable Stepper, Auto Home, and Preheat.
Guide to adjusting temperatures, fan speed, motion limits, and saving configurations.
Instructions on how to level the build plate for successful 3D printing.
Visual guide to identifying correct nozzle height for optimal first layer adhesion.
Explanation of the preheating mechanism and how to set temperatures for filament.
Step-by-step guide on how to load new filament or change existing filament.
Explanation of slicer software, its function in preparing models for printing.
Methods for transferring print files to the printer via SD card or USB cable.
Routine checks like build plate leveling, cleaning, belt tension, and roller checks.
How to adjust the V rollers to ensure proper contact and prevent play or sticking.
Procedure for cleaning the nozzle to remove clogs and ensure filament flow.
Steps for safely removing and installing a new nozzle.
Instructions on replacing the Bowden tube due to wear or damage.
Guide on how to update the printer's firmware using an SD card.
| Build Volume | 220 x 220 x 250 mm |
|---|---|
| Layer Resolution | 0.1-0.4 mm |
| Filament Diameter | 1.75 mm |
| Nozzle Diameter | 0.4 mm |
| Bed Leveling | Manual |
| Extruder Type | Bowden |
| Power Supply | MeanWell 350W |
| Build Surface | Carborundum Glass |
| Printing Technology | FDM (Fused Deposition Modeling) |
| Max. Nozzle Temperature | 255°C |
| Max. Bed Temperature | 100°C |
| Machine Dimensions | 475 x 470 x 620 mm |
| Machine Weight | 7.8 kg |
| Connectivity | USB, SD Card |
| Supported Materials | PLA, ABS, TPU, PETG |
| Display Screen | 4.3-inch Color LCD |
| Print Speed | 180 mm/s |
