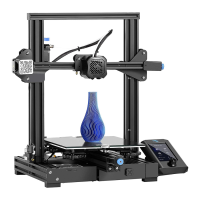
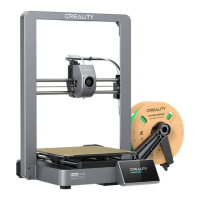
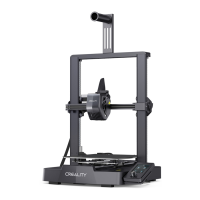
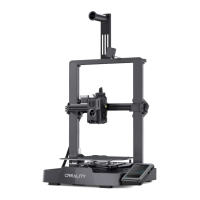
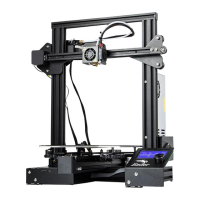
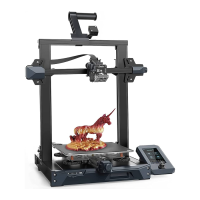
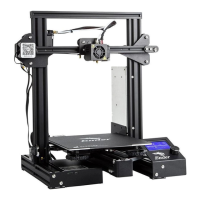
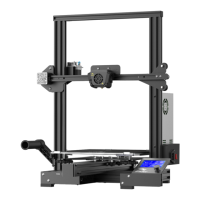
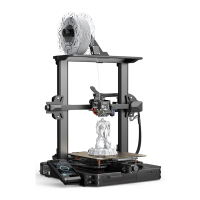
Do you have a question about the Creality Ender-3 V2 Neo and is the answer not in the manual?
Step-by-step guide for attaching the gantry frame to the base.
Instructions for mounting and connecting the display screen assembly.
Guide for fixing the filament material rack to the printer frame.
Connect stepper motors and limit switches, and plug in the power cord.
Check and adjust pulley looseness for smooth axis movement.
Start the auto-calibration process by selecting the leveling option on the appliance.
Set Z-axis compensation for proper nozzle-to-platform height (0.08-0.1mm).
Reset the printer parameters via the control menu for leveling.
Navigate to the auto-home function to return the printer to its origin.
Reset Z-axis movement values to zero before final adjustments.
Adjust Z-axis compensation for the central point of the platform.
Turn off motor enables to allow manual movement of the platform.
Adjust hotbed knobs to level the nozzle at the four platform corners.
Hang filament and heat nozzle to soften material before loading.
Load filament into extruder and confirm flow at the nozzle.
Procedures for replacing filament when printer is not working or is working.
Download, install, and configure the slicing software and printer model.
Enter parameters, load, and select the file for slicing.
Generate G-code, save to memory card, and start printing.
| Build Volume | 220 x 220 x 250 mm |
|---|---|
| Layer Resolution | 0.1-0.4 mm |
| Filament Diameter | 1.75 mm |
| Nozzle Diameter | 0.4 mm |
| Connectivity | MicroSD card, USB |
| Supported Filaments | PLA, ABS, PETG |
| Power Supply | 350W |
| Bed Temperature | up to 100°C |
| Nozzle Temperature | up to 260°C |
| Display Screen | 4.3-inch color LCD |
| Machine Weight | 7.8 kg |
| Bed Leveling | Automatic |
| Motherboard | 32-bit Silent Motherboard |
| Print Speed | up to 120 mm/s |
