12
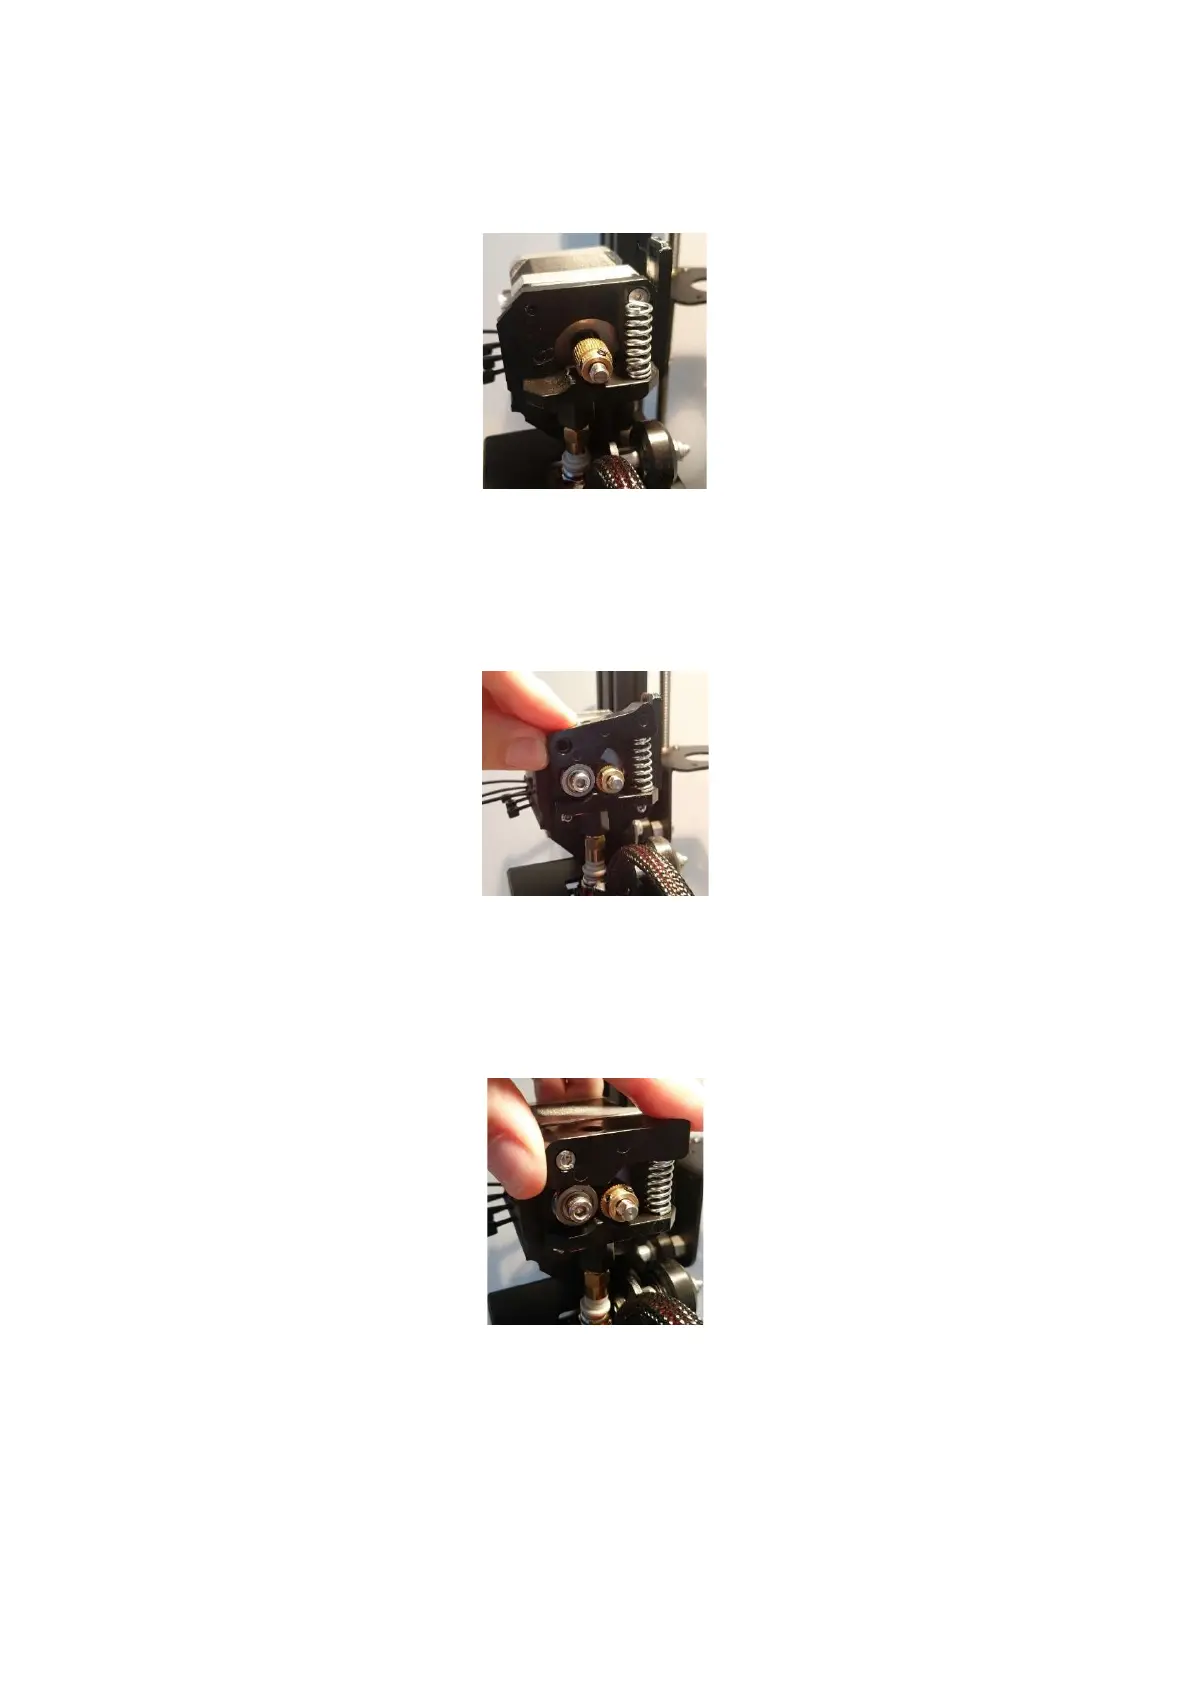
Step 19
Place the tension spring as shown below.
Step 20
Place the tension arm as shown here, make sure to align the hole shown in the upper left corner in
this picture.
21
Screw in the screw you removed in step 2 as shown below – it goes into the same holes as you
removed it from earlier.
Congratulations, that is the extruder assembeled!
The remaining steps detail wire management and connecting the extruder motor to the
motherboard. These steps will be different for different Creality printers, but the principles are the
same. Here we show the process on the Ender 2.