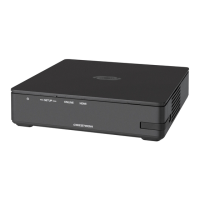
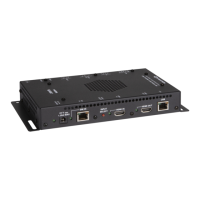
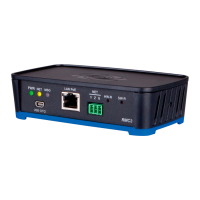
Crestron MC3 3-Series Control System™
Change the Webserver state by pressing the On or Off buttons on the screen. The
default setting is on. Turning the Webserver off disables access to setup from a Web
browser.
NOTE: Setting the Webserver to the “Off” state will result in disabling access to
this setup program from a Web browser. To re-enable it, you will need to use
Crestron Toolbox to connect to the control system, and turn the Webserver back on.
To set the SSL settings click the Off, Self, or CA buttons.
• The off setting turns off the SSL capabilities of the MC3.
• The self settings set up self signing certificates.
• CA uses an authority to assign the SSL settings.
Refer to the 3-Series Control Systems Reference Guide for more details on SSL
settings. Using the Edit buttons change the port numbers to match your network
settings.
NOTE: Changing the CIP Port to something other than 41794 will result in
disabling access to this setup program from a Web browser. In order to re-enable it,
you will need to use Crestron Toolbox to connect to the control system, and set the
CIP Port back to 41794.
Press Reboot to reboot the MC3 or the icon to return to the previous page.
MyCrestron Dynamic DNS
Using a PC with Internet Explorer navigate to http://www.mycrestron.com and
register your system with Crestron.
Select the MyCrestron Dynamic DNS button from the “Ethernet Setup” screen to
configure the settings for the dynamic DNS server. Use the information provided
from the MyCrestron home page to complete the information on the “MyCrestron
Dynamic DNS Setup” screen. Press Edit under Domain and enter the domain name
that was chosen. Press Edit under Password and enter the password that was chosen.
Operations Guide – DOC. 7095D 3-Series Control System™: MC3 • 25
 Loading...


