Cryo-con Model 24C Front Panel Menu Operation
The Calibration Curve Edit menu is accessed by pressing the Sensor key, scrolling to
the desired curve and then scrolling to the Edit field of that curve.
The procedure for entering or editing a calibration curve is summarized as follows:
1. First, set the index (IX) field to the curve entry that you want to enter. This
will cause the display of data at that index.
2. Enter data points values by entering numeric data and pressing Enter.
3. Go to the next index by changing the IX field.
4. When all data points have been entered, the SaveCurve&Exit field is
selected to save the curve.
Once complete, the controller will condition the curve by rejecting invalid entries, then
sorting the curve in order of ascending sensor unit values. Therefore, an entry may be
deleted by placing a zero or negative number in the temperature field.
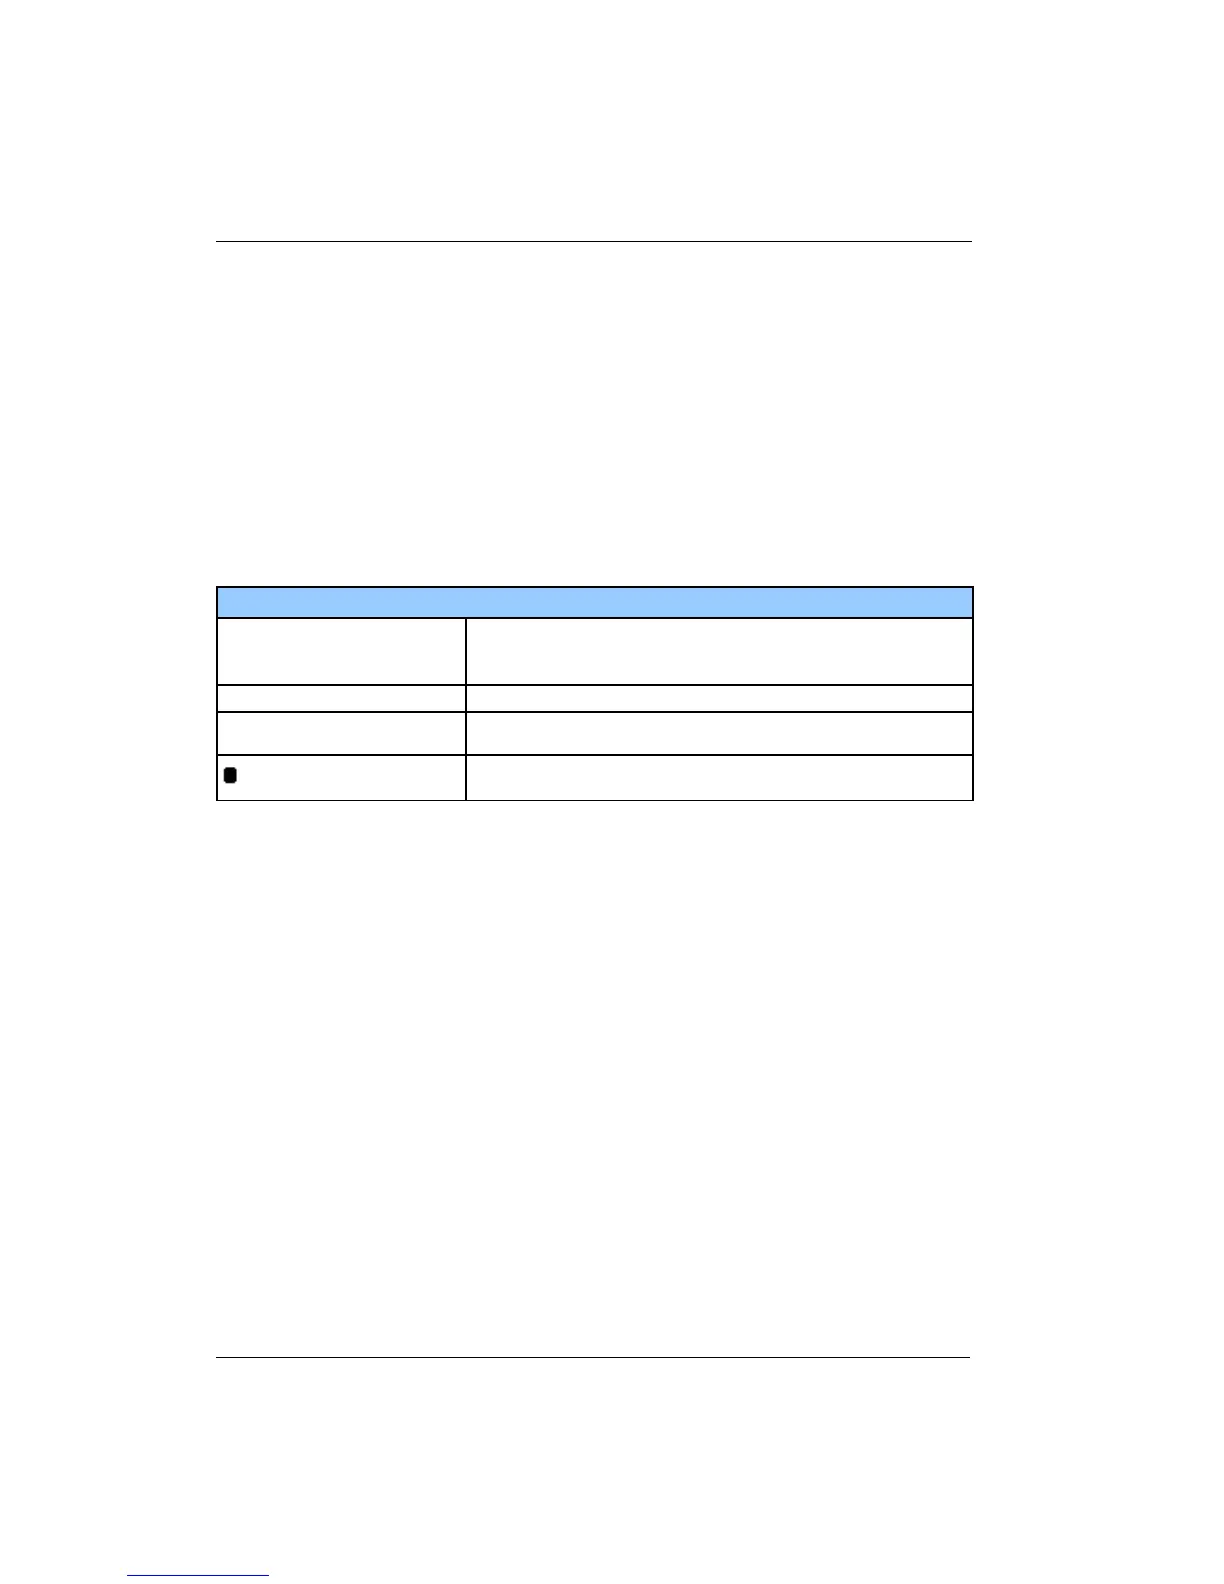
Calibration Curve Menu
Sets the current index to an entry within the current table. Values are
0 to 159. When the Enter key is pressed, the following lines will
display any data corresponding to the selected entry.
Temperature. Units are always in Kelvin.
Sensor reading. Units are taken from the Sensor Setup menu
described above and may be Volts, Ohms or Logohms.
Pressing Enter save entered data and exit the menu. To exit without
saving, press the Home key.
Table 25: Calibration Curve Menu
68