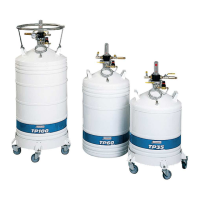
3. Apply PTFE tape or joint filler (silicone etc.) to the
threads of the replacement part, taking care not to
obstruct the orifices.
4. Screw the part in, keeping tight control so as not to
damage the threads.
5. Test for leaks (see§ 9.3.4, on page 29).
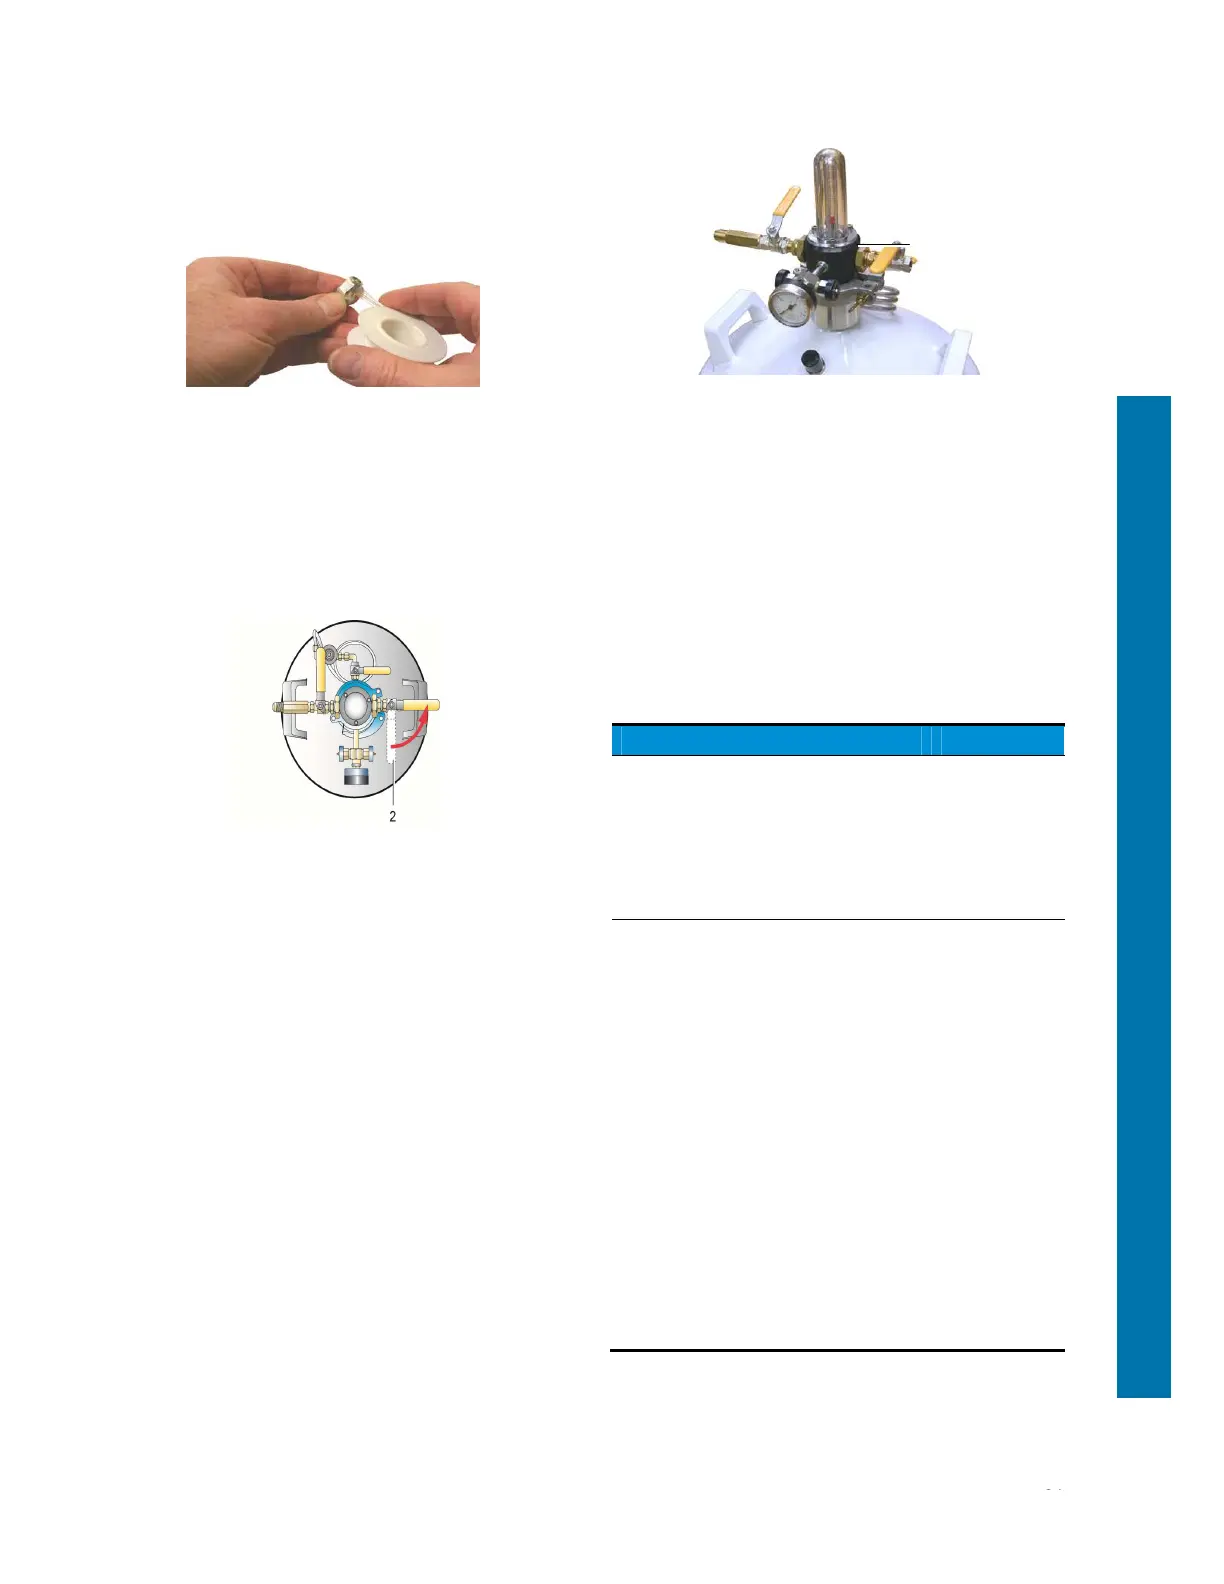
9.5.2 Changing valves
Proceed as follows:
1. Open the vent valve (1) to release any pressure.
2. Remove the control head (§ 7.2, page 21) and wait
for it to warm up.
3. Mount the swivelling screw fitting and the nitrogen
connector or the grooved end piece onto the new
valve.
4. Check the assembly for leaks as described in
section 9.3.4, on page 29.
5. Secure these connectors firmly to the valve so that
they do not become unscrewed when the flexible
transfer line is fitted and removed.
6. Screw the above premounted assembly onto the
control head.
7. Once the assembly is facing in the desired
direction, secure it in place by using the lock nut
(1) to lock it against the control head.
8. Test for leaks as described in section 9.3.4, on
page 29.
9.6 Interview frequency
This section is for skilled and qualified persons who
are authorized to carry out maintenance work.
Maintenance is necessary to ensure that the
equipment remains in normal operating condition. The
person who uses the equipment is responsible for
this. The tools used for maintenance operations must
be non-abrasive and should have no sharp edges or
points that could damage the surfaces.
Operation Frequency
Defrost the control head
Remove the ice that forms on the
control head with e.g. a hairdryer.
Be careful with the plastic parts
(stopper, fairing etc). The ice and/or
water must be recovered so that
they do not fall on the equipment.
Every 2
weeks
Cleaning the outside of the tank
Important note: cleaning is limited
to the outer parts of the device. The
use of acetone, solvents or any
other highly flammable chemicals
or liquid-containing chlorine
products is prohibited.
Wipe the plastic parts with a dry rag
and, if necessary, with a slightly
moist non-abrasive sponge (do not
use abrasive powder) or with
impregnated wipes.
Ordinary domestic cleaning
products (slightly abrasive creams
containing ammonia) applied with a
sponge will be acceptable for the
tank and the stainless steel parts.
Afterwards, rinse with a damp rag,
then wipe and leave to dry.
Every 5
weeks
(*)The frequencies shown are guideline intervals and should be adjusted by
the user according to the use made of the equipment.
1