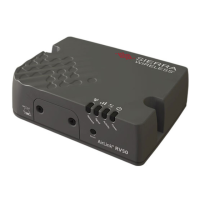
RV50 Sierra Wireless AirLink® 4G LTE Cellular Modem
6
9. Click the Template button in the ACEmanager toolbar. A template
application window will appear. Browse to and upload one of the
configuration templates downloaded from Campbell Scientific. See
TABLE 4-1.
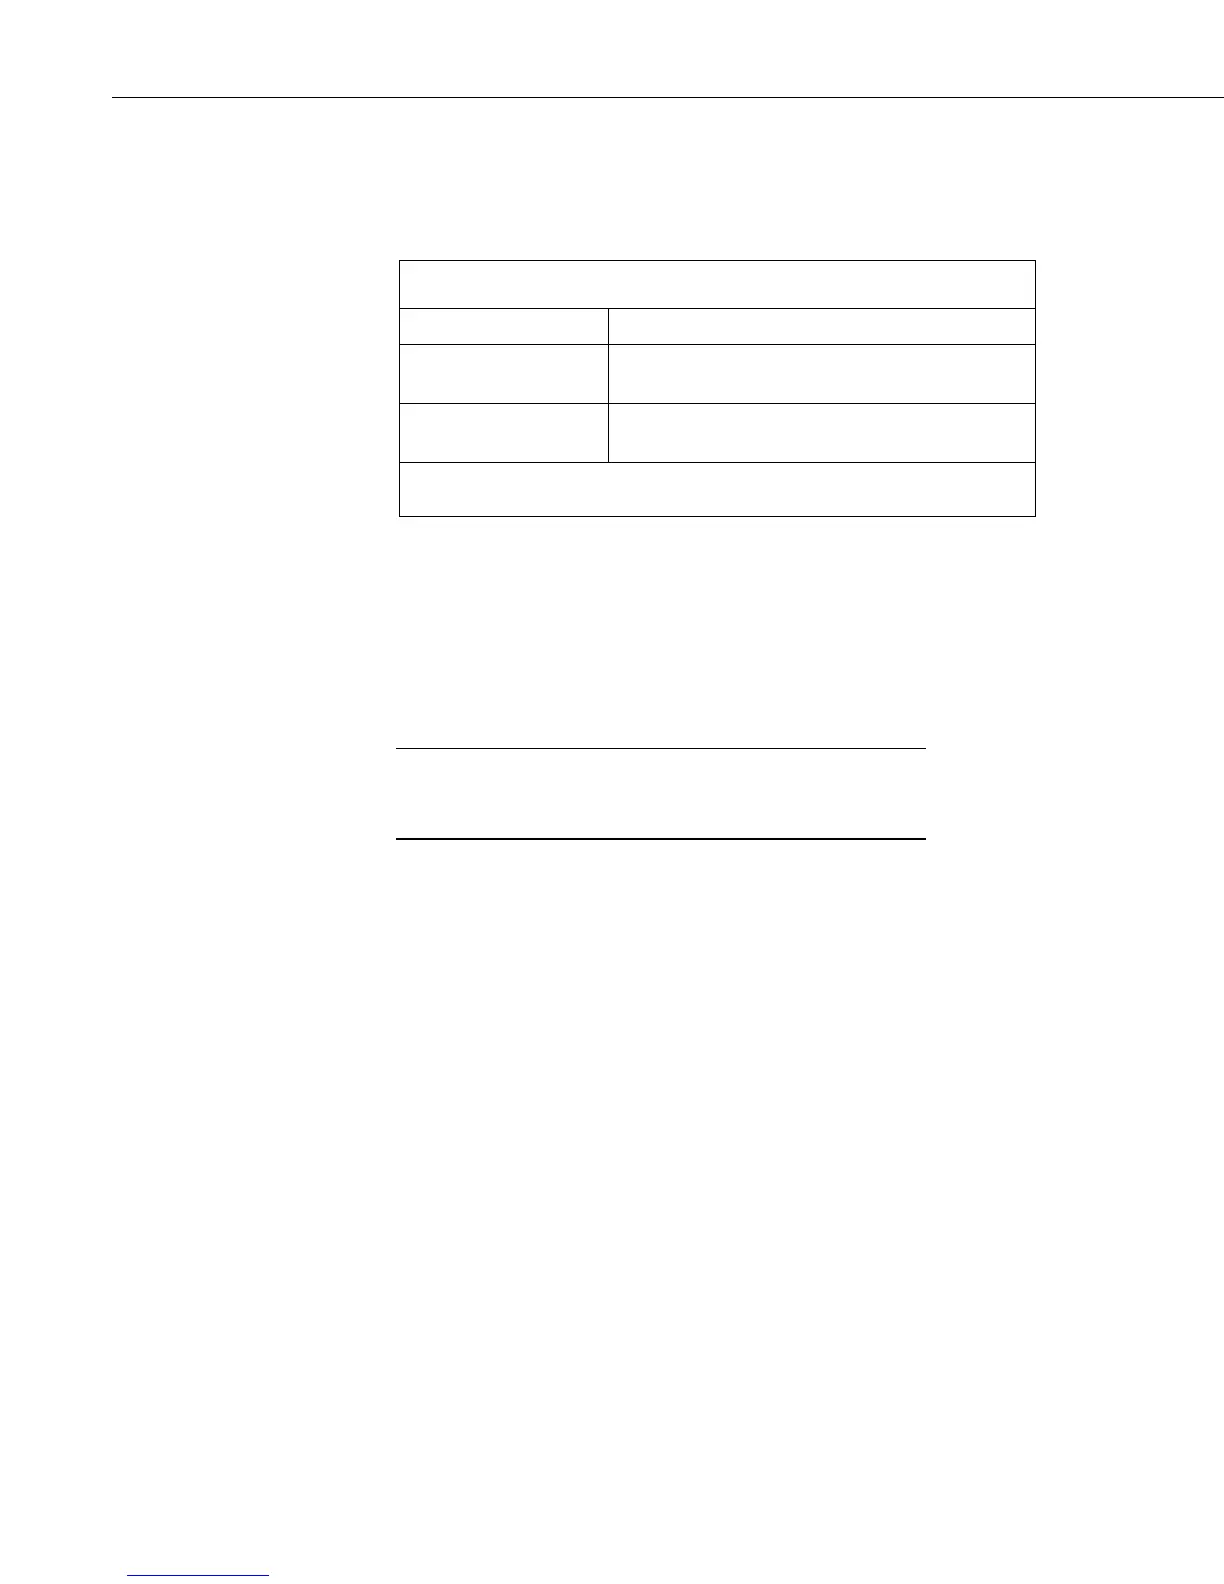
TABLE 4-1. Template Files
Template File Name Description
RV50_115200.xml
Default configuration with RS-232 at 115200
baud and Ethernet communication enabled.
1
RV50_9600.xml
Default configuration with RS-232 at 9600 baud
and Ethernet communication enabled.
2
1
CR1000, CR800 series, CR3000, CR6 series, CR300 series, CR5000
2
CR200(X)
10. Reboot the RV50 after successfully applying the configuration template.
You can do this by clicking the Reboot button on the ACEmanager
toolbar, by momentarily pressing the Reset button (2 sec), or by
temporarily removing power from the RV50.
4.4 Set up LoggerNet
The LoggerNet Network Map is configured from the LoggerNet Setup screen.
Setup has two options, EZ (simplified) and Standard. Click on the
View menu at the top of the Setup screen, and select Standard
view.
From the LoggerNet toolbar, click Main | Setup and configure the Network
Map as described below.
1. Select Add Root | IPPort.
2. Add a datalogger to the IPPort (PakBus® dataloggers, for example the
CR1000, require a PakBusPort).
3. Select the IPPort in the Network Map. Enter the RV50 IP address (or
domain name) and port number. The IP address and port number are input
in the Internet IP Address field separated by a colon. Preceding zeros are
not entered in the Internet IP Address (for example, 070.218.074.247 is
entered as 70.218.74.247). Device Configuration Utility (DevConfig) and
the RV50 template file configure the port number to 3001 for serial server
mode. Set the Extra Response Time to 4 seconds.