10
ASSEMBLY INSTRUCTIONS
Planning the Pull
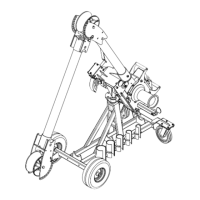
1. Referring to the major components list on page 8 make sure you have all
the components necessary to build a complete package.
2. Plan the pull to determine which components you will need.
Coupling Selection
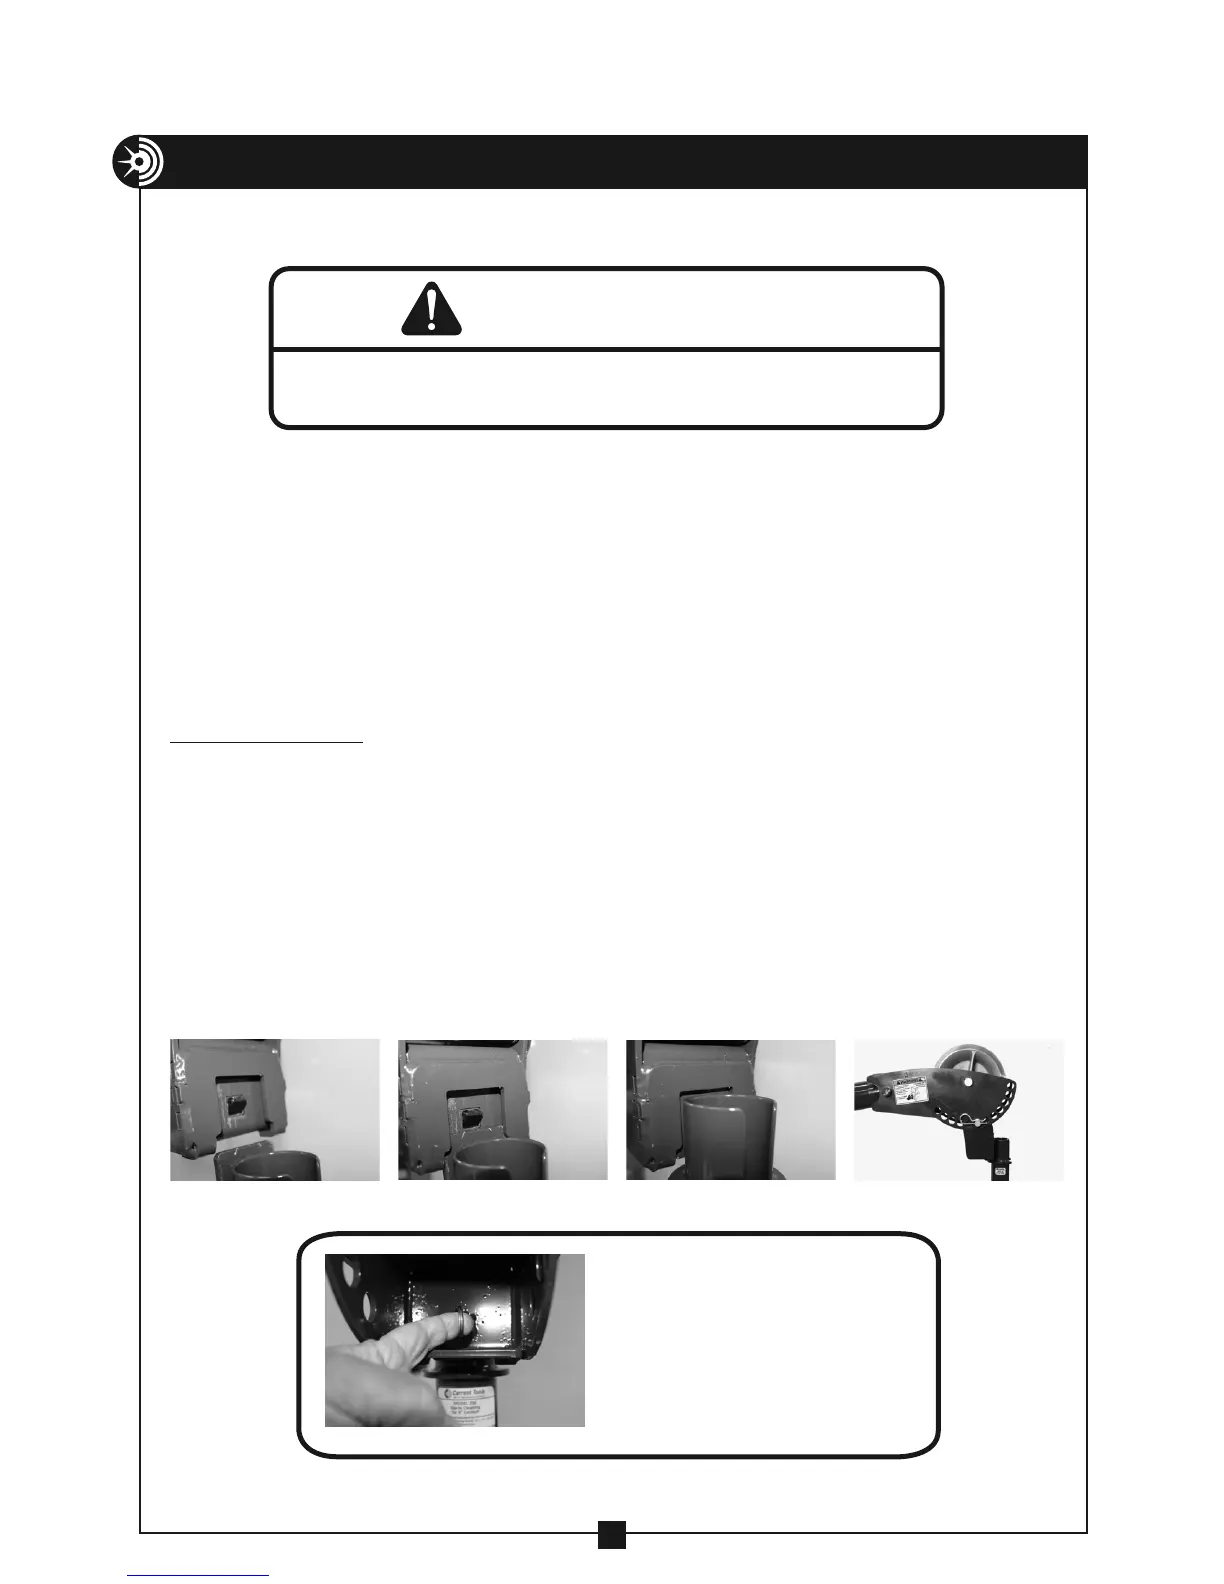
The nose unit of the puller package is connected to the conduit using Current
Tools slip-in couplings or optional screw on couplings. From the information
in this section, choose and install a coupling that will meet your pulling
requirements.
Slip-In Couplings
Slip-In Couplings are provided for conduit sizes 2", 2 1/2", 3", 3 1/2" and 4".
5" and 6" couplings are available as an option.
Slip-In Couplings Procedure:
1. Match the coupling to the conduit size.
2. Install the correct size slip-in coupling into the coupling adapter located in
the nose unit by inserting the receiver plate into the coupling adapter until
the spring loaded pawl "snaps" into place. See Figures 10a through 10d.
Some components weigh more than 50 lbs. and will require more than one
person to lift, transport and assemble.
WARNING
10a 10c10b 10d
NOTE: To disassemble
couplings from coupling
adapter, pull the ring on
the back of the coupling
adapter.This will retract
the spring loaded pawl
and release the coupling.
10e