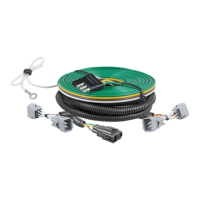
58909-INS-RA
•
PAGE 2
Step 4
Locate a suitable grounding point near the connector such as an existing screw with nut in the vehicle frame or drill a 3/32" pilot hole for the
provided screw. The area should be free of rust, dirt and paint. Secure the white ground wire using the ring terminal and provided screw.
WARNING
Check for miscellaneous items that may be hidden behind or under any surface before drilling to avoid damage and / or personal injury.
Step 5
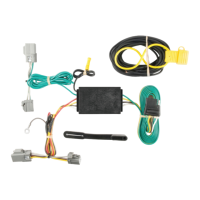
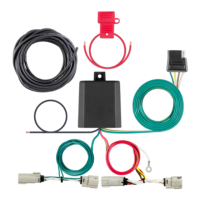
Route the portion of the RV harness with connectors containing green wires down the taillight opening.
On the passenger side, route a fishwire through the bumper frame to the driver side. Secure the RV harness ends
to the fishwire and pull through the bumper frame. Route the connector ends up through the taillight opening and repeat step 3.
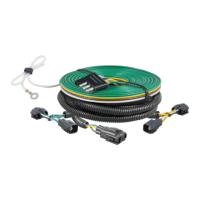
Step 2
On both sides of the taillight openings it may
be necessary to trim the black plastic piece
attached to the bumper fascia.
Use a utility knife to cut away the corner. This
should only be done if you cannot carefully pull
the bumper fascia away enough to allow the RV
harness connectors to pass through.
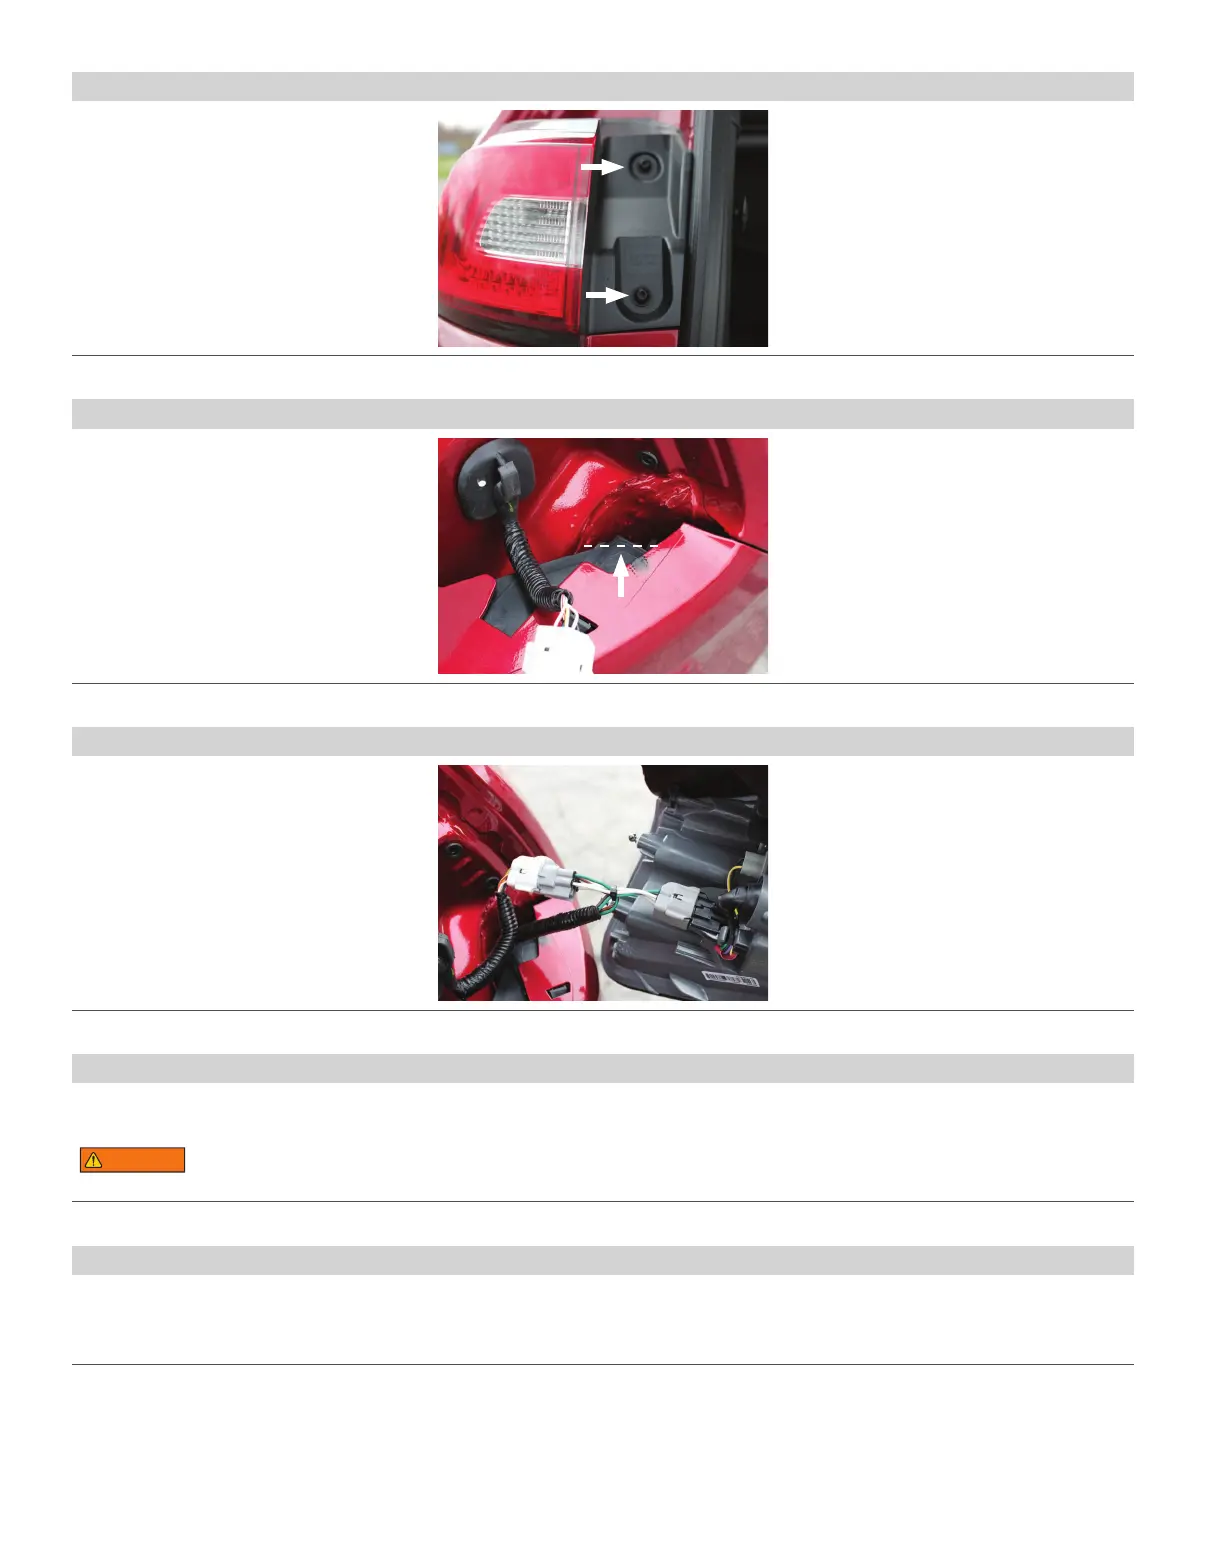
Step 1
Open the rear hatch and use a T30 Torx
screwdriver to remove the screws securing
the taillights on the driver and passenger
side. Gently remove the taillights and inspect
connectors for dirt and debris and clean
if necessary.
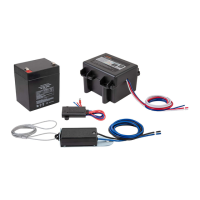
Step 3
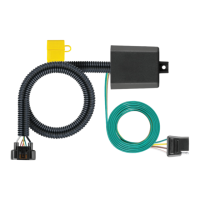
Starting on the driver side, position the
RV harness connector ends containing
yellow wires between the separated
vehicle harness connectors.
Press the connectors firmly into the
vehicle connectors until they lock into
place. Pull on the connectors to ensure
the locks are engaged.