58909-INS-RA
•
PAGE 3
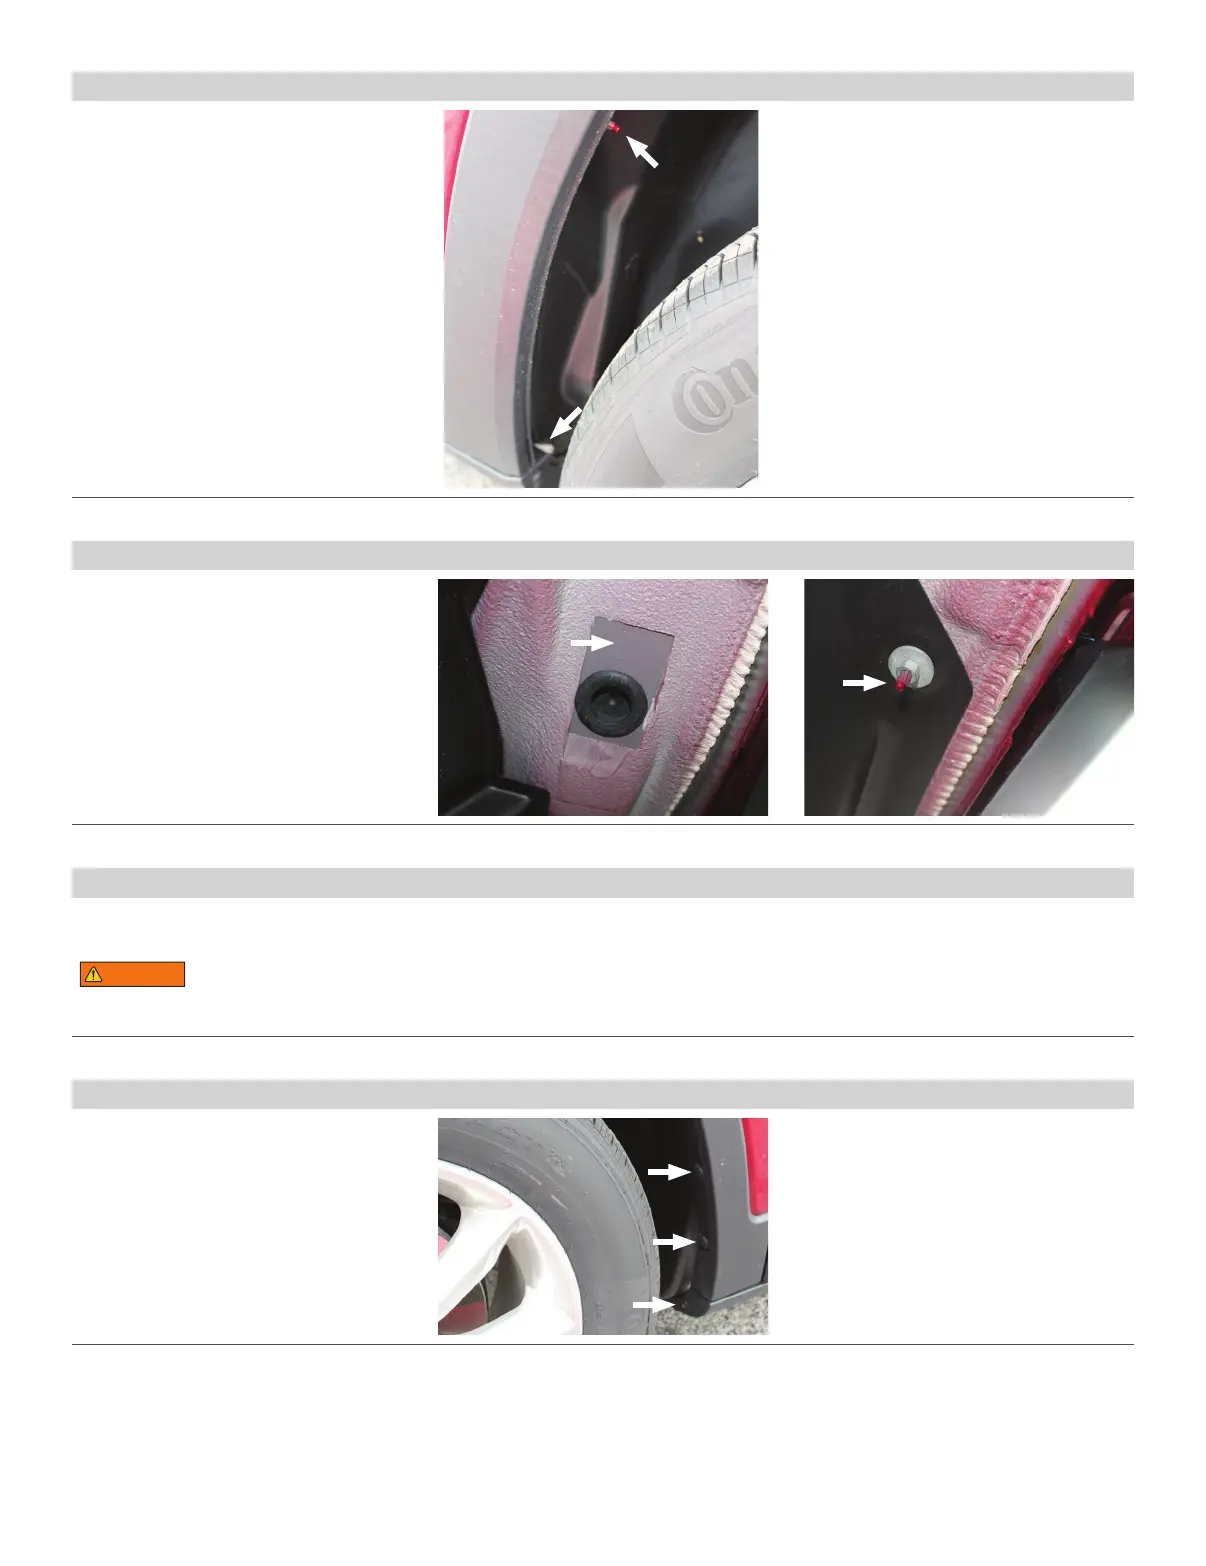
Step 9
At the front driver-side wheel well, remove
three push clips and bolt using an 8mm socket.
From inside the engine compartment, route
a fishwire down through the wheel well area
to the right side. Secure the 4-flat and pull
through the wheel well area.
Step 8
Continue routing the 4-flat to the front of the vehicle underneath the plastic guard until you
reach the end near the driver-side front wheel well. Secure with cable ties if necessary.
WARNING
Avoid areas that contain moving parts or could cut, pinch or burn the wires when routing the 4-flat harness to the
front of the vehicle. Failure to follow these warnings may cause property damage, personal injury or loss of life.
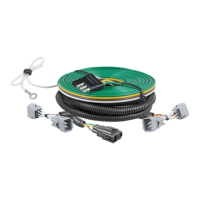
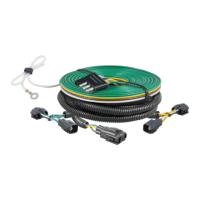
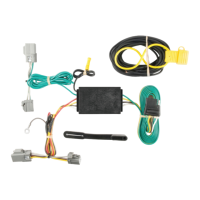
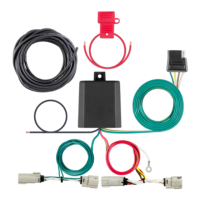
Step 6
Cut the cable ties on the 4-flat portion of
the harness. Route the 4-flat portion of the
RV harness down the taillight opening.
Use a 10mm socket to remove the two bolts
and two push clips in the driver-side rear wheel
well. Starting on the left side of the wheel well,
route up and over the wheel well to the right
side. Secure the 4-flat to the fishwire and pull
through the wheel well.
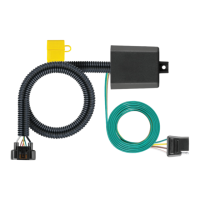
Step 7
Place a cable tie pad on a flat surface located
near the grommet. Use a 10mm socket to
remove the bolt holding the plastic guard in
place. Route the 4-flat to the plastic guard and
secure to the cable tie pad using a cable tie.