Optional audio visual components
DescriptionPart NumberCoupler
Ethernet CouplerOCN-22747
HDMI CouplerOCN-25816
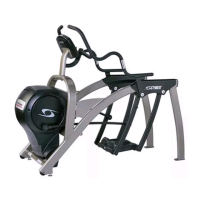
Lift and move unit
1. Remove large bolts and shipping supports. Keep package material on linkage arms at this time.
This will protect the paint from scratching during assembly.
2. Grasp each rear support leg firmly and lift with one person on each side.
3. Lift the lower rear support legs so the front transport wheels are able to roll on floor.
Use proper lifting methods.
4. Move unit to intended location.
5. Lower rear support legs.
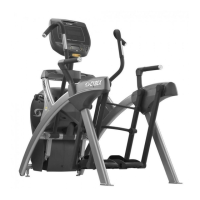
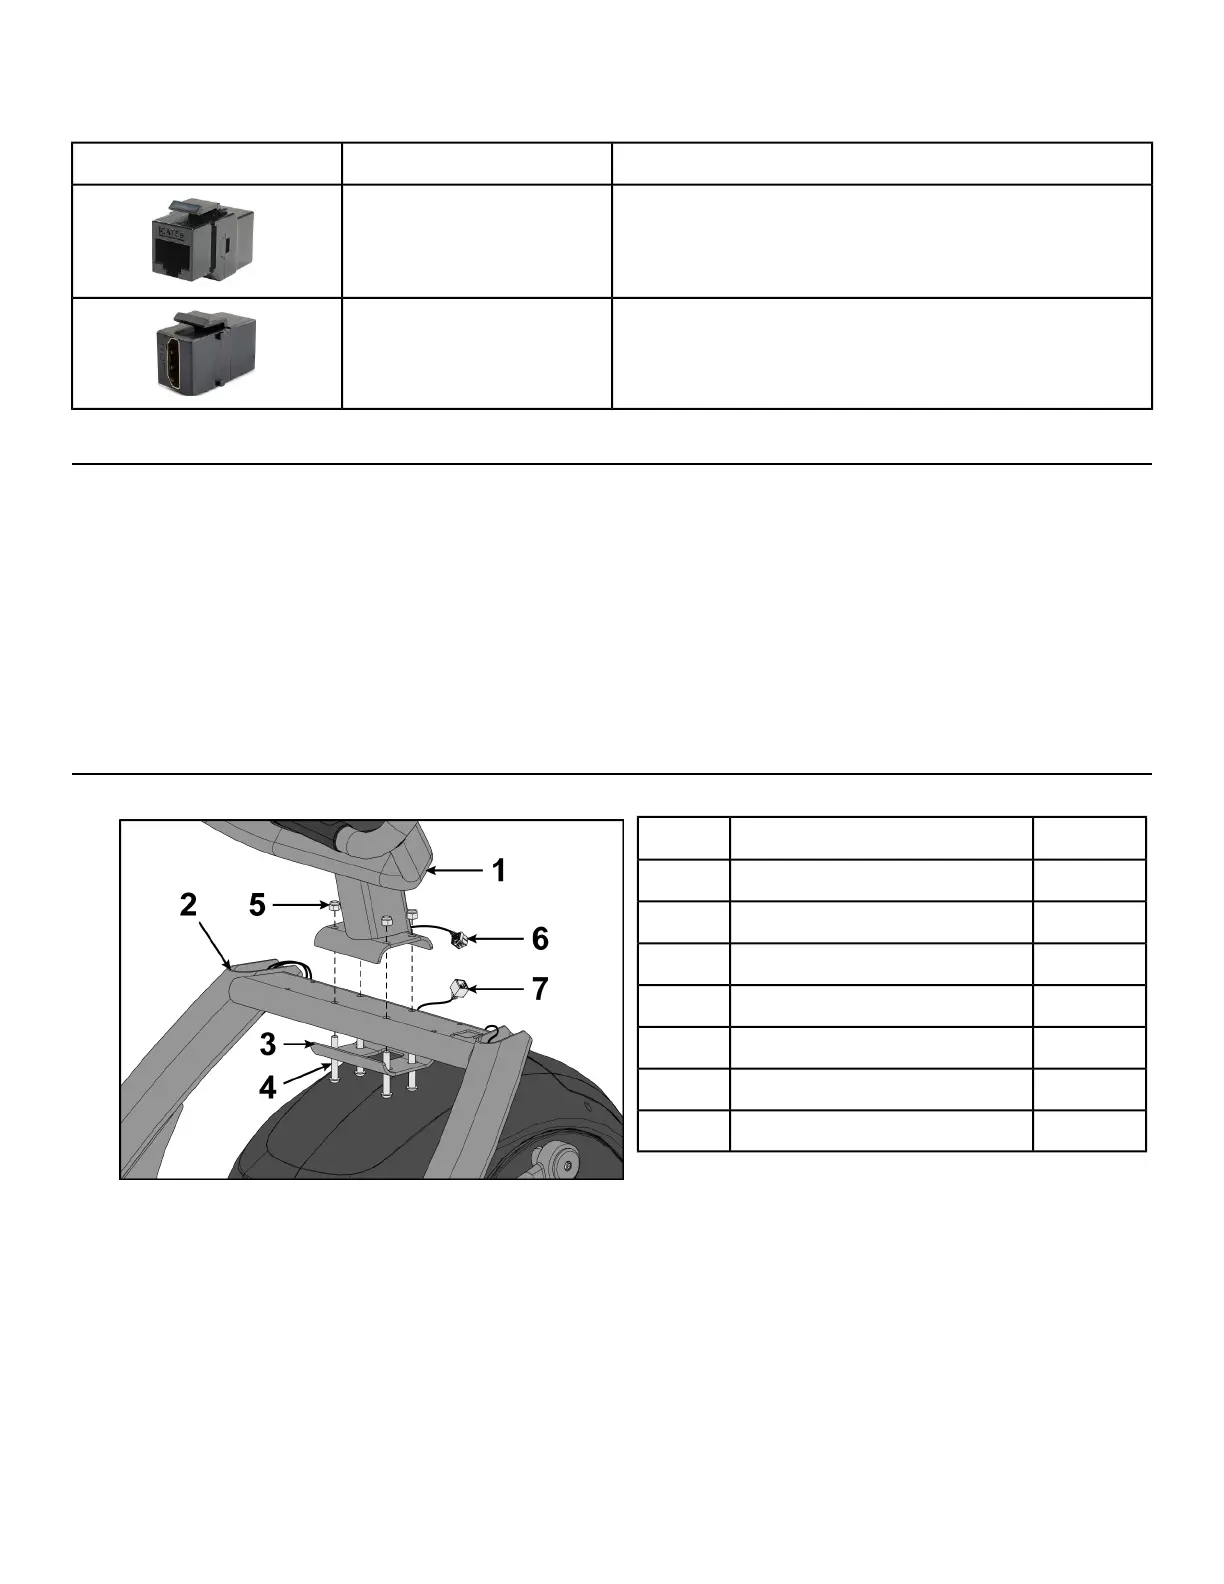
Install console assembly
1. Place the console into position on the frame. Do not pinch cables while lowering the console.
QtyDescription
1Console1
1Frame2
1Lower bracket3
4Bolts4
4Locknuts5
1Upper display cable6
1Lower display cable7
2. Insert (from underneath) the lower bracket and four bolts into the frame and console.
3. Thread the four locknuts onto the bolts by hand.
4. Tighten the four bolts and locknuts with a 7/32” Allen wrench and a 9/16” open-end wrench.
5. Plug the upper display cable into the lower display cable.
Page 17 of 83
Cybex 626A/626AT, 627A/627AT Arc Trainer Part Number 5626-4 J
 Loading...