7 of 29Fly6 CE603 User Guide |
Setting up your Fly6
Charging your Fly6 battery
Your Fly6 comes partially charged. Before using it
for the first time, please charge the Fly6 fully.
To charge:
• Connect your Fly6 to a USB power adapter (not supplied)
using the supplied USB cable.
• The indicator light will illuminate red showing the Fly6 is charging.
• The indicator light will illuminate green when the Fly6 is fully charged.
You can charge your Fly6 using the USB cable provided and your computer
however, this will significantly reduce the rate of charge. For the quickest
charge, use a USB power adapter that supports USB fast charge (5V @ 2.1A).
Note
The Fly6 is ‘Fast Charge’ compatible and accepts up to 2.1 amps. Accordingly,
the time to charge from flat to fully charged varies from 1.5 to 6 hours
depending on the method of charging, i.e. mains power USB at 2.1 amps (not
supplied) or computer USB (at as little as 0.5A). Battery life will diminish over
time and charge cycles.
Battery level indicator
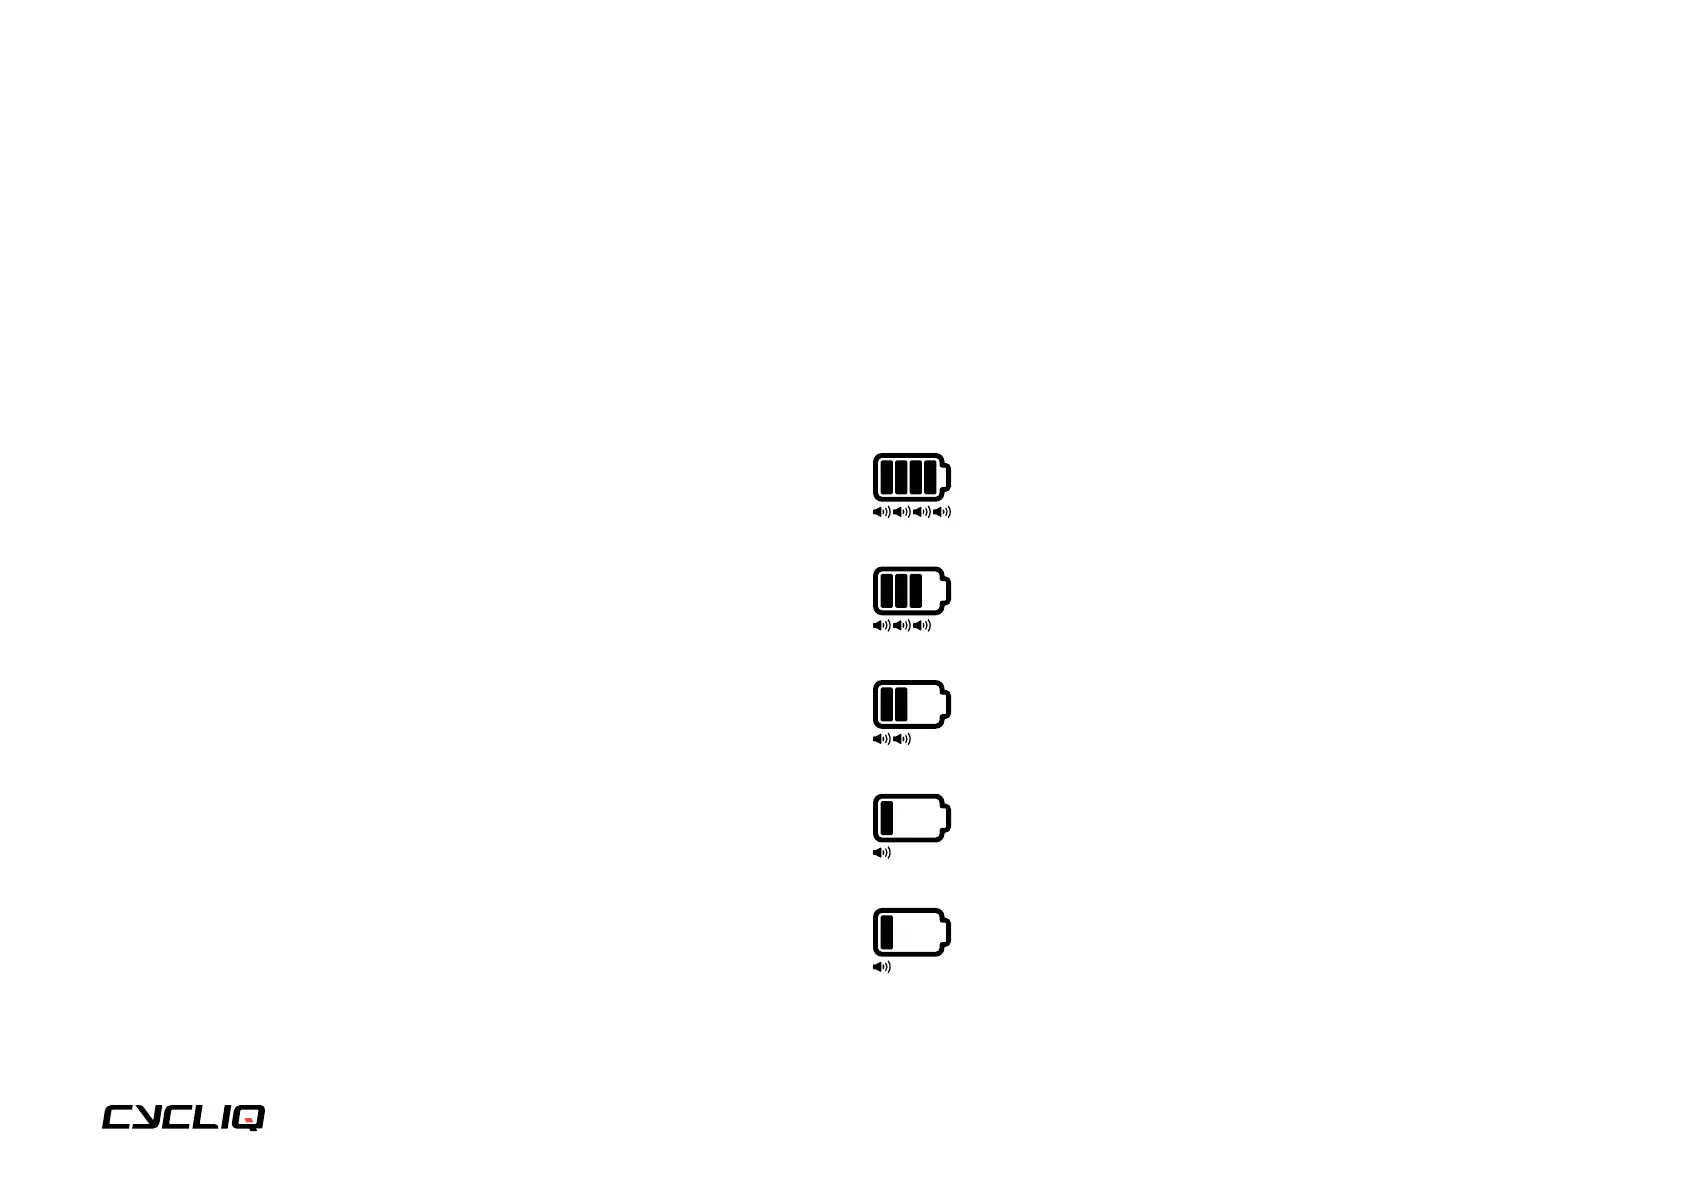
When turning on your Fly6, an audible battery status will sound, alerting
you to the current battery level. This will indicate whether you have enough
power for your next ride. See below for audible notification guide:
4 rapid high pitched beeps = 75% to 100% charged
3 rapid high pitched beeps = 50% to <75% charged
2 rapid high pitched beeps = 25% to <50% charged
1 rapid high pitched beep = 12% to <25% charged
3 long high pitched beeps = Less than 12% charged