EN / CZone® Control X User & Installation Manual
4 INSTALLATION
THINGS YOU NEED
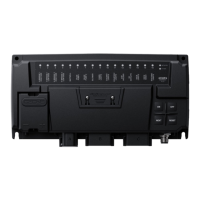
• Control X Module
• Deutsch Connector Kit (80-911-0233-00 – Control X, 80-911-0232-00 – Control X PLUS)
• 4 x 10G (5mm) panhead self-tapping screws or bolts for mounting Control X to surface (not supplied)
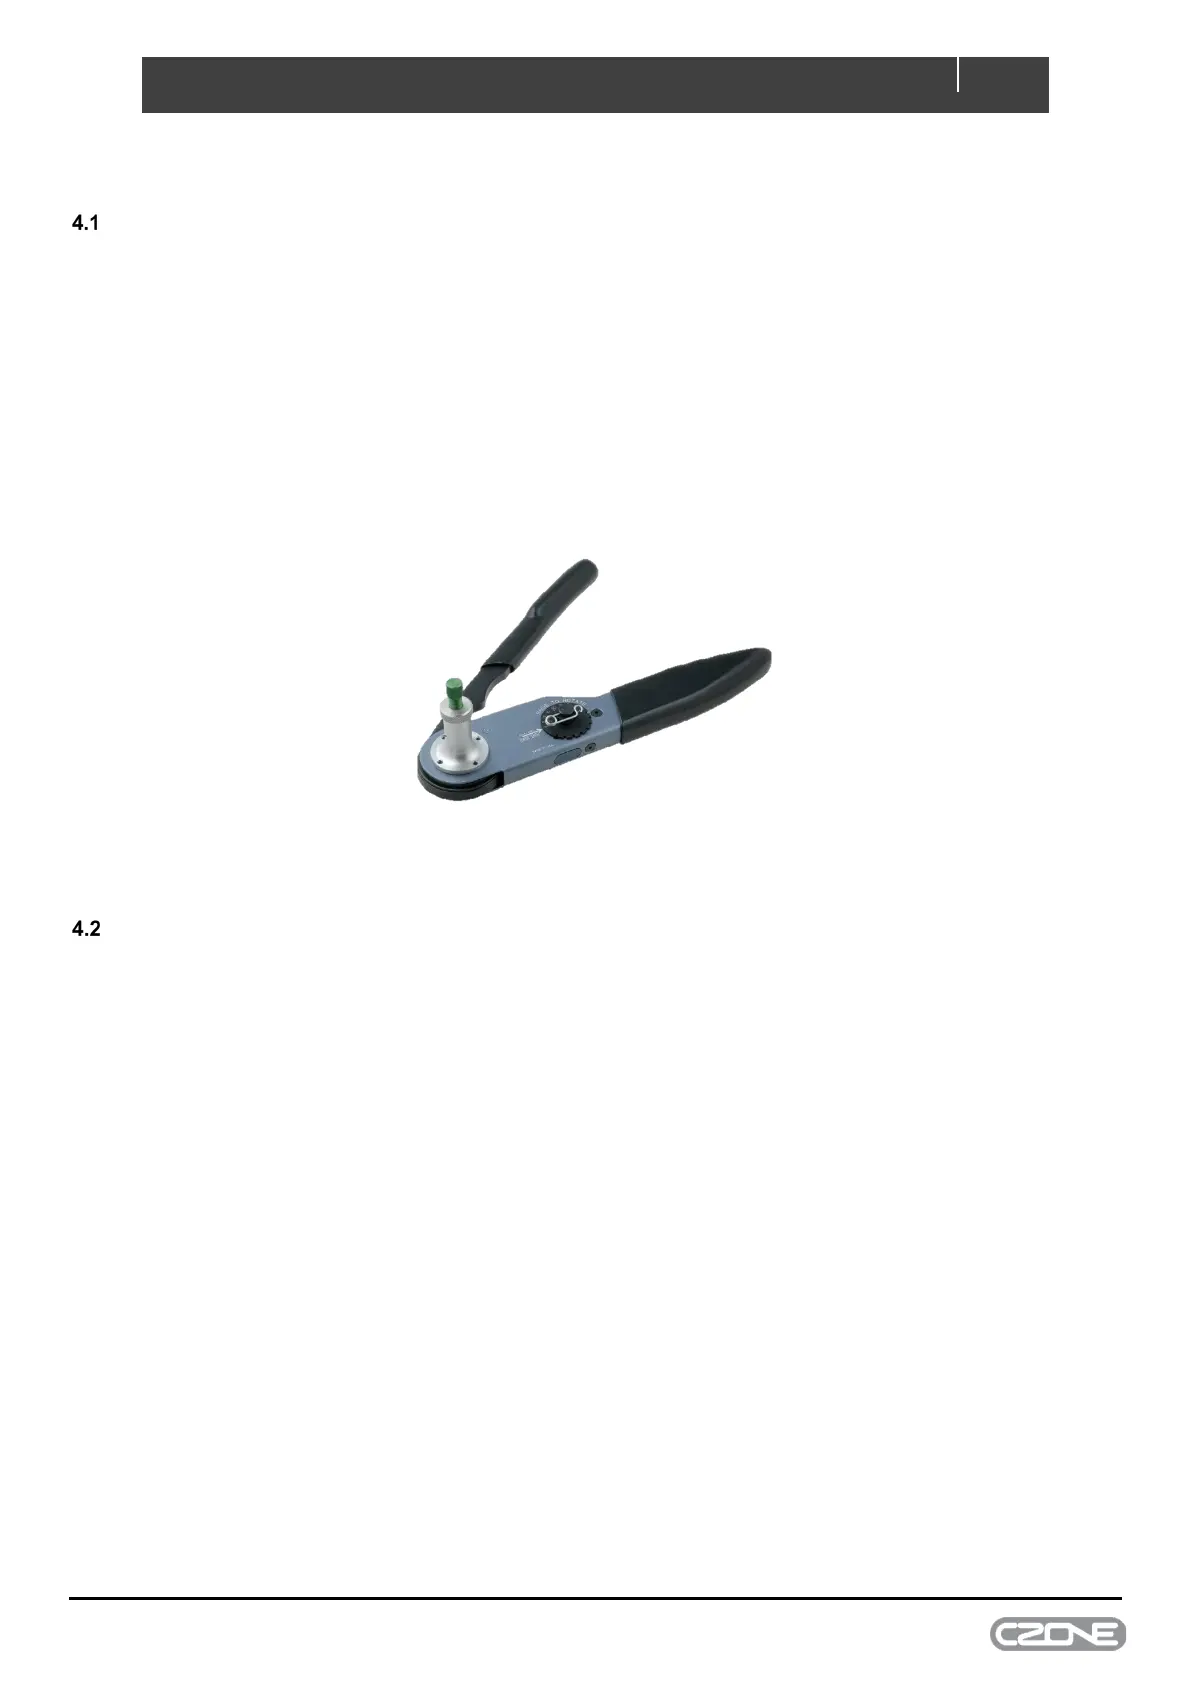
• HDT-48-00 Deutsch crimp tool for crimping 0.5mm-4mm (20-12AWG) wire
• Duratool D03008 crimp tool or similar for crimping 6mm (10AWG) wire (optional)
• NMEA2000 drop cable and T-connector
• Screwdriver and drill bits
• Electrical Tools
• Silicone grease (lubricating connector seals)
Figure 5. Deutsch HDT-48-00 Crimp Tool
ENVIRONMENT
Obey the following stipulations during installation:
• Ensure the Control X is located in an easily accessible location for quick access to module
• Ensure indicator LEDs are visible for troubleshooting
• Ensure circuit labels are fitted and all channels labelled correctly
• The Control X must be mounted at least 50mm away from high current carrying conductors such as anchor
winches, bow thruster cables, speakers, transformers and other high inductive loads.
• Ensure the bulkhead that the unit will be attached to is sufficiently strong to take the weight of the unit and
attached cables.
• Ensure there is at least 10mm clearance around the sides and top of the Control X.
• All connectors must be installed to achieve IPX7 waterproof rating with unused channels blocked with Deutsch
blocking pins (part # 114017-ZZ).