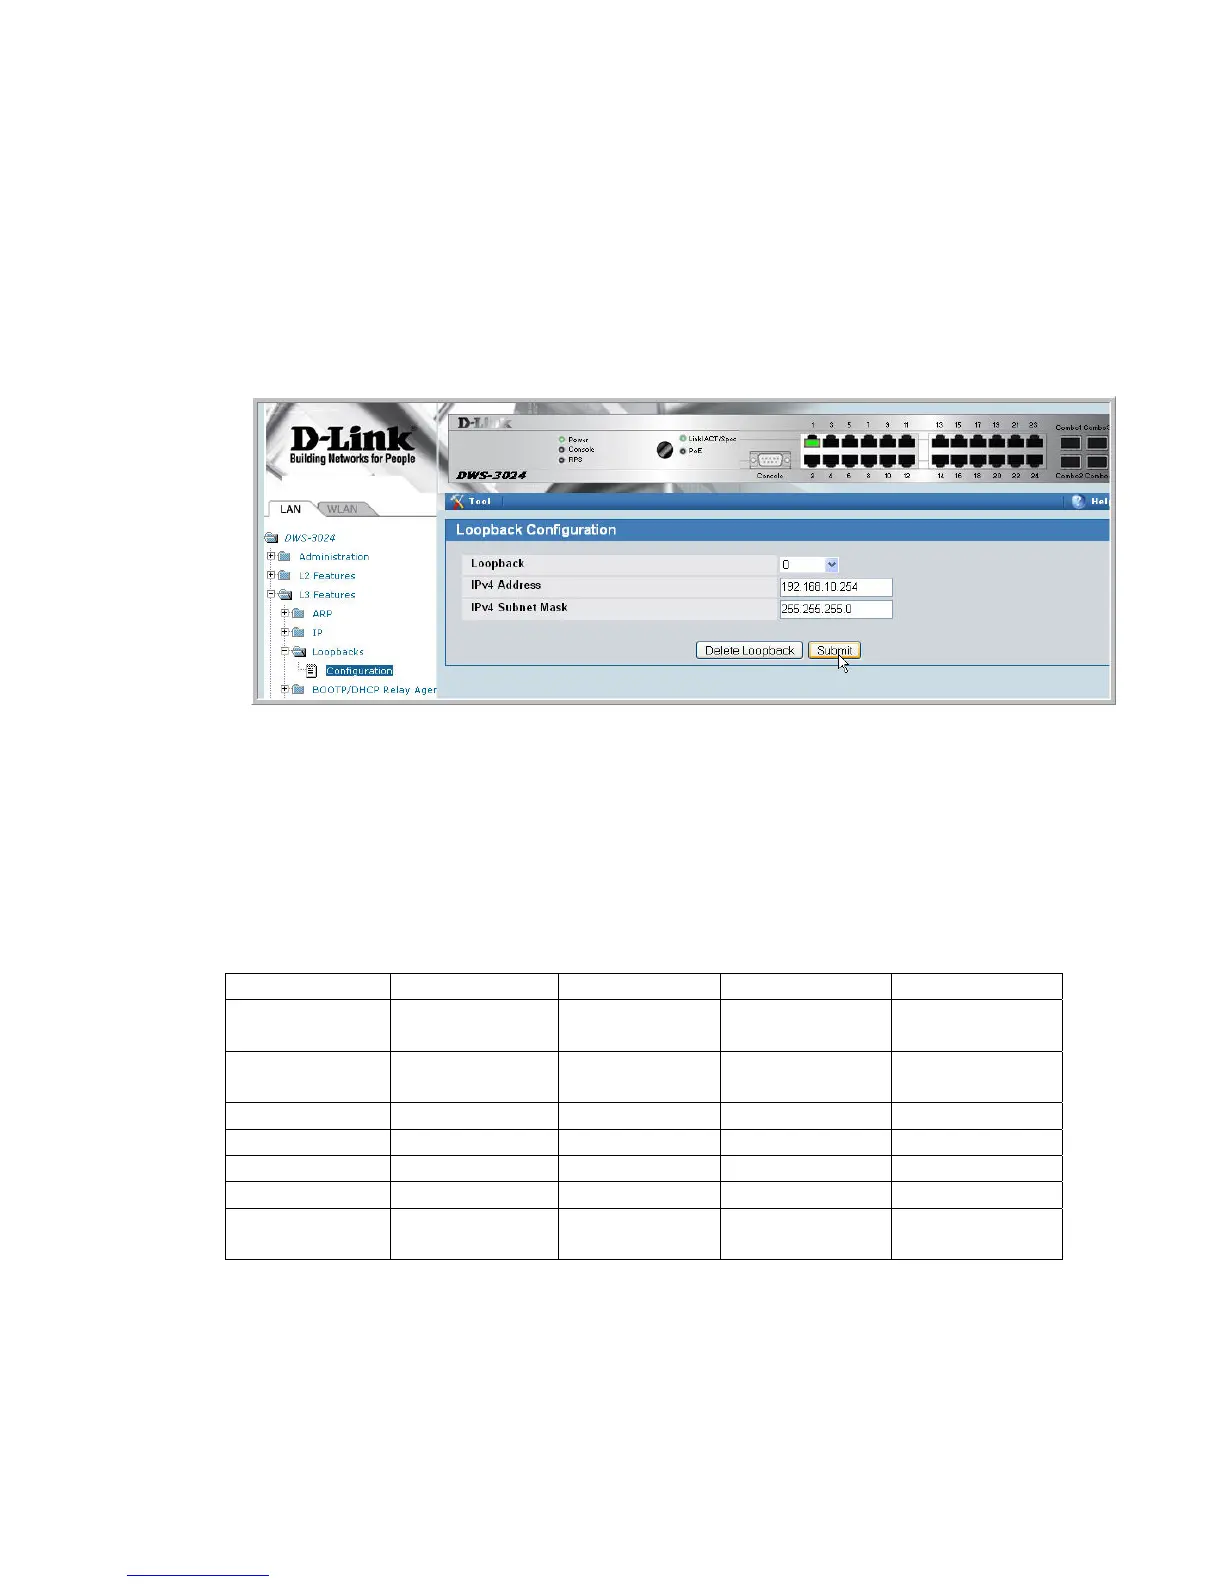
1. Click L3 Features -> Loopbacks -> Configuration
2. If they are not already selected, select Create from the Loopback field and 0 in the
Loopback Interface field.
3. Click Submit.
4. After the screen refreshes, enter the following information for the new interface:
a. Loopback Interface: 0
b. IP Address: 192.168.10.254
c. Mask: 255.255.255.255
5. Click Submit.
2.1.6 DHCP Server
You need to configure IP address pools for each AP and for the clients that connect to the APs
through the D-LINK NET1 and DLINK-NET2 SSIDs.
1. From the LAN menu, click Administration Æ DHCP Server Æ Global Configuration
2. In the Admin Mode field, select Enable, then click Submit to enable the DHCP server..
3. Select Pool Configuration in the Navigation tree.
4. For each of the four pools to create, select create and specify the following settings:
Pool Name
AP1 AP2 VLAN 100 VLAN 200
Type of
Binding
Dynamic Dynamic Dynamic Dynamic
Network
Number
192.168.20.0 192.168.30.0 192.168.100.0 192.168.200.0
Network Mask
255.255.255.0 255.255.255.0 255.255.255.0 255.255.255.0
Days
1 day 1 day 1 day 1 day
Hours
0 0 0 0
Minutes
0 0 0 0
Default Router
Address
192.168.20.254 192.168.30.254 192.168.100.254 192.168.200.254
5. Click Submit to create the address pool.

 Loading...