Page 9-3
TI
-
P
NE
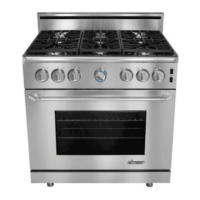
Front Door Glass Assembly
Front Door Glass Assembly
em
e the
n
r. See the D
r Rem
v
l
section on page 8-1.
ay the door, handle down, on a flat, padded
sur
ace with the door gasket
acing up.
emo
e t
e two
2
screws B in t
e to
rners
f the
r.
ras
the to
end o
the
oor wit
one
an
an
u
u
. Pu
t
e
oo
h
n
le
t fr
m
n
erne
th
Gras
the to
o
the door with both hands
n
turn it o
er on the
added surface so that
t
e door
asket fa
u
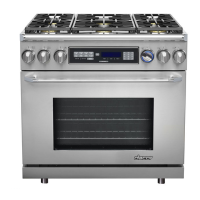
em
the two
2
inner screw
C
n the
bottom of the door. The outer screw
D
the bottom of the door are part of the hin
e
ssembl
. Do not rem
v
th
m
To pre
ent persona
in
ury, use
o
e
hen handlin
lass components that are
broken or shattered.
B
B
C
C
D
C
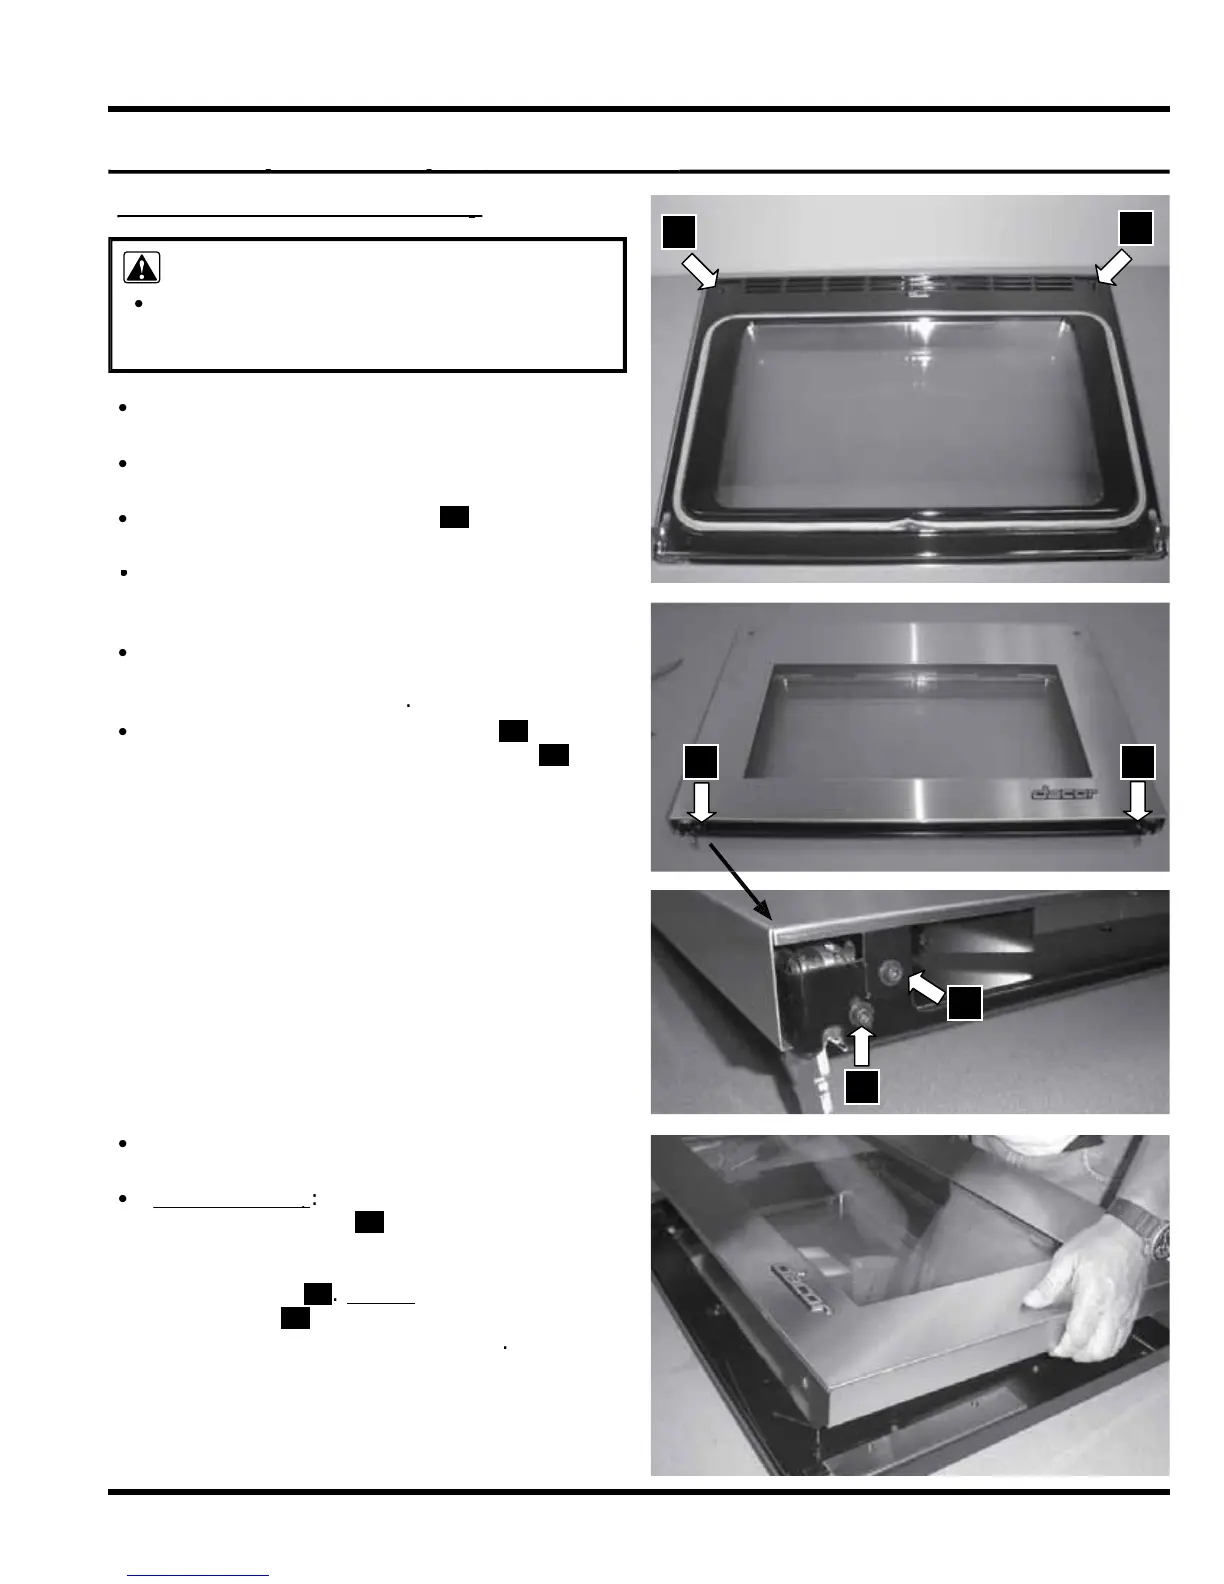
Grab the
ront door glass assembly with both
an
s an
rem
t.
em
the two (2) door
handle screw plugs X
The door handle
mountin
screws are
ocate
e
ow t
e p
u
s
see
acin
pa
e).
em
the two (2) door
handle screws Y
o no
r
e the door
iner screws B . Assem
e t
e
oor
an
e to
the new
ront door
lass assembl
Replace
the plugs