6
Table 3-1 Configure network
Network Type Description
WLAN
Click when Wi-Fi is available near the Signage.
After enabling this function, you can connect the Signage to Wi-Fi in the
following ways.
Auto search: Click a Wi-Fi, enter its password, and then click Connect.
Connect to Wi-Fi manually: Click , and then on the Add network
interface, enter Network SSID, select a security option from None, WEP,
WPA/WPA2 PSK, or 802.1x EAP, and then click Save.
Ethernet
Connect your device to network by Ethernet. Two methods are available to plan
your device IP.
DHCP: When there is a DHCP server on the network, after selecting the DHCP
option, the Signage automatically obtains IP address from the DHCP server.
Static IP: After selecting Static IP, respectively click IP Address, Gateway
and Netmask, and enter the IP address, default gateway and net mask
according to your network plan.
2) Click Save and Next.
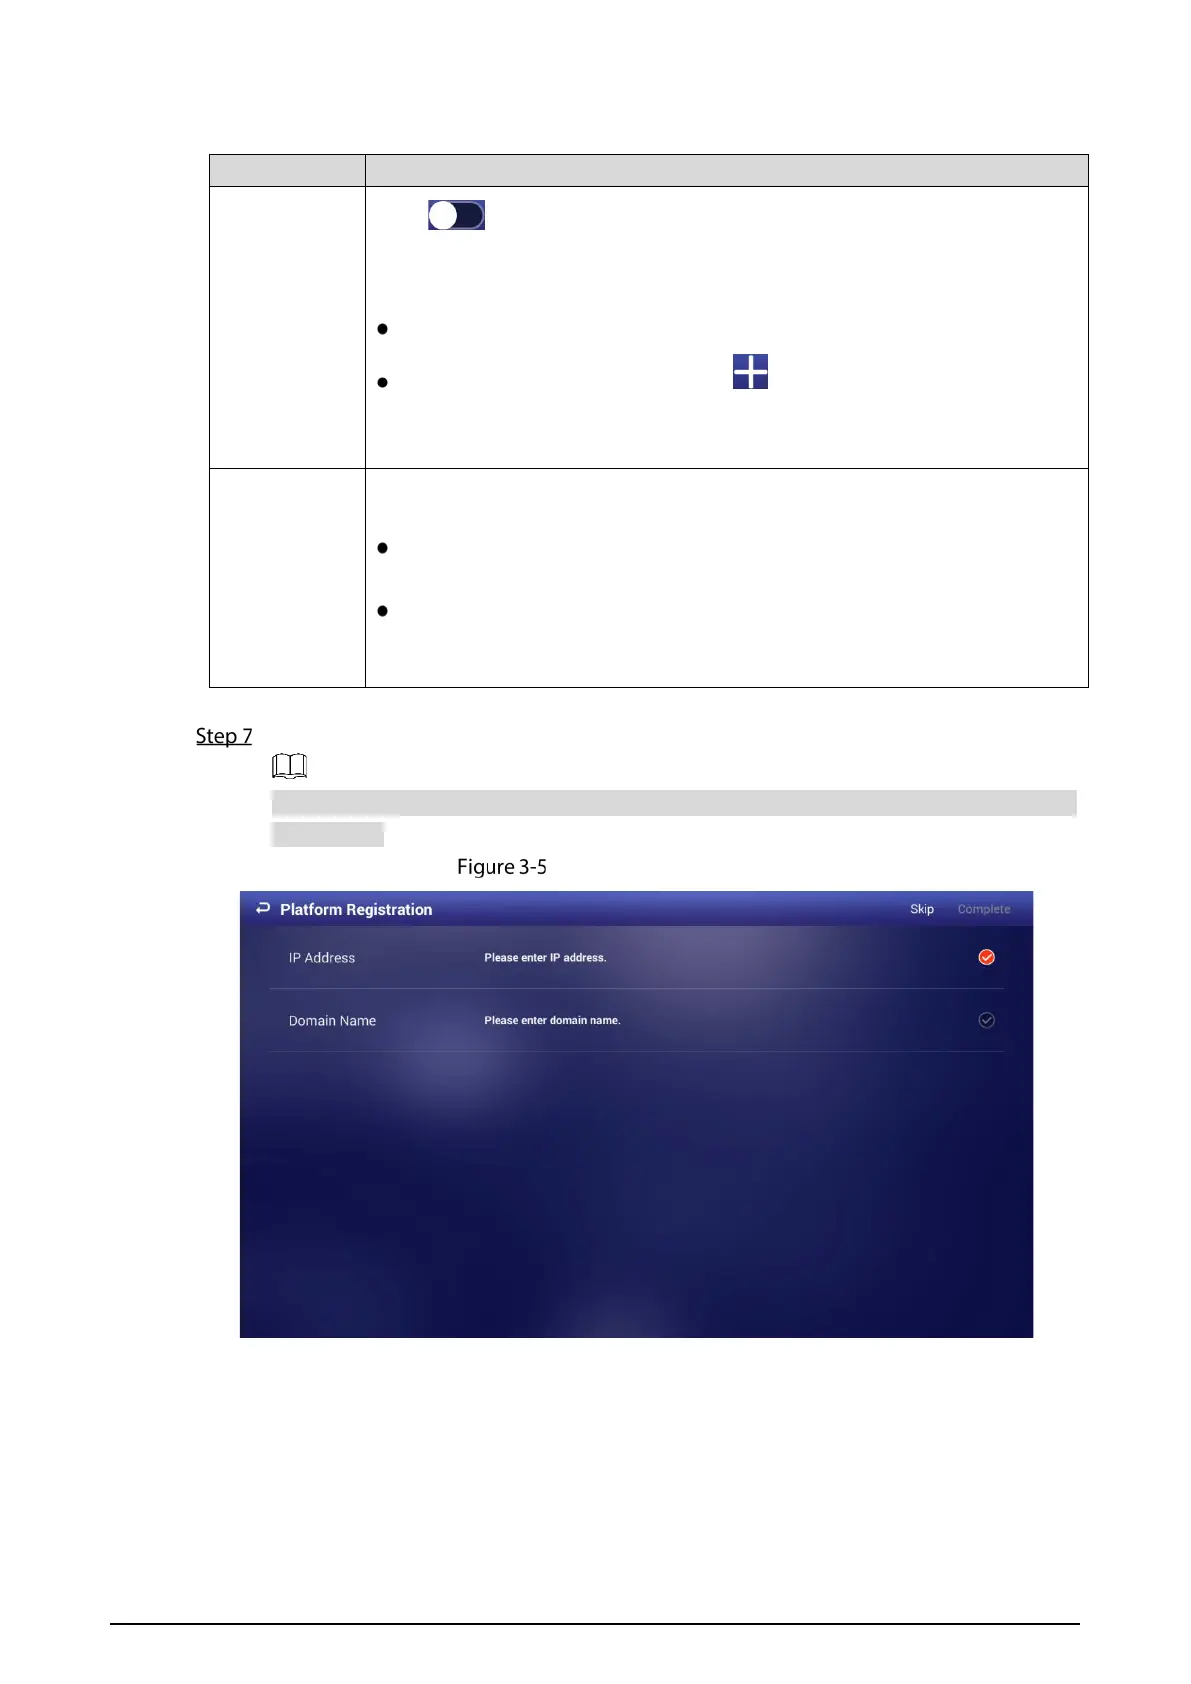
On the Platform Registration interface, register the Signage to the platform (MPS).
Click Skip to skip platform registration. Platform is required when multiple signages are used
in a solution.
Platform registration
1) Enter the IP address or domain name of the platform (MPS).
2) Click Complete.
 Loading...