EasyManuals Logo

Dahua VTO Series Quick Start Guide

Dahua VTO Series
39 pages
To Next Page IconTo Next Page
To Previous Page IconTo Previous Page
Page #24 background imageLoading...
Page #24 background image
错误!使用“开始”选项卡将 Heading 1 应用于要在此处显示的文字。 14
Installing VTO
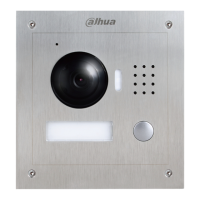
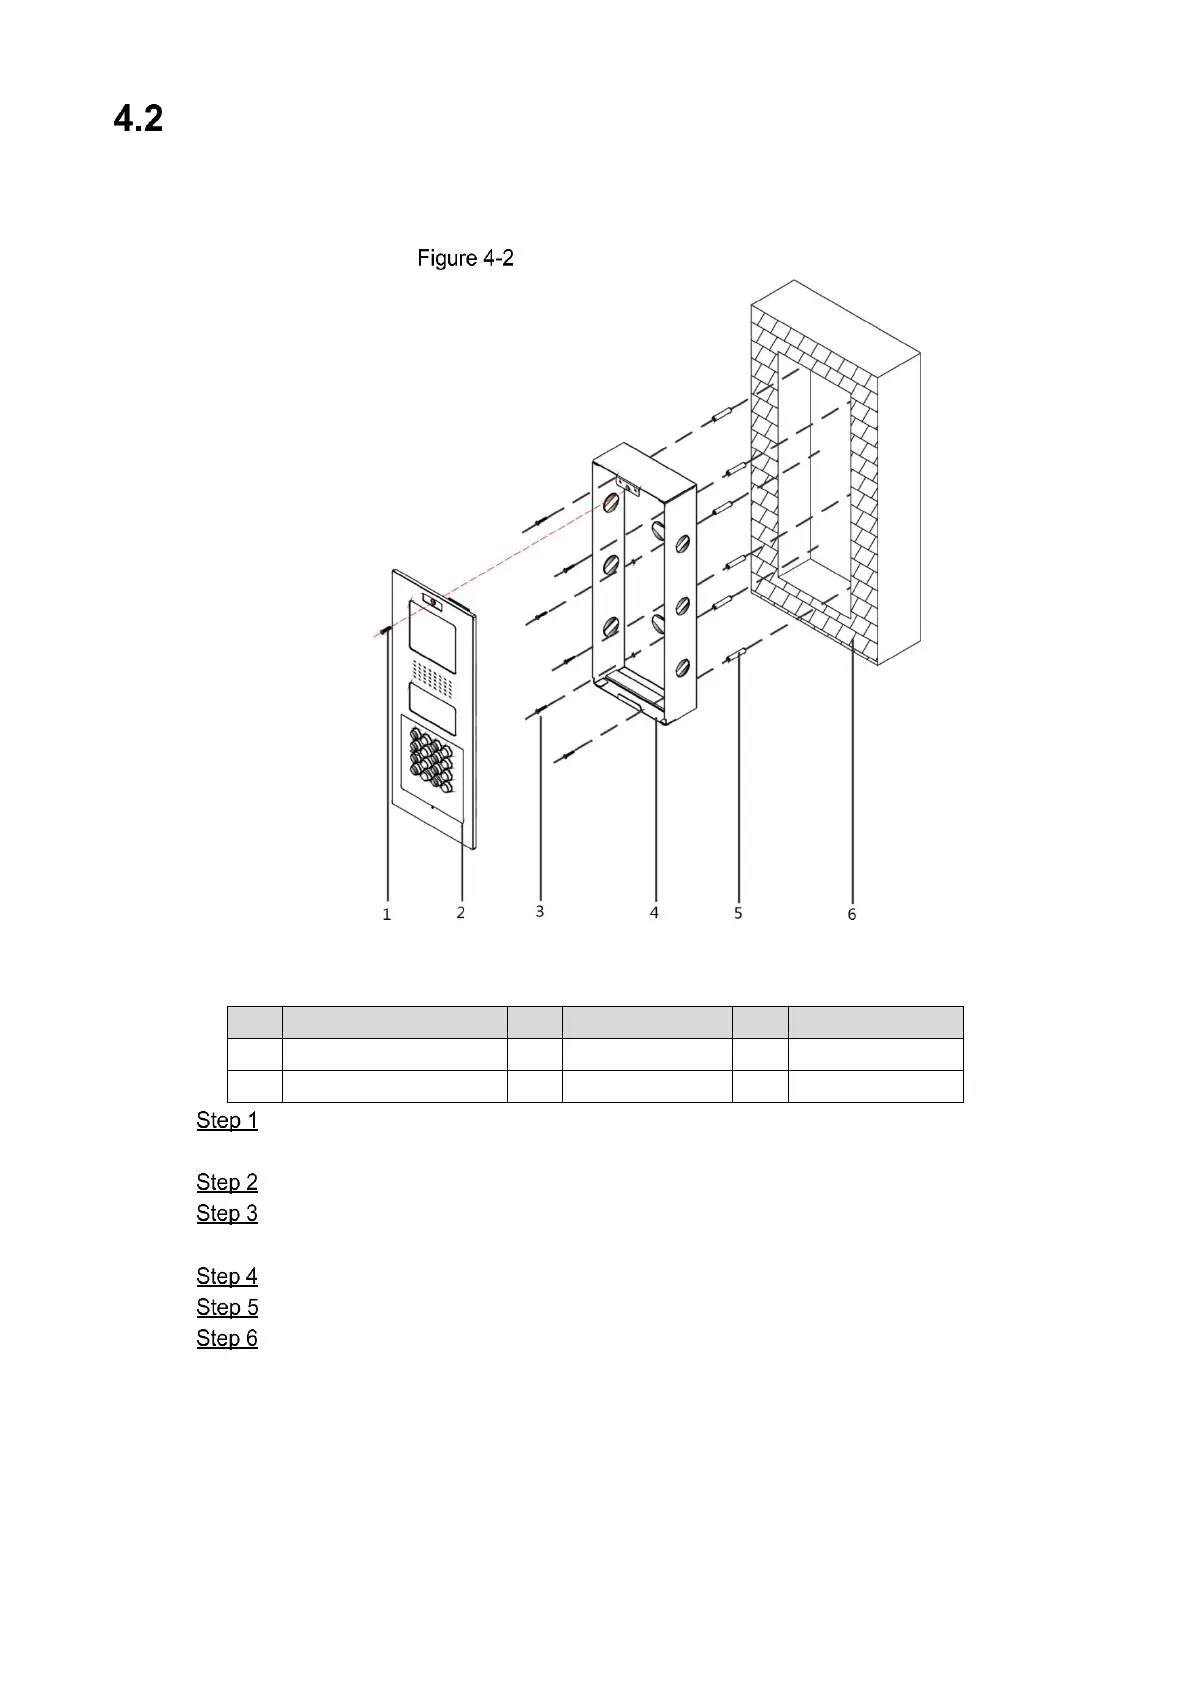
4.2.1 VTO1220A/VTO1210A-X
VTO1220A/VTO1210A-X installation
Table 4-1 Item list
No.
Item
No.
Item
No.
Item
1
M3×16 screw
2
VTO
3
ST3×18 screw
4
Metal mounting box
5
Expansion tube
6
Wall
Cut an opening with the size of the mounting box on the wall, and then drill screw holes
in the opening according to the position of the screw holes on the mounting box.
Put the expansion tubes in the screw holes.
Connect the ports on the rear panel to those in the wall through the mounting box. See
the details in "2.4 Connecting Cable."
Fix the mounting box in the opening with the ST3×18 screws.
Fix the VTO in the mounting box with the M3×16 screws.
Put sealant between the VTO, mounting box, and the wall.

Other manuals for Dahua VTO Series

Questions and Answers:

Question and Answer IconNeed help?

Do you have a question about the Dahua VTO Series and is the answer not in the manual?

Dahua VTO Series Specifications

General IconGeneral
CategoryIntercom System
DimensionsVaries by model
WeightVaries by model
ModelVTO Series (multiple models exist within the series)
Video Resolution1080p, 720p (depends on model)
AudioTwo-way audio communication
Network InterfaceEthernet (some models support Wi-Fi)
Power Supply12V DC or PoE (Power over Ethernet), Varies by model
Operating Temperature-30°C to +60°C (-22°F to +140°F)
WeatherproofIP65
Supported ProtocolsSIP

Related product manuals