108
FTX-N/U, FVXS-N, FDMQ-R Series EDUS091558E
C: 3P379970-7B
16
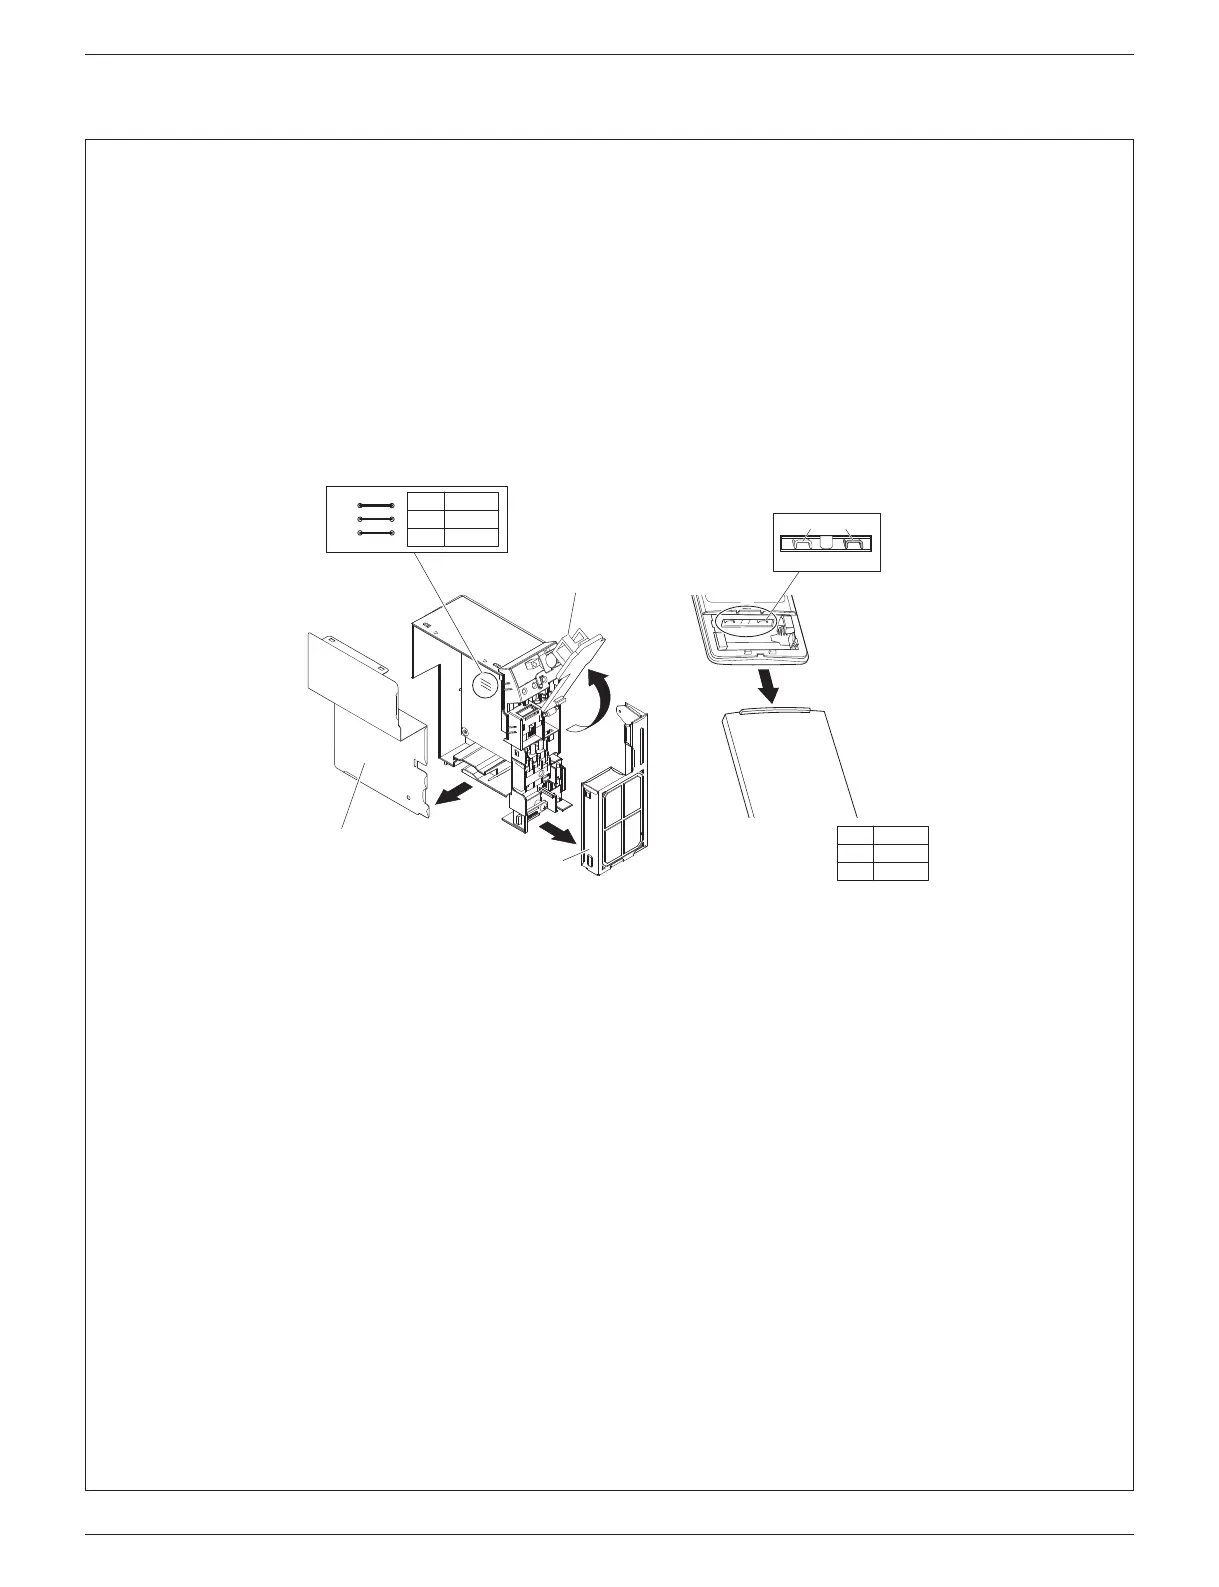
11. How to set the different addresses
• When 2 indoor units are installed in 1 room, the 2 wireless remote controllers can be set for different addresses.
Change the address setting of one of the 2 units.
When cutting the jumper be careful not to damage any of the surrounding parts.
1) Remove the electrical wiring box. (Refer to “10. When connecting to an HA system” on page 15 steps 1)-7).)
2) Cut the address jumper (JA) on the printed circuit board.
3) Cut the address jumper (J4) in the remote controller.
4)
Attach the electrical wiring box as they were. (Refer to “10. When connecting to an HA system” on page 15 steps 10)-15).)
5) Attach the front panel and the front grille as they were.
Jumper
(J8) (J4)
J4
ADDRESS
EXIST
1
CUT 2
JA
ADDRESS
EXIST
1
CUT 2
JA
Front electrical
wiring box cover
Side electrical
wiring box cover
Sensor
securing plate
01_EN_3P379970-7B.indd 16 11/12/2015 13:30:04