126
FTX-N/U, FVXS-N, FDMQ-R Series EDUS091558E
3P500432-1
For wireless remote controller
1) Press
MODE
and select the COOL or HEAT operation.
2) Press
/TEST
twice. “Test” is displayed.
3) Press
ON OFF
within 10 seconds, and the test operation
starts.
Monitor the operation of the indoor unit for a minimum
of 10 minutes. During test operation, the indoor unit will
continue to cool/heat regardless of the temperature
setpoint and room temperature.
• In the case of above-mentioned procedures 1) and 2)
in reverse order, test operation can start as well.
• Test operation will stop automatically after 15 - 30
minutes.
To stop the operation, press
ON OFF
.
• Some of the functions cannot be used in the test
operation mode.
Precautions
1) Refer to “11-2 HOW TO DIAGNOSE FOR MALFUNCTION”
if the unit does not operate properly.
11-2 HOW TO DIAGNOSE FOR MALFUNCTION
• If the air conditioner does not operate normally after
installing the air conditioner, a malfunction shown in the table
below may happen.
Wired remote
controller display
Description
No display
• Power outage, power voltage error or
open-phase
• Incorrect wiring (between indoor and
outdoor units)
• Indoor PC-board assembly failure
• Remote controller wiring not connected
• Remote controller failure
• Open fuse or tripped circuit breaker
(outdoor unit)
“Checking the
connection.
Please stand
by.” *
• Indoor PC-board assembly failure
• Wrong wiring (between indoor and
outdoor units)
* “Checking the connection. Please stand by” will be displayed
for up to 90 seconds following the application of power
to the indoor unit. This is normal and does not indicate a
malfunction.
Diagnose with the display on the liquid crystal display
remote controller.
With the wired remote controller
When the operation stops due to a malfunction, operation
lamp blinks, and the malfunction code is indicated on the liquid
crystal display. In such a case, diagnose the fault contents by
referring to Error History in the service settings menu.
In the case of group control, the unit No. is displayed so that
theindoorunitwiththetroublecanbeidentied.
With the wireless remote controller
(Refer also to the operation manual attached to the wireless
remote controller)
When the operation stops due to a malfunction the display
on the indoor unit blinks. In such a case, diagnose the fault
contents with the error code which can be found by following
procedures.
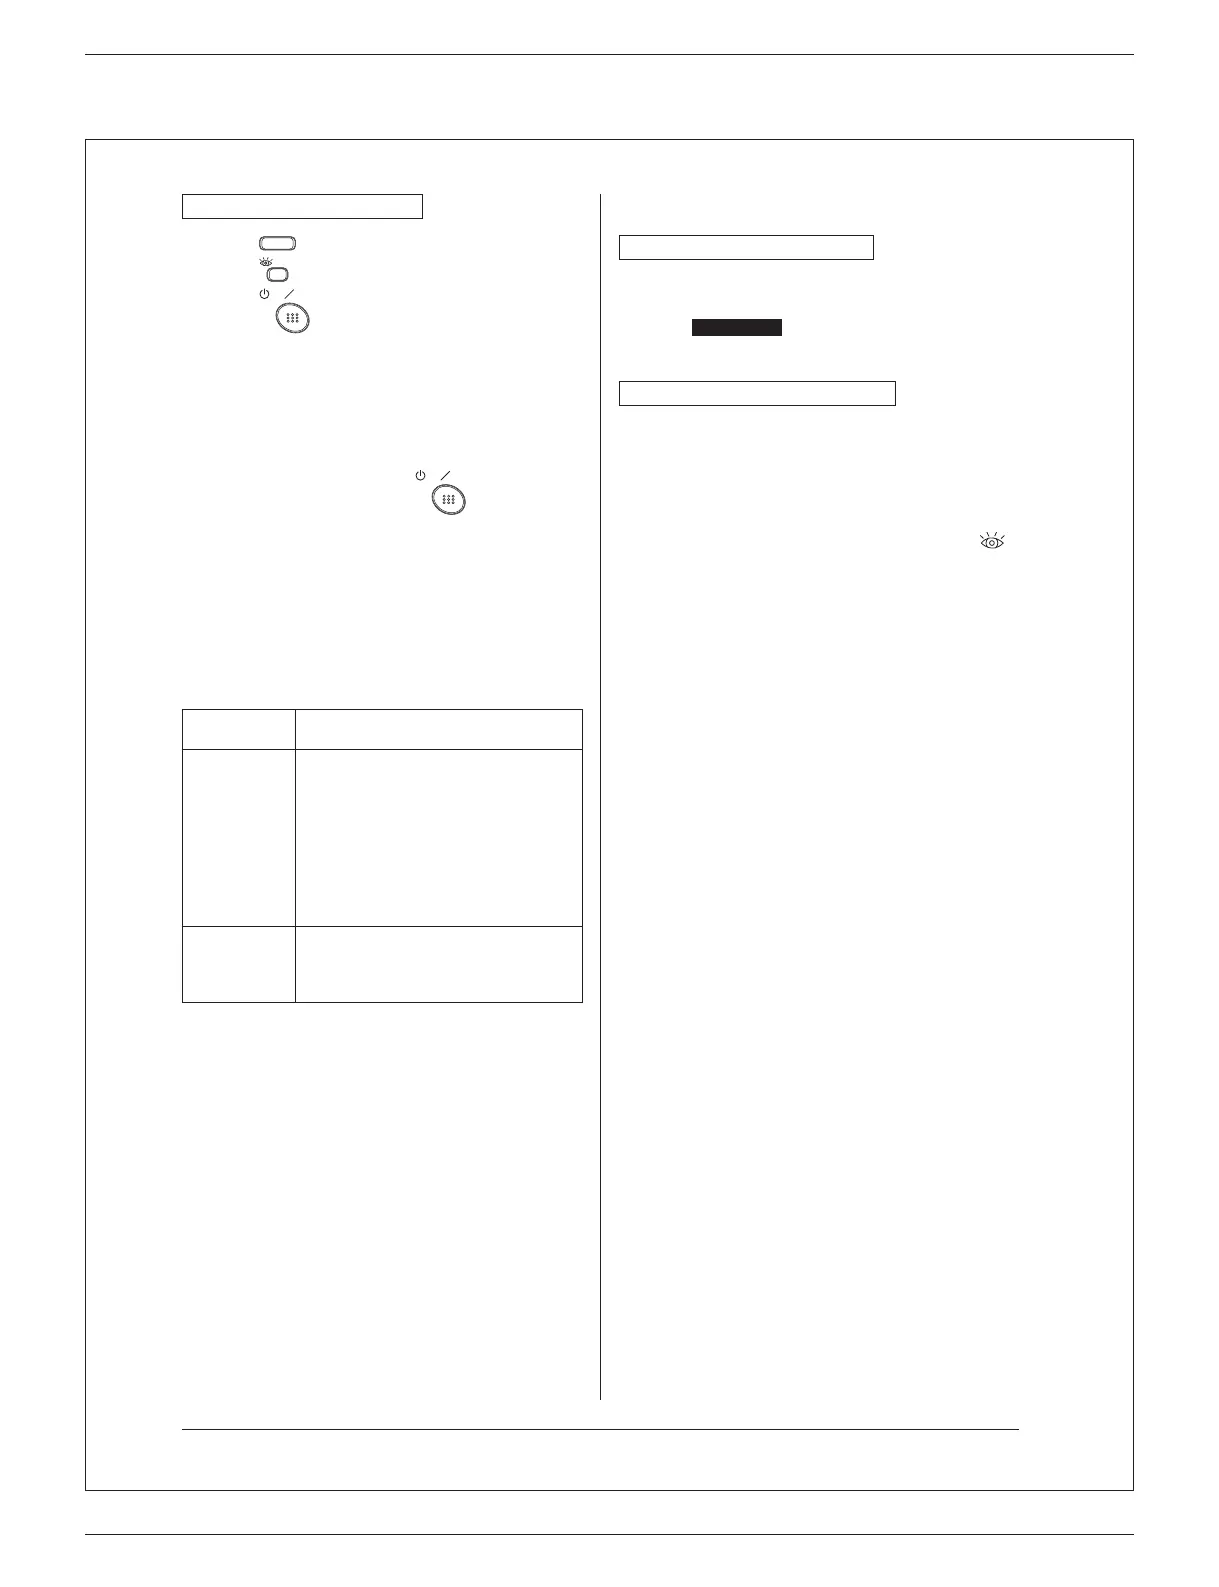
1) Press the INSPECTION/TEST OPERATION button, “
”
is displayed and “ 0 ” blinks.
2) PresstheTEMPERATURESETTINGbuttonandndthe
unit No. which stopped due to trouble.
Number of beeps
3 short beeps .................
1 short beep ..................
1 long beep ....................
Perform all the following
operations
Perform (3) and (6)
No trouble
3) Press the OPERATION MODE SELECTOR button and
uppergureoftheerrorcodeblinks.
4) Continue pressing the TEMPERATURE SETTING button
untilitmakes2shortbeepsandndtheuppercode.
5) Press the OPERATION MODE SELECTOR button and
lowergureoftheerrorcodeblinks.
6) Continue pressing the TEMPERATURE SETTING button
untilitmakesalongbeepandndthelowercode.
•A long beep indicate the error code.
17
01_EN_3P500432-1.indd 17 10/24/2017 18:32:42
 Loading...